
!["[Updated] DIY Sports Highlights A Comprehensive Guide"](https://www.lifewire.com/thmb/w__b5H1ALARvE9PEAJwyPXbsJbU=/400x300/filters:no_upscale():max_bytes(150000):strip_icc()/GettyImages-1223359568-22a7c4307de54e4cb8138418119b6f50.jpg)
"[Updated] DIY Sports Highlights A Comprehensive Guide"
DIY Sports Highlights: A Comprehensive Guide
How to Create a Sports Highlight Video

Richard Bennett
Mar 27, 2024• Proven solutions
“I want to make a sports highlight video, but I don’t know how to edit it or what kind of tools I need to use. Can someone tell me how to work on a sports video?”
As I read this query posted on a popular online forum, I realized that so many people out there find it hard to create a sports video. Well, unlike a standard video, working on a sports highlight video can be tough. This is because it needs a lot of editing and we need to handpick the right moments from hours of footage. Though, if you use the right tools, then you can easily work on highlight videos like a pro. In this guide, I will let you know how to create sports videos in a step by step manner.
- Part 1: Why is a sports highlight video and why important?
- Part 2: Highlight Video vs. Skills Video
- Part 3: Use Excellent Video Editor to Make a Sports Highlight Video
- Part 4: How to Create a Sports Highlight Video?
- Part 5: Expert Tips for Creating Highlight Videos
Why is a sports highlight video and why important?
As the name suggests, a highlight video basically includes all the vital events of a game in a short duration of time. You can include the details of some players at the start or focus on a particular player as well. Besides that, a sports highlight video would have fast-forward, slow motion, and frozen clips to skip or focus on certain details.
A lot of times, people don’t have the time to watch the entire game, which can span for a couple of hours. Therefore, they can watch a sports highlight video that would include all the major events of the game and will let them enjoy their thrill in a few moments.

Besides that, if you are applying for a college/academy or just want to showcase your skills, then you can consider making a sports video of an impressive game of yours. You can simply showcase a player and try to highlight their skills in the video.
Highlight Videos vs. Skills Videos: the Major Differences
While making a sports video, you might encounter two different types of content – a highlight video and a skills video. As I have mentioned above, a sports highlight video would include the shots of an actual game. You can either focus on the event of a single game or include clips from multiple games that were played in a genuine setup. If you want, you can highlight a particular player while making the video as well.
On the other hand, a skills video is mostly made to demonstrate the skills of a player and is not focused on the game. In fact, most of the skills videos are made outside of a real game setting. For instance, if you have mastered a skill or would like to demonstrate your game-related actions, then you can make a skills video. Some of these videos are also tutorial game-plays to teach others about a particular skill that they can master.
Use Excellent Video Editor to Make a Sports Highlight Video
If you want to come up with engaging and visually appealing highlight videos, then consider using a versatile video editor like Filmora. Equipped with several video editing tools, it will let you create a sports highlight video in no time. Since the tool has so many features, you can save your time in editing and come up with a new sports video in minutes.


- Filmora is extremely easy to use and runs on all the leading Windows and macOS versions without any issue.
- Using its inbuilt tools, you can clip out the most important events from a sports video or include them in your highlights.
- There are also features to change the motion and pace of the video (like fast forward or slow motion).
- You can also focus on any athlete and freeze a frame on a particular skill or action.
- Besides that, you can also add voiceovers in your sports highlight video, add media layers, use its inbuilt transitions, and fine-tune the overall aesthetics of your videos.
- There are also tons of filters and presets in Filmora that you can use to save your time in editing. You can work on videos of almost every format with seamless 4K support.
Why we picked it
- Options to import/export files in different formats
- Tons of features in one place (extremely easy to use)
- Split-screen support to include multiple events in a highlight video
How to Create a Sports Highlight Video with Filmora?
With the help of Filmora , anyone can create a sports video without even prior editing/designing experience. Firstly, you can install Filmora on your Windows or Mac by visiting its website and have the footage you wish to edit. Now, you can just follow these steps to work on your next sports highlight video.
Filmstock Stock Media Library ](https://filmstock.wondershare.com/creative-theme-sports?spm=rs.filmora%5Fweb&source%5Fchannel=seo%5Farticle )
Step 1: Add a video to Filmora
To start with, just launch Filmora on your computer and add the video that you wish to work on. You can just drag and drop the video to its interface or go to its Menu > File > Import Media to browse and load the file.

Step 2: Edit the Sports Video
In order to create a sports highlight video, the first thing that people do is trim any unwanted part. Once the video is loaded, you can view it on the timeline of the interface. Now, go to the timeline and get the trim tool to manually select the part of the video you wish to trim. After selecting the desired fragment, you can trim the clip or just delete it by clicking on their respective icons.

In the same way, you can also split your video and make other changes in it. You can also include multiple videos together and include them in your timeline as well.
If you are including multiple videos, then make sure they have the same dimensions and aspect ratio. For this, you can select the video, right-click on the timeline, and click on the crop icon. Now, select the same aspect ratio for the entire video to keep it uniform.

Most of the game highlights that we see have different speeds for various sections. That is, some actions would be fast-forwarded while some would be in slow motion. To apply this, simply select the section in the timeline, right-click, and go to the Speed and Duration settings. This will open a dedicated interface from where you can change the speed of the sports video.
Apart from manually setting the speed, you can also take the assistance of the custom speed options that are available in the timeline tools.

Step 3: Make Advanced Edits in your Sports Video
With the user-friendly interface of Filmora, you can do some basic edits and make a sports highlight video in minutes. Though, if you want to focus on some parts and make more changes, then you can use its advanced options as well.
For instance, in a highlight video, we often wish to freeze certain frames. To do this, just select a frame and use the “Freeze Frame” option from the timeline tools. You can even set the duration to freeze the selected frame.
If you have included clips from different videos, then you can apply all kinds of transitions from Filmora. In the end, you can go to its edit options and choose to close gaps as well.
To give your video a uniform and aesthetically pleasing appeal, you can also add different overlays and effects on it from Filmora’s library.
Lastly, make sure that you added sound or voiceover to your video. You can add a sound from its library or import any other music file to it. Since highlight videos mostly have voiceovers, you add the same by visiting the Record > Record Voiceover option.

Step 4: Export your video in the desired format
That’s it! Once your sports highlight video is ready, you can export it in different formats. Just go to the Export option and select the location to save the video and a preferred resolution. You can save your video in formats like MP4, WMV, AVI, FLV, MKV, and so on.
Expert Tips for Creating Highlight Videos
As you can see, making a sports highlight video with a tool like Filmora is extremely easy. Although to be a pro and make better videos, you can consider the following tips:
Keep it short
Make sure that you only include the highlights of the game in your video to keep it interesting. Your aim is to have a short and crisp video without any unwanted footage.
Use freeze frames and slow motion
Some games can be pretty fast-paced and the viewers might miss out on a few key details. To showcase them, you can freeze certain frames or apply slow motion.
Include other details
A sports highlight video can also be informative. You can include details about the players or the team at the start. Also, it is recommended to have sound or a voiceover in the background to narrate the events.
Pick the best clips
When you watch a game, make a note of the best moments that you know your viewers would enjoy. You can also focus on different skills that you found impressive and include them in your sports video.
I’m sure that after reading this guide, you would be able to come up with an impressive sports highlight video as well. Since you might need to make a lot of edits on a sports video, I would recommend using a diverse tool like Filmora. With the tons of editing options that it provides, you can easily create all sorts of highlight videos while saving your time and resources.
Richard Bennett
Richard Bennett is a writer and a lover of all things video.
Follow @Richard Bennett
Richard Bennett
Mar 27, 2024• Proven solutions
“I want to make a sports highlight video, but I don’t know how to edit it or what kind of tools I need to use. Can someone tell me how to work on a sports video?”
As I read this query posted on a popular online forum, I realized that so many people out there find it hard to create a sports video. Well, unlike a standard video, working on a sports highlight video can be tough. This is because it needs a lot of editing and we need to handpick the right moments from hours of footage. Though, if you use the right tools, then you can easily work on highlight videos like a pro. In this guide, I will let you know how to create sports videos in a step by step manner.
- Part 1: Why is a sports highlight video and why important?
- Part 2: Highlight Video vs. Skills Video
- Part 3: Use Excellent Video Editor to Make a Sports Highlight Video
- Part 4: How to Create a Sports Highlight Video?
- Part 5: Expert Tips for Creating Highlight Videos
Why is a sports highlight video and why important?
As the name suggests, a highlight video basically includes all the vital events of a game in a short duration of time. You can include the details of some players at the start or focus on a particular player as well. Besides that, a sports highlight video would have fast-forward, slow motion, and frozen clips to skip or focus on certain details.
A lot of times, people don’t have the time to watch the entire game, which can span for a couple of hours. Therefore, they can watch a sports highlight video that would include all the major events of the game and will let them enjoy their thrill in a few moments.
Besides that, if you are applying for a college/academy or just want to showcase your skills, then you can consider making a sports video of an impressive game of yours. You can simply showcase a player and try to highlight their skills in the video.
Highlight Videos vs. Skills Videos: the Major Differences
While making a sports video, you might encounter two different types of content – a highlight video and a skills video. As I have mentioned above, a sports highlight video would include the shots of an actual game. You can either focus on the event of a single game or include clips from multiple games that were played in a genuine setup. If you want, you can highlight a particular player while making the video as well.
On the other hand, a skills video is mostly made to demonstrate the skills of a player and is not focused on the game. In fact, most of the skills videos are made outside of a real game setting. For instance, if you have mastered a skill or would like to demonstrate your game-related actions, then you can make a skills video. Some of these videos are also tutorial game-plays to teach others about a particular skill that they can master.
Use Excellent Video Editor to Make a Sports Highlight Video
If you want to come up with engaging and visually appealing highlight videos, then consider using a versatile video editor like Filmora. Equipped with several video editing tools, it will let you create a sports highlight video in no time. Since the tool has so many features, you can save your time in editing and come up with a new sports video in minutes.
- Filmora is extremely easy to use and runs on all the leading Windows and macOS versions without any issue.
- Using its inbuilt tools, you can clip out the most important events from a sports video or include them in your highlights.
- There are also features to change the motion and pace of the video (like fast forward or slow motion).
- You can also focus on any athlete and freeze a frame on a particular skill or action.
- Besides that, you can also add voiceovers in your sports highlight video, add media layers, use its inbuilt transitions, and fine-tune the overall aesthetics of your videos.
- There are also tons of filters and presets in Filmora that you can use to save your time in editing. You can work on videos of almost every format with seamless 4K support.
Why we picked it
- Options to import/export files in different formats
- Tons of features in one place (extremely easy to use)
- Split-screen support to include multiple events in a highlight video
How to Create a Sports Highlight Video with Filmora?
With the help of Filmora , anyone can create a sports video without even prior editing/designing experience. Firstly, you can install Filmora on your Windows or Mac by visiting its website and have the footage you wish to edit. Now, you can just follow these steps to work on your next sports highlight video.
Filmstock Stock Media Library ](https://filmstock.wondershare.com/creative-theme-sports?spm=rs.filmora%5Fweb&source%5Fchannel=seo%5Farticle )
Step 1: Add a video to Filmora
To start with, just launch Filmora on your computer and add the video that you wish to work on. You can just drag and drop the video to its interface or go to its Menu > File > Import Media to browse and load the file.
Step 2: Edit the Sports Video
In order to create a sports highlight video, the first thing that people do is trim any unwanted part. Once the video is loaded, you can view it on the timeline of the interface. Now, go to the timeline and get the trim tool to manually select the part of the video you wish to trim. After selecting the desired fragment, you can trim the clip or just delete it by clicking on their respective icons.
In the same way, you can also split your video and make other changes in it. You can also include multiple videos together and include them in your timeline as well.
If you are including multiple videos, then make sure they have the same dimensions and aspect ratio. For this, you can select the video, right-click on the timeline, and click on the crop icon. Now, select the same aspect ratio for the entire video to keep it uniform.
Most of the game highlights that we see have different speeds for various sections. That is, some actions would be fast-forwarded while some would be in slow motion. To apply this, simply select the section in the timeline, right-click, and go to the Speed and Duration settings. This will open a dedicated interface from where you can change the speed of the sports video.
Apart from manually setting the speed, you can also take the assistance of the custom speed options that are available in the timeline tools.
Step 3: Make Advanced Edits in your Sports Video
With the user-friendly interface of Filmora, you can do some basic edits and make a sports highlight video in minutes. Though, if you want to focus on some parts and make more changes, then you can use its advanced options as well.
For instance, in a highlight video, we often wish to freeze certain frames. To do this, just select a frame and use the “Freeze Frame” option from the timeline tools. You can even set the duration to freeze the selected frame.
If you have included clips from different videos, then you can apply all kinds of transitions from Filmora. In the end, you can go to its edit options and choose to close gaps as well.
To give your video a uniform and aesthetically pleasing appeal, you can also add different overlays and effects on it from Filmora’s library.
Lastly, make sure that you added sound or voiceover to your video. You can add a sound from its library or import any other music file to it. Since highlight videos mostly have voiceovers, you add the same by visiting the Record > Record Voiceover option.
Step 4: Export your video in the desired format
That’s it! Once your sports highlight video is ready, you can export it in different formats. Just go to the Export option and select the location to save the video and a preferred resolution. You can save your video in formats like MP4, WMV, AVI, FLV, MKV, and so on.
Expert Tips for Creating Highlight Videos
As you can see, making a sports highlight video with a tool like Filmora is extremely easy. Although to be a pro and make better videos, you can consider the following tips:
Keep it short
Make sure that you only include the highlights of the game in your video to keep it interesting. Your aim is to have a short and crisp video without any unwanted footage.
Use freeze frames and slow motion
Some games can be pretty fast-paced and the viewers might miss out on a few key details. To showcase them, you can freeze certain frames or apply slow motion.
Include other details
A sports highlight video can also be informative. You can include details about the players or the team at the start. Also, it is recommended to have sound or a voiceover in the background to narrate the events.
Pick the best clips
When you watch a game, make a note of the best moments that you know your viewers would enjoy. You can also focus on different skills that you found impressive and include them in your sports video.
I’m sure that after reading this guide, you would be able to come up with an impressive sports highlight video as well. Since you might need to make a lot of edits on a sports video, I would recommend using a diverse tool like Filmora. With the tons of editing options that it provides, you can easily create all sorts of highlight videos while saving your time and resources.
Richard Bennett
Richard Bennett is a writer and a lover of all things video.
Follow @Richard Bennett
Enhance Video Magic: Find Your Favorite Mobile Edit Apps
Best YouTube Shorts Video Editing Apps for iOS and Android
Richard Bennett
Mar 27, 2024• Proven solutions
Even though Shorts is integrated within the YouTube app and still in beta, you can still edit your videos. At this writing, the only additional elements that you can add to your short videos are background music and captions. While these two are good enough to make your clips informative, they might not be able to attract as many viewers as there would have been if the footages were well-decorated with a couple of filters, effects, stickers, etc.
That said, listed below are some of the efficient and feature-packed third-party apps that can help you beautify your videos before they can be published as Shorts on your YouTube channel:
Best Shorts Video Editing Apps for iOS and Android (Free and Paid)
Top 10 short video editing apps for smartphones, along with their attributes, include:
1. Wondershare Filmora
This was developed by one of the IT giants called Wondershare. The elder sibling of Filmora is Filmora, a PC program for both Windows and Mac platforms that gives tough competition to some of the commonly used post-production applications like Adobe Premiere Pro, Final Cut Pro X, etc.
Supported Platforms: Android and iOS (11.0 and above)
Users’ Star Rating (Out of 5): 4.6
Main Features: Allows video editing (trimming, cutting, etc.), adds or extracts music from the videos, supports HD quality exporting, etc.
Aspect Ratio: Almost all widely used sizes
Sharing: Allows publishing directly to YouTube
Pros: Free to use, available for both iOS and Android, a complete package for video editing enthusiasts
Cons: Free version adds a watermark to the exported videos
2. VideoLeap – Video Editor – Film Photo Editor
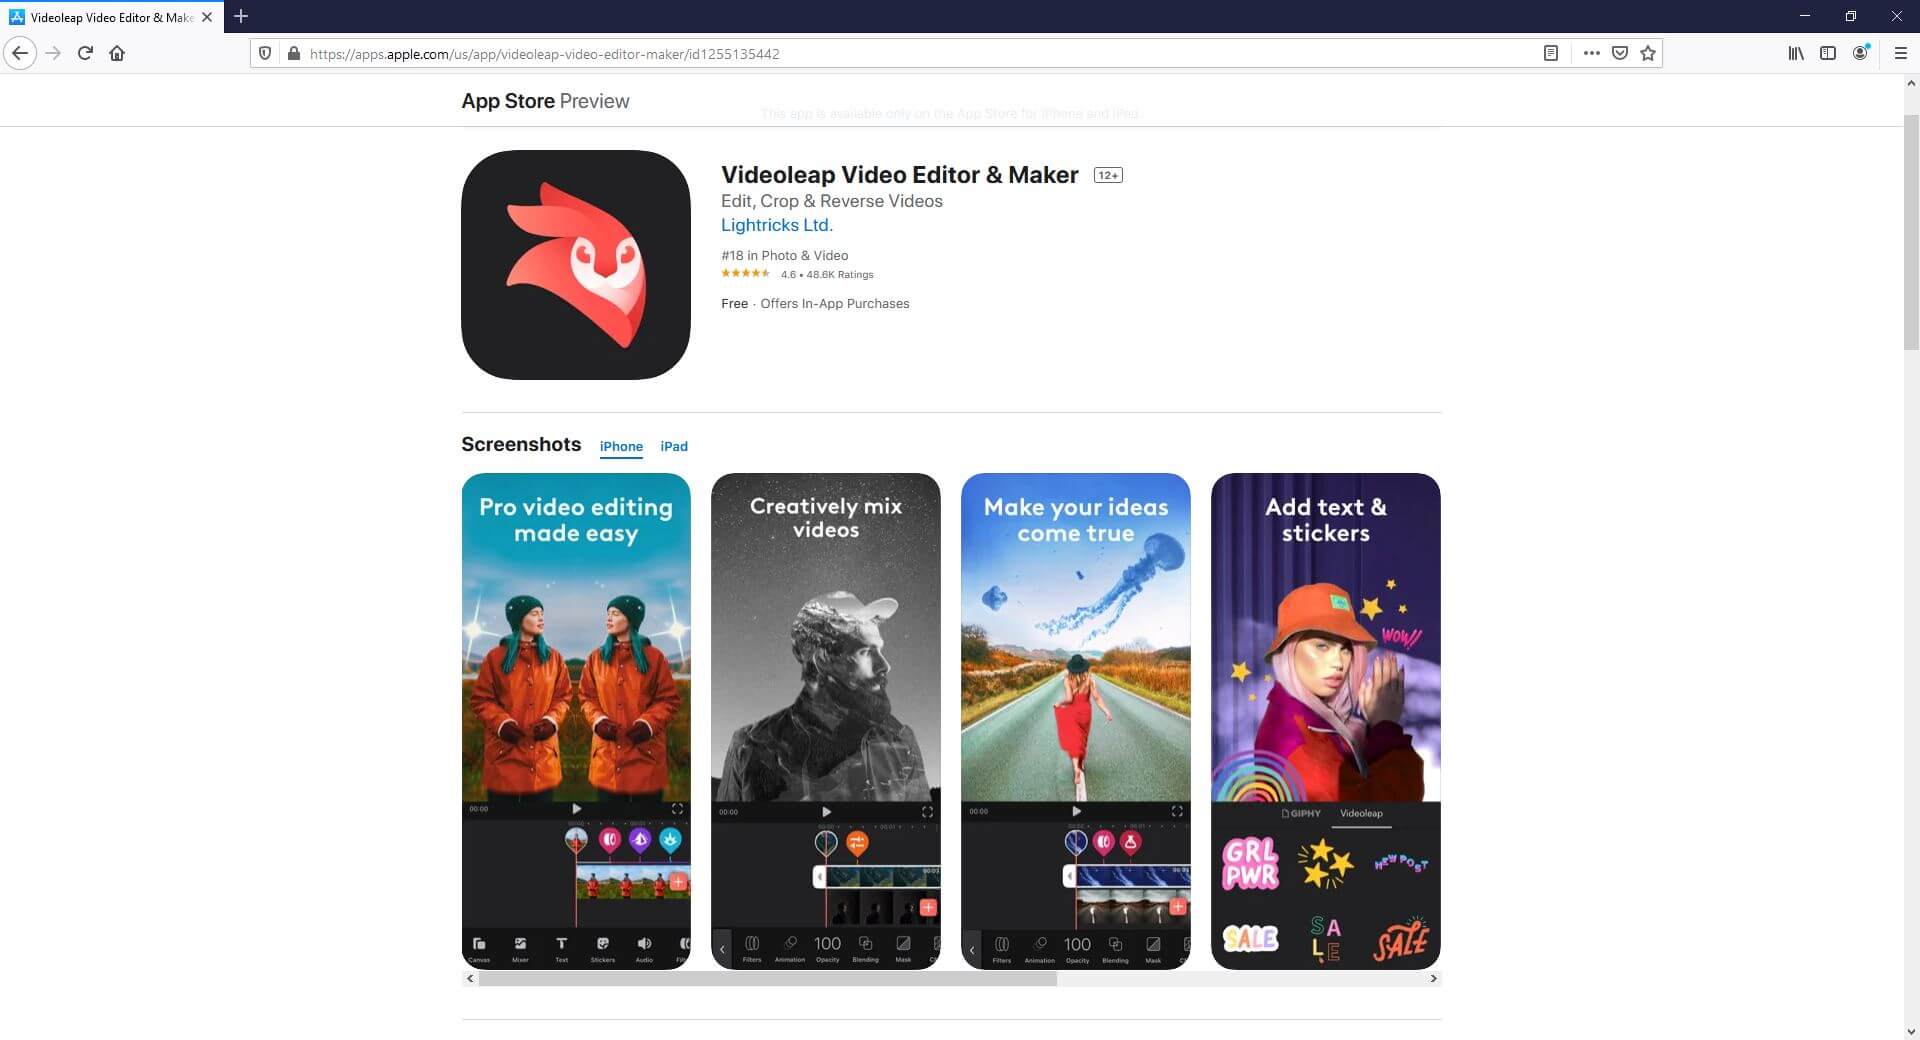
Another lightweight video editor for mobile devices, VideoLeap, lets you edit the videos simply and quickly.
Supported Platforms: Android (4.3 and above) and iOS (12.0 and above)
Users’ Star Rating (Out of 5): 4.3
Main Features: Has more than 200 filters, allows trimming and cropping, offers a practically unlimited number of undoes and redoes
Aspect Ratio: Almost all widely used sizes
Sharing: Exports videos to the device
Pros: Offers layer-based editing, gives access to the professional-level filters for video decoration, has more than 60 overlays, etc.
Cons: Paid subscription is needed to access features like edit, crop, and reverse
3. KineMaster Video Editor
KineMaster is probably one of the most popular video editors among vloggers, beginners, and teenagers. With simple UI, the app offers easy access to many of its features to edit the videos.
Supported Platforms: Android (6.0 and above) and iOS (12.4 and above)
Users’ Star Rating (Out of 5): 4.7
Main Features: Color correction, video reversal, trimming, splitting, cutting, voice changer, sound effects, etc.
Aspect Ratio: Almost all widely used sizes
Sharing: Allows publishing directly to YouTube
Pros: Can export videos to 4K 60 FPS, can be used for free, supports multiple languages
Cons: A premium subscription must be purchased to access advanced features
4. Video Maker for YouTube – Video.Guru
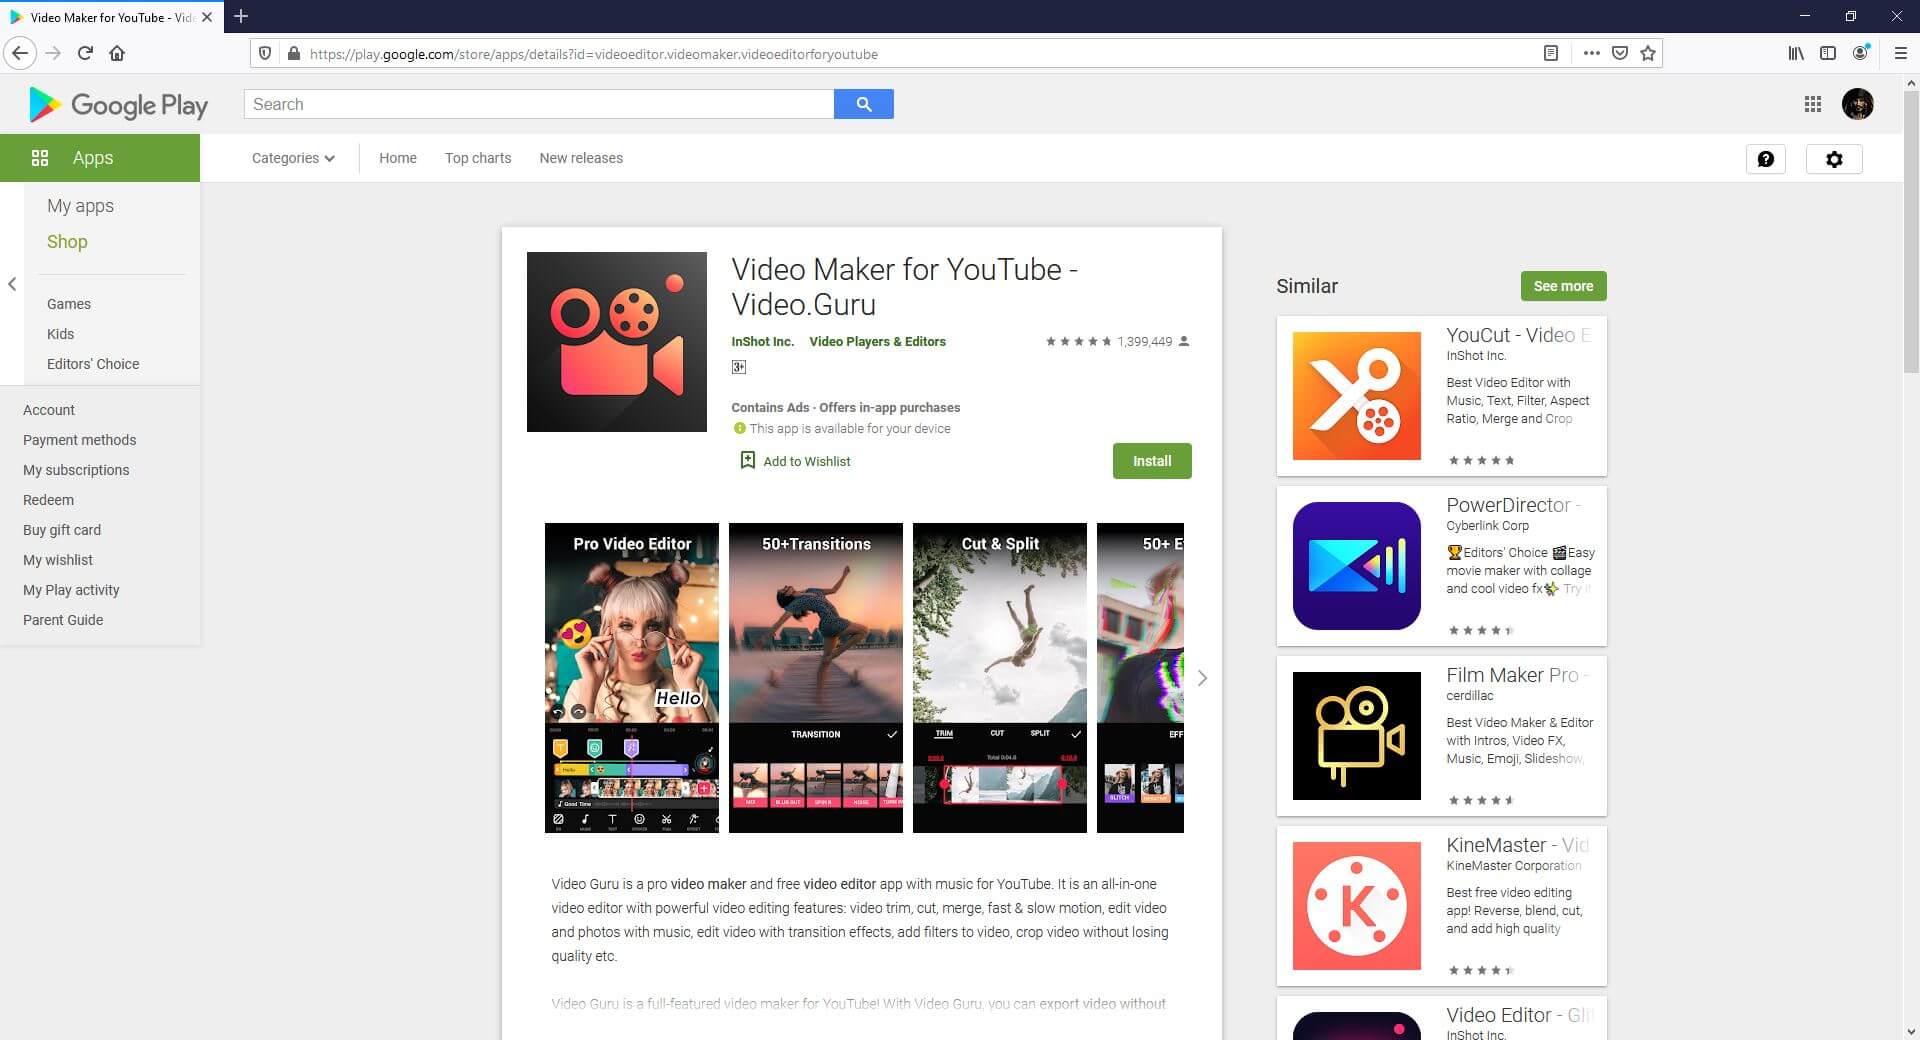
This one is specifically designed and developed for short videos that are prepared for Tik Tok, Facebook, etc.
Supported Platforms: Android (5.0 and above)
Users’ Star Rating (Out of 5): 4.8
Main Features: Supports multi-layer editing, allows voice recording and voiceovers, can be used to create videos for YouTube, has several filters and effects, etc.
Aspect Ratio: Almost all widely used sizes
Sharing: Allows publishing directly to YouTube
Pros: Offers fully licensed music for a video background, allows audio fade-in and fade-out effects, allows music video creation, lets you merge two or more clips into one, etc.
Cons: Some users experience distortion while using an external microphone
5. Adobe Premiere Rush
Developed by the creative application developing giant, Adobe, this app has everything you would possibly need to prepare YouTube Shorts. Because the developer is Adobe, the program can be trusted without any doubts.
Supported Platforms: Android and iOS (13.0 and above)
Users’ Star Rating (Out of 5): 4.6
Main Features: Allows video recording with the built-in camera, allows adding animated titles using the available templates, has a multi-track timeline, etc.
Aspect Ratio: Almost all widely used sizes
Sharing: Allows publishing directly to YouTube
Pros: Offers several editing effects, has a plethora of royalty-free soundtracks, etc.
Cons: Advanced tools can be accessed only after buying a premium subscription
6. Funimate Video Editor & Maker
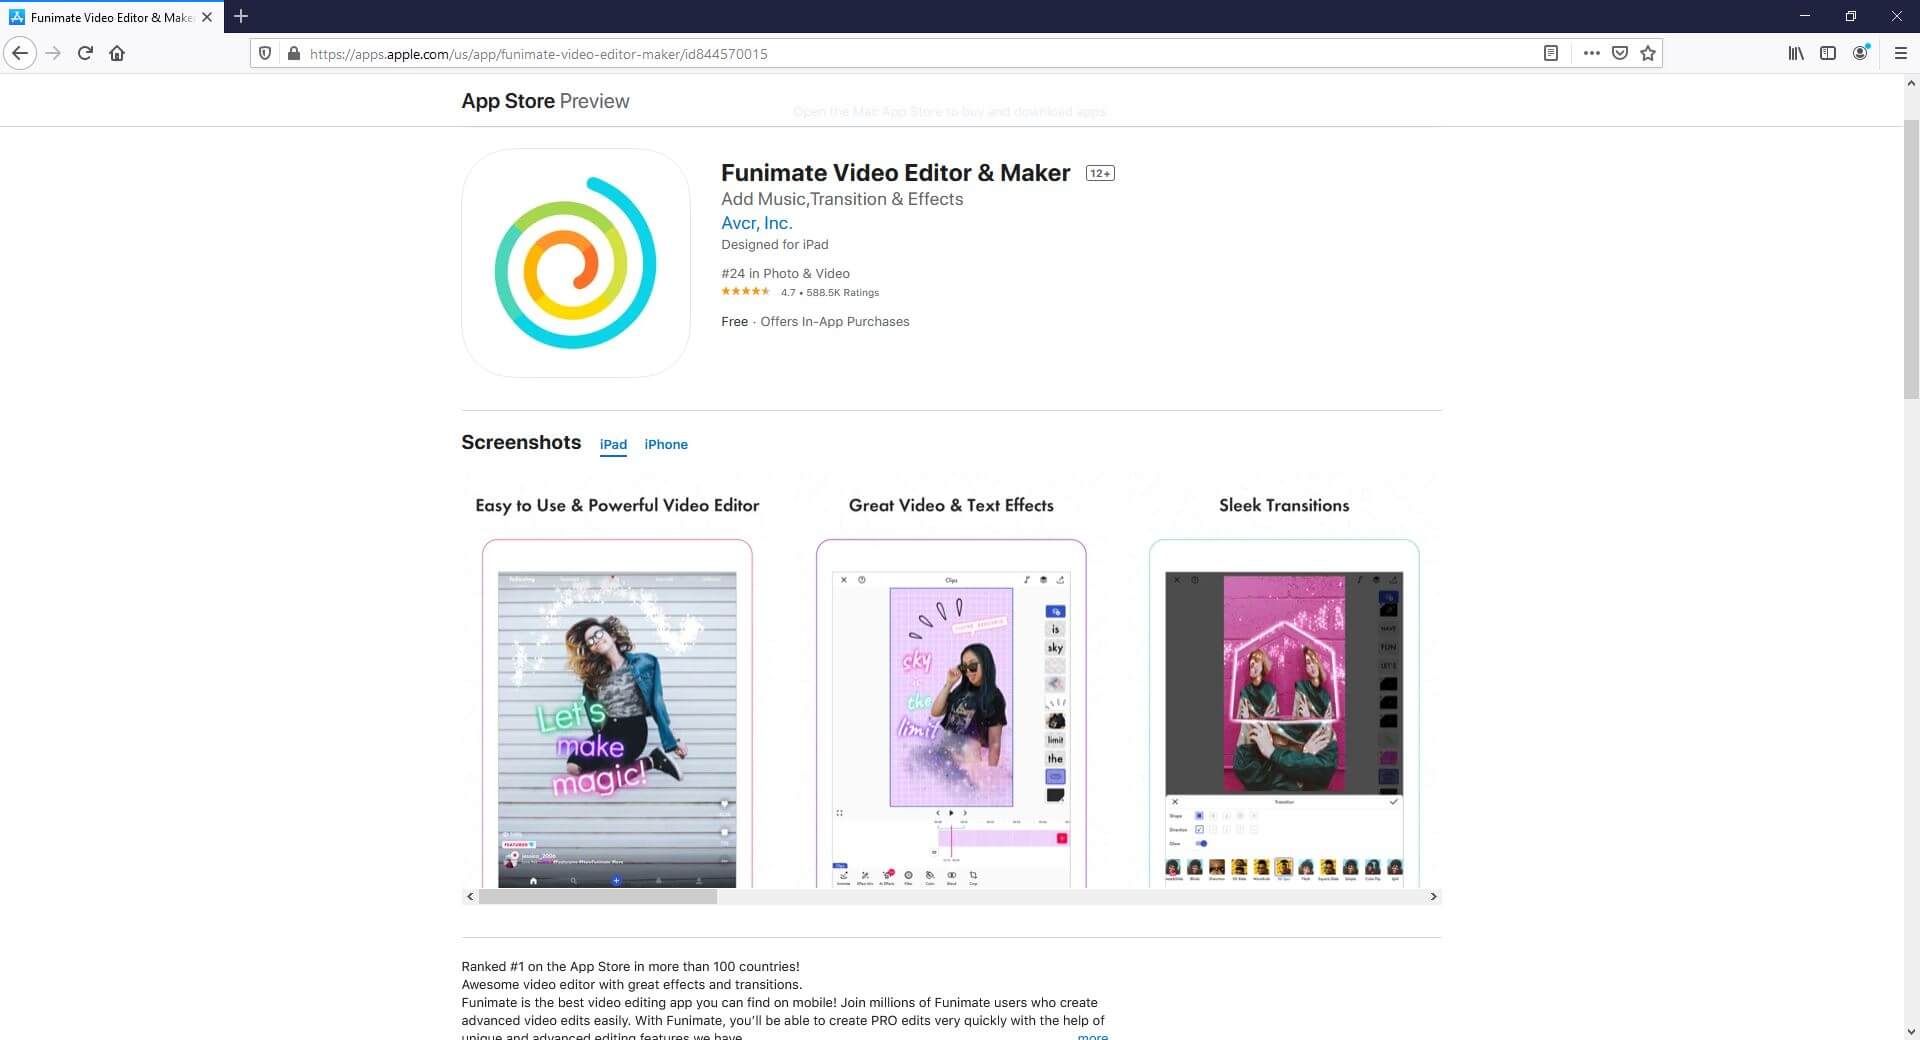
With a 4.7-star rating, this app has been ranked as the best in more than 100 countries. The program has several built-in video effects to make your clips more engaging.
Supported Platforms: Android (5.0 and above) and iOS (12.0 and above)
Users’ Star Rating (Out of 5): 4.7
Main Features: Enables lip-sync, allows keyframe-oriented animations and effects, supports video masking, etc.
Aspect Ratio: Almost all widely used sizes
Sharing: Allows publishing directly to social platforms like YouTube, Tik Tok, Instagram, etc.
Pros: Has intro and outro effects, allows you to add music to the videos, is free to use, etc.
Cons: Paid subscription is needed to unlock all the advanced tools and features of the app
7. LumaFusion
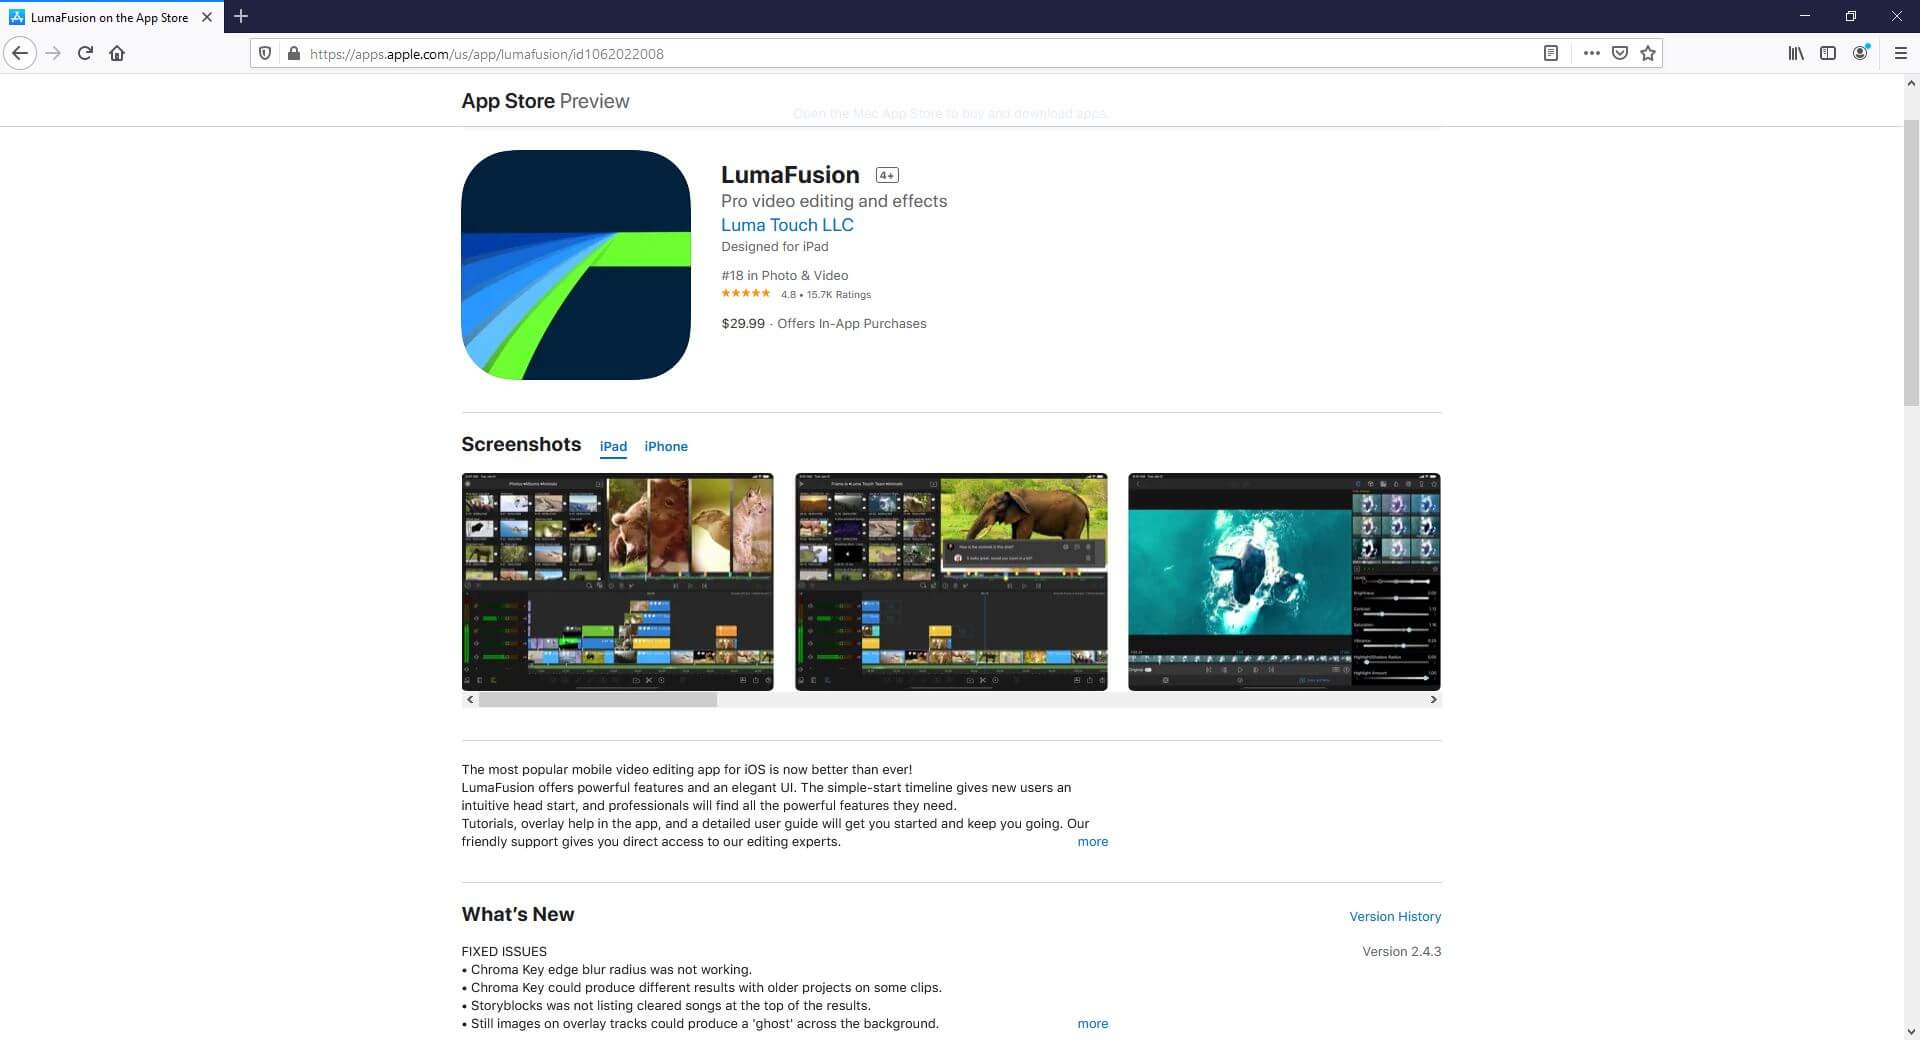
LumaFusion is crowned with a 4.8-star rating and is packed with options like media library, slow and fast motion playback, additional audio tracks, and much more.
Supported Platforms: iOS (13.3 and above)
Users’ Star Rating (Out of 5): 4.8
Main Features: Frame rates that range between 18 FPS to 240 FPS, color correction, keyframe-oriented color, and effects animations, etc.
Aspect Ratio: Almost all widely used sizes
Sharing: Allows publishing directly to almost all platforms
Pros: Can export projects as Final Cut Pro X files for further editing
Cons: Paid subscription is needed for exporting projects for Final Cut Pro X
8. VivaCut – PRO Video Editor APP
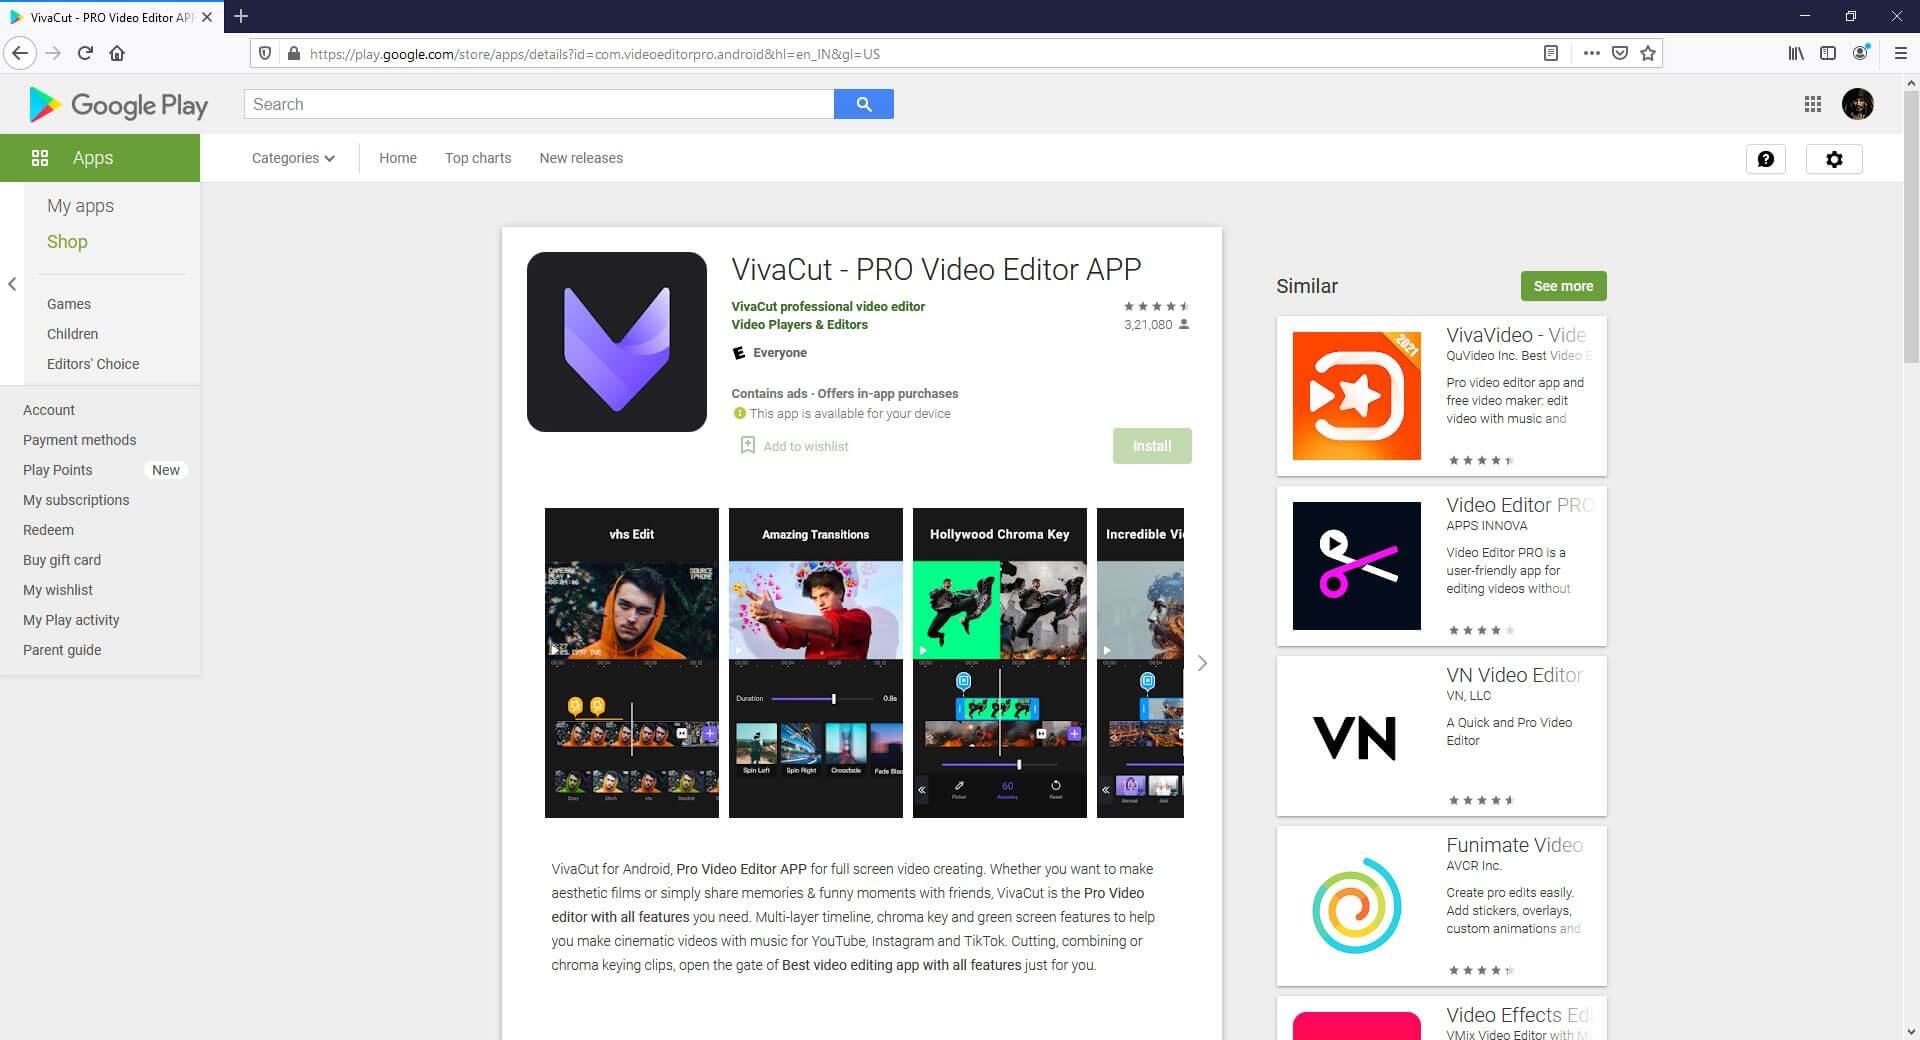
As the name suggests, VivaCut is a professional-level video editing tool for mobile devices that enjoys a decent star rating.
Supported Platforms: Android (5.0 and above) and iOS (9.0 and above)
Users’ Star Rating (Out of 5): 4.7
Main Features: Offers visual effects like VHS, RGP, Glitch, etc., allows Picture-in-Picture (to be released soon), allows video trimming, cropping, and merging, etc.
Aspect Ratio: Almost all widely used sizes
Sharing: Allows one-click publishing directly on YouTube
Pros: Supports up to 4K video resolution
Cons: Paid subscription is required to access the Pro-level features and options
9. Filmmaker Pro – Video Editor
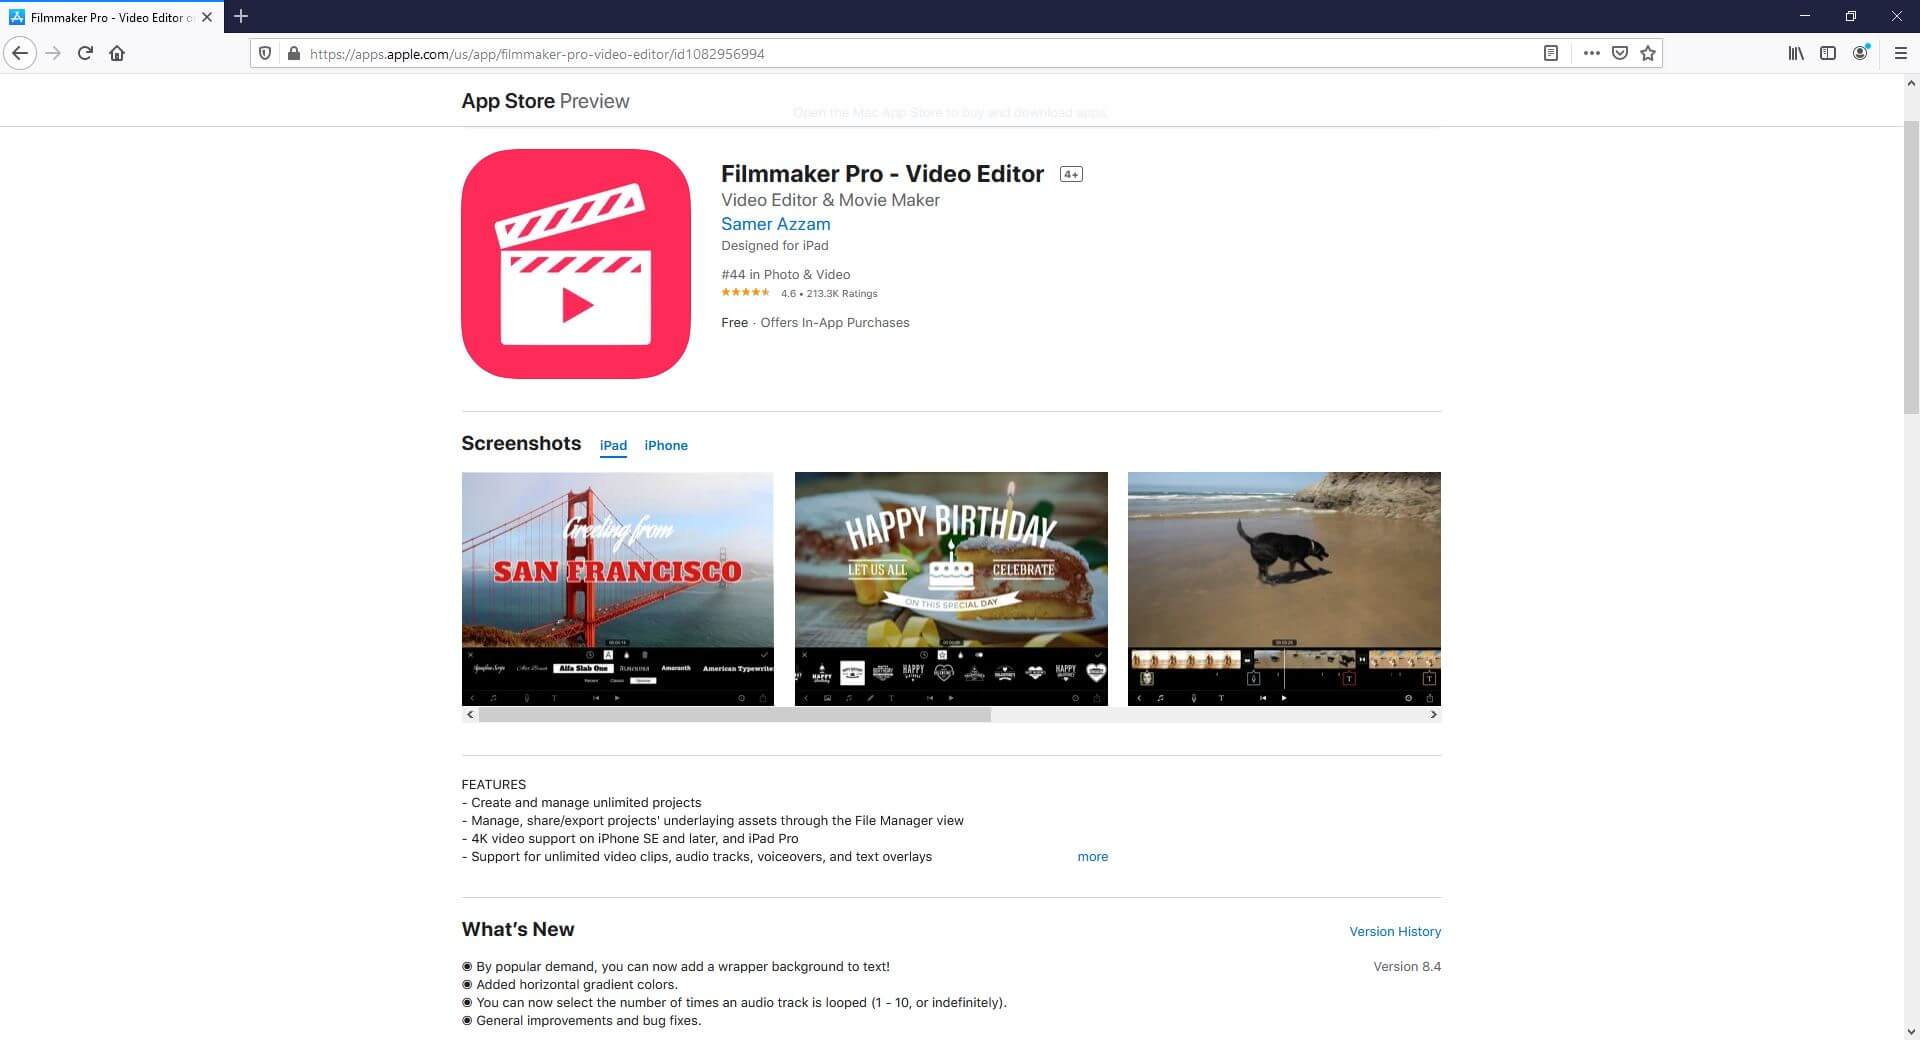
Filmmaker Pro is a free video editing app for mobile devices equipped with a plethora of pro features to make your post-production experience convenient and fun.
Supported Platforms: Android (4.4 and above) and iOS (11.0 and above)
Users’ Star Rating (Out of 5): 4.6
Main Features: Supports video playback reversal, allows Picture-in-Picture for videos and photos, supports green screen (chroma key), and much more.
Aspect Ratio: Almost all widely used sizes
Sharing: Exports videos to the device
Pros: Offers several text animation options, has drawing tools, etc.
Cons: Paid subscription is required to remove watermark from the exported videos
10. Video Editor for YouTube & Video Maker – My Movie
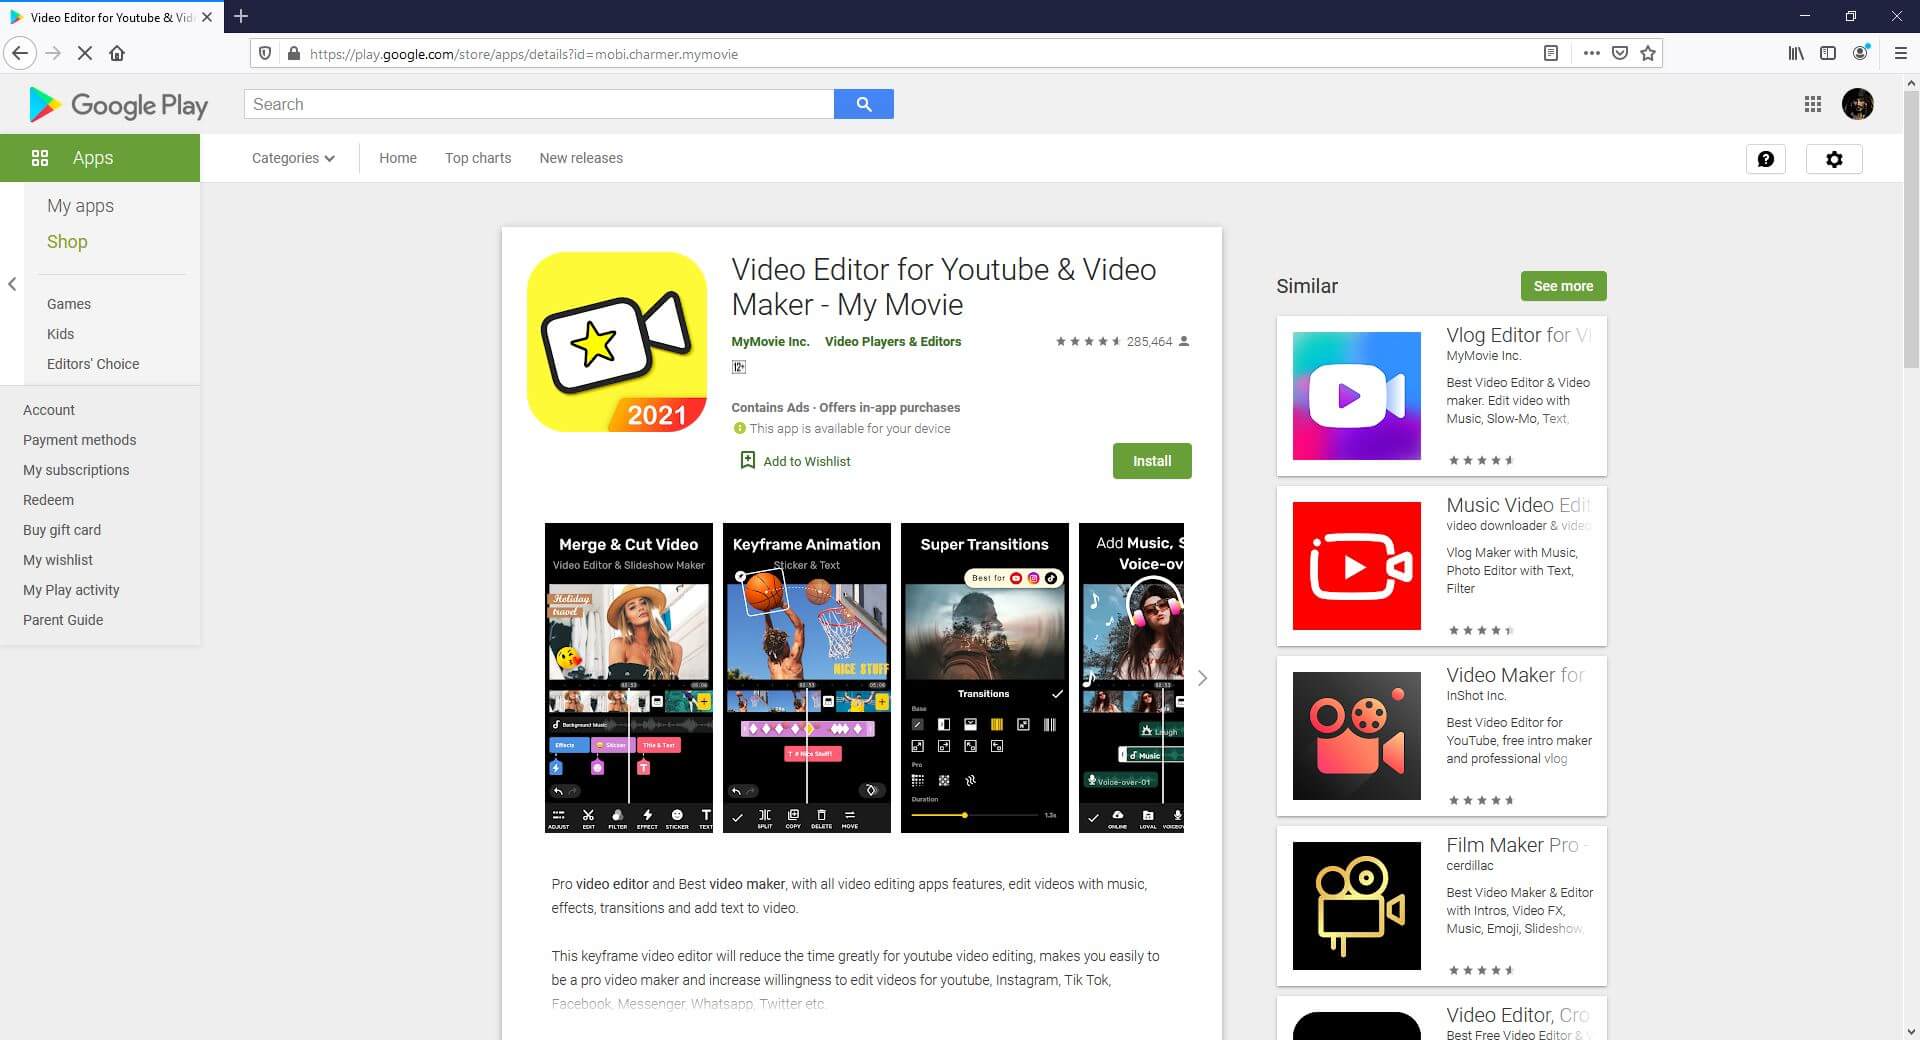
Yet another editor for both amateurs and professionals, Video Editor for YouTube, consists of all the features that a YouTube Shorts video needs to prepare engaging content.
Supported Platforms: Android (5.0 and above)
Users’ Star Rating (Out of 5): 4.6
Main Features: Allows cropping, flipping, and rotating the video clips, allows audio recording for voiceovers, lets you control the playback speed, etc.
Aspect Ratio: Almost all widely used sizes
Sharing: Allows publishing directly on YouTube
Pros: Has keyframe-oriented animation effects, can merge multiple video clips into one, etc.
Cons: Some content might not be suitable for kids below 12 years of age
Above are some of the best video editing apps that you can use on iPhone or Android phones to create YouTube Shorts videos. Besides those third-party apps, you can also create a Shorts video from the YouTube app directly. Check this article to get detailed information about making and uploading a YouTube Shorts Video with Shorts App .
Use Filmora to Create YouTube Shorts Video on PC
If you prefer to convert or make videos on a computer, I recommend you to try our video editor Filmora X , which is an ideal solution for YouTubers.
You can make a vertical video with Filmora easily as it provides a 9:16 aspect ratio that works perfectly for editing YouTube Shorts videos. Compared with mobile apps, desktop softwares like Filmora allows you to add more elements and effects to your video to make it impressive. Check out the below video about how to edit vertical video using our Filmora X and try it out if you are impressed.
For Win 7 or later (64-bit)
 Secure Download
For macOS 10.14 or later
Secure Download
Click here to get Filmora for PC by email
or Try Filmora App for mobile >>>
download filmora app for ios ](https://app.adjust.com/b0k9hf2%5F4bsu85t ) download filmora app for android ](https://app.adjust.com/b0k9hf2%5F4bsu85t )
Conclusion
Making videos less than 60 seconds in duration and then publishing them on YouTube with the ‘#Shorts’ tag in the title or description lets you create short videos for YouTube. The apps listed above help you in this, and you can easily prepare attractive and engaging short clips pretty quickly using any of them. However, the most recommended, widely used, and the much-appreciated program is Wondershare Filmora that is not merely limited to mobile application-level features, it even has tools that usually compete with those available in the desktop software.
Richard Bennett
Richard Bennett is a writer and a lover of all things video.
Follow @Richard Bennett
Richard Bennett
Mar 27, 2024• Proven solutions
Even though Shorts is integrated within the YouTube app and still in beta, you can still edit your videos. At this writing, the only additional elements that you can add to your short videos are background music and captions. While these two are good enough to make your clips informative, they might not be able to attract as many viewers as there would have been if the footages were well-decorated with a couple of filters, effects, stickers, etc.
That said, listed below are some of the efficient and feature-packed third-party apps that can help you beautify your videos before they can be published as Shorts on your YouTube channel:
Best Shorts Video Editing Apps for iOS and Android (Free and Paid)
Top 10 short video editing apps for smartphones, along with their attributes, include:
1. Wondershare Filmora
This was developed by one of the IT giants called Wondershare. The elder sibling of Filmora is Filmora, a PC program for both Windows and Mac platforms that gives tough competition to some of the commonly used post-production applications like Adobe Premiere Pro, Final Cut Pro X, etc.
Supported Platforms: Android and iOS (11.0 and above)
Users’ Star Rating (Out of 5): 4.6
Main Features: Allows video editing (trimming, cutting, etc.), adds or extracts music from the videos, supports HD quality exporting, etc.
Aspect Ratio: Almost all widely used sizes
Sharing: Allows publishing directly to YouTube
Pros: Free to use, available for both iOS and Android, a complete package for video editing enthusiasts
Cons: Free version adds a watermark to the exported videos
2. VideoLeap – Video Editor – Film Photo Editor
Another lightweight video editor for mobile devices, VideoLeap, lets you edit the videos simply and quickly.
Supported Platforms: Android (4.3 and above) and iOS (12.0 and above)
Users’ Star Rating (Out of 5): 4.3
Main Features: Has more than 200 filters, allows trimming and cropping, offers a practically unlimited number of undoes and redoes
Aspect Ratio: Almost all widely used sizes
Sharing: Exports videos to the device
Pros: Offers layer-based editing, gives access to the professional-level filters for video decoration, has more than 60 overlays, etc.
Cons: Paid subscription is needed to access features like edit, crop, and reverse
3. KineMaster Video Editor
KineMaster is probably one of the most popular video editors among vloggers, beginners, and teenagers. With simple UI, the app offers easy access to many of its features to edit the videos.
Supported Platforms: Android (6.0 and above) and iOS (12.4 and above)
Users’ Star Rating (Out of 5): 4.7
Main Features: Color correction, video reversal, trimming, splitting, cutting, voice changer, sound effects, etc.
Aspect Ratio: Almost all widely used sizes
Sharing: Allows publishing directly to YouTube
Pros: Can export videos to 4K 60 FPS, can be used for free, supports multiple languages
Cons: A premium subscription must be purchased to access advanced features
4. Video Maker for YouTube – Video.Guru
This one is specifically designed and developed for short videos that are prepared for Tik Tok, Facebook, etc.
Supported Platforms: Android (5.0 and above)
Users’ Star Rating (Out of 5): 4.8
Main Features: Supports multi-layer editing, allows voice recording and voiceovers, can be used to create videos for YouTube, has several filters and effects, etc.
Aspect Ratio: Almost all widely used sizes
Sharing: Allows publishing directly to YouTube
Pros: Offers fully licensed music for a video background, allows audio fade-in and fade-out effects, allows music video creation, lets you merge two or more clips into one, etc.
Cons: Some users experience distortion while using an external microphone
5. Adobe Premiere Rush
Developed by the creative application developing giant, Adobe, this app has everything you would possibly need to prepare YouTube Shorts. Because the developer is Adobe, the program can be trusted without any doubts.
Supported Platforms: Android and iOS (13.0 and above)
Users’ Star Rating (Out of 5): 4.6
Main Features: Allows video recording with the built-in camera, allows adding animated titles using the available templates, has a multi-track timeline, etc.
Aspect Ratio: Almost all widely used sizes
Sharing: Allows publishing directly to YouTube
Pros: Offers several editing effects, has a plethora of royalty-free soundtracks, etc.
Cons: Advanced tools can be accessed only after buying a premium subscription
6. Funimate Video Editor & Maker
With a 4.7-star rating, this app has been ranked as the best in more than 100 countries. The program has several built-in video effects to make your clips more engaging.
Supported Platforms: Android (5.0 and above) and iOS (12.0 and above)
Users’ Star Rating (Out of 5): 4.7
Main Features: Enables lip-sync, allows keyframe-oriented animations and effects, supports video masking, etc.
Aspect Ratio: Almost all widely used sizes
Sharing: Allows publishing directly to social platforms like YouTube, Tik Tok, Instagram, etc.
Pros: Has intro and outro effects, allows you to add music to the videos, is free to use, etc.
Cons: Paid subscription is needed to unlock all the advanced tools and features of the app
7. LumaFusion
LumaFusion is crowned with a 4.8-star rating and is packed with options like media library, slow and fast motion playback, additional audio tracks, and much more.
Supported Platforms: iOS (13.3 and above)
Users’ Star Rating (Out of 5): 4.8
Main Features: Frame rates that range between 18 FPS to 240 FPS, color correction, keyframe-oriented color, and effects animations, etc.
Aspect Ratio: Almost all widely used sizes
Sharing: Allows publishing directly to almost all platforms
Pros: Can export projects as Final Cut Pro X files for further editing
Cons: Paid subscription is needed for exporting projects for Final Cut Pro X
8. VivaCut – PRO Video Editor APP
As the name suggests, VivaCut is a professional-level video editing tool for mobile devices that enjoys a decent star rating.
Supported Platforms: Android (5.0 and above) and iOS (9.0 and above)
Users’ Star Rating (Out of 5): 4.7
Main Features: Offers visual effects like VHS, RGP, Glitch, etc., allows Picture-in-Picture (to be released soon), allows video trimming, cropping, and merging, etc.
Aspect Ratio: Almost all widely used sizes
Sharing: Allows one-click publishing directly on YouTube
Pros: Supports up to 4K video resolution
Cons: Paid subscription is required to access the Pro-level features and options
9. Filmmaker Pro – Video Editor
Filmmaker Pro is a free video editing app for mobile devices equipped with a plethora of pro features to make your post-production experience convenient and fun.
Supported Platforms: Android (4.4 and above) and iOS (11.0 and above)
Users’ Star Rating (Out of 5): 4.6
Main Features: Supports video playback reversal, allows Picture-in-Picture for videos and photos, supports green screen (chroma key), and much more.
Aspect Ratio: Almost all widely used sizes
Sharing: Exports videos to the device
Pros: Offers several text animation options, has drawing tools, etc.
Cons: Paid subscription is required to remove watermark from the exported videos
10. Video Editor for YouTube & Video Maker – My Movie
Yet another editor for both amateurs and professionals, Video Editor for YouTube, consists of all the features that a YouTube Shorts video needs to prepare engaging content.
Supported Platforms: Android (5.0 and above)
Users’ Star Rating (Out of 5): 4.6
Main Features: Allows cropping, flipping, and rotating the video clips, allows audio recording for voiceovers, lets you control the playback speed, etc.
Aspect Ratio: Almost all widely used sizes
Sharing: Allows publishing directly on YouTube
Pros: Has keyframe-oriented animation effects, can merge multiple video clips into one, etc.
Cons: Some content might not be suitable for kids below 12 years of age
Above are some of the best video editing apps that you can use on iPhone or Android phones to create YouTube Shorts videos. Besides those third-party apps, you can also create a Shorts video from the YouTube app directly. Check this article to get detailed information about making and uploading a YouTube Shorts Video with Shorts App .
Use Filmora to Create YouTube Shorts Video on PC
If you prefer to convert or make videos on a computer, I recommend you to try our video editor Filmora X , which is an ideal solution for YouTubers.
You can make a vertical video with Filmora easily as it provides a 9:16 aspect ratio that works perfectly for editing YouTube Shorts videos. Compared with mobile apps, desktop softwares like Filmora allows you to add more elements and effects to your video to make it impressive. Check out the below video about how to edit vertical video using our Filmora X and try it out if you are impressed.
For Win 7 or later (64-bit)
Secure Download
For macOS 10.14 or later
Secure Download
Click here to get Filmora for PC by email
or Try Filmora App for mobile >>>
download filmora app for ios ](https://app.adjust.com/b0k9hf2%5F4bsu85t ) download filmora app for android ](https://app.adjust.com/b0k9hf2%5F4bsu85t )
Conclusion
Making videos less than 60 seconds in duration and then publishing them on YouTube with the ‘#Shorts’ tag in the title or description lets you create short videos for YouTube. The apps listed above help you in this, and you can easily prepare attractive and engaging short clips pretty quickly using any of them. However, the most recommended, widely used, and the much-appreciated program is Wondershare Filmora that is not merely limited to mobile application-level features, it even has tools that usually compete with those available in the desktop software.
Richard Bennett
Richard Bennett is a writer and a lover of all things video.
Follow @Richard Bennett
Also read:
- Crafting Success in YouTube's Creator Hub
- YouTube Monetization CarryMinati (Ajey Nagar) YouTube Income
- Elevate Your Social Media Impact with These Top 5 YouTube Marketing Techniques
- In 2024, Channel Cash Crusade Harnessing Every Device with YT Studio
- 2024 Approved Building a Diverse Content Portfolio on YouTube Shorts
- Content Composer Arena for 2024
- [Updated] Android Users, Discover the Top YouTube Video Clips
- In 2024, Can You Legally Capture Video From YouTube?
- 2024 Approved Cutting Techniques for Sports Entertainment Films
- 2024 Approved Download YouTube Beats on Android The Ultimate 6-App Guide
- 2024 Approved Crafting a Profitable Channel in Your First Youtube Steps
- Free Guide Recording YouTube Videos on Screencasts
- Unlock the Secret to Massive Engagement 3 Top Tips for Making Powerful Two-POV Reaction Videos on YouTube
- [Updated] Elevate Your Streaming Game From Twitch Viewers to YouTube Fans
- YouTube Shorts Creating Flawless 5-Second Videos
- Top Ten Historical Educational Video Streams (For Students)
- Essential Hash Strategies for Optimizing YouTube Gameplay Videos for 2024
- [New] Constructing Captivating Valorant YouTube Thumbnails
- 6 Solutions to Fix Error 505 in Google Play Store on Realme Narzo N55 | Dr.fone
- [Updated] In 2024, Exploring Advanced Techniques for Disco-Text Flair
- In 2024, The Ultimate Guide to Android Video Calls
- In 2024, Building Brand Loyalty Tips for Higher FB Page Ranking
- [New] Compreranciales en FB Técnicas Para La Registro De Llamadas Y Conversaciones
- New Conversion Made Easy How to Pick the Best Video to Audio Converter for Your Needs for 2024
- 10 Best TikTok Filters to Make Your Videos Stand Out
- New S Top Music Video Makers Elevate Your Sound with Style for 2024
- How to Rescue Lost Videos from Hot 40
- New In 2024, The Modern Listeners Guide to AirPod and PC Syncing (For Windows & macOS Users)
- Updated Top 10 Free Online Tools for Creating Stunning Glitch Effects for 2024
- In 2024, About Infinix Zero 5G 2023 Turbo FRP Bypass
- Mastering VLC Media Player for Efficient Video Format Changes
- [New] 2024 Approved Mac Magic Cost-Free Screen Tracker
- In 2024, How Can You Cast Your Apple iPhone XS to Windows PC With Ease? | Dr.fone
- Title: "[Updated] DIY Sports Highlights A Comprehensive Guide"
- Author: Kevin
- Created at : 2024-05-25 16:47:44
- Updated at : 2024-05-26 16:47:44
- Link: https://youtube-videos.techidaily.com/updated-diy-sports-highlights-a-comprehensive-guide/
- License: This work is licensed under CC BY-NC-SA 4.0.
