![[Updated] Accelerate Video Processing for YouTube Uploads](https://thmb.techidaily.com/a4224fc73a6465f58bae54c290236f5e5e431174596ef739d111ede45824dcdd.png)
[Updated] Accelerate Video Processing for YouTube Uploads
Accelerate Video Processing for YouTube Uploads
How to Render and Upload YouTube Videos Faster?

Richard Bennett
Oct 26, 2023• Proven solutions
You’ve shot a video you’re proud of and you can’t wait to post it! But, slow down, you have to edit all your clips together first. And then you have to export your video from the editing program, which can take a while. Then you have to wait for it to upload to YouTube, and once it’s up you have to write your description, add cards, and do a handful of other things.
The period between finishing a video and actually posting it for your subscribers to see can be long and tiresome. A lot of videos have probably died in these stages because their creators ran out of energy and patience.
Don’t let this happen to your videos! Here are 4 ways you can save time and avoid headaches during post-production:
3. Use default descriptions and tags
4. TubeBuddy’s bulk features and tagging tools
1. Create mini-projects
When you have alarge editing project with lots of different titles, animations, clip sequences, and PIP tracks it can get hard to keep track of everything. That’s especially true if you need to go back and make changes. A change to one part of your video could affect other parts of it.
Also, the more complex your video is the longer it will take to render/export.
There is a way you can keep your project more organized, save time making minor adjustments, and speed up rendering: create sub-projects of different segments of your video and import them into your main project as their own clips.
This helps you in 3 ways:
1. If there are a lot of effects it’ll be faster to render a shorter video.
2. If you import your sequence as its own clip you won’t have to worry about adjusting little parts of it whenever you change earlier sections of your video.
3. If you do want to make adjustments to your sequence you can open up your mini-project and change it without affecting anything in your main project.
2. Optimize your upload speed
At home, your videos will upload fastest if all of your internet resources are devoted to the upload. That means you should not have any other windows open on your computer while you are uploading. You should also make sure there aren’t other devices competing for wifi like smart tvs, cell phones, or really fancy coffee makers.
If you have neighbors on the same wifi signal as you and they are online at the same time, this will slow you down too.
Because there is so much that can interfere with wifi, you might want to consider a wired Ethernet cable. Ethernet connections are faster in general, and you won’t have any problems with other devices competing for resources like you get with wifi.
If you’re doing everything you can to optimize your upload speed at home and still find that it takes an unreasonable amount of time to upload videos to YouTube, go somewhere with a better connection. Save your video to a USB drive and take it to a library or college to upload. Connections in these kinds of places tend to be very strong.
3. Use default descriptions and tags
In your Creator Studio, go to Channel > Upload defaults. Here you can write in titles, descriptions, and tags which will automatically be applied to every video you upload.

Note: in the latest YouTube Studio, the upload interface is changed but the main process is similar.

You probably have tags you use for almost every video you post. For example, if your channel is about vegan cooking then every one of your videos is probably tagged ‘vegan’, ‘food’, and ‘cooking’. If you type those tags in here then you don’t have to keep adding them to every new video, and you can still add or remove tags from individual uploads so you aren’t stuck using the exact same set of tags every time.
Similarly, you probably have some default text that goes in the description of every one of your videos (i.e. a link to your personal website or a brief introduction of yourself). If you type in a default description then that text will appear automatically in every new video description and you can just add to it when you need to for individual videos.
Using defaults might only save you a couple of minutes per video, but those minutes add up.
4. TubeBuddy’s bulk features and tagging tools
TubeBuddy is a channel management tool for YouTube. Most of its features are more geared towards very large channels or companies with a YouTube presence, but there are also features that can help small or mid-sized YouTubers save time and stay organized.
Some of these tools include templates for things like cards and end screens and bulk processing tools for when you want to change a lot of things at once. For example, if you wanted to update the links in every card in every one of your videos at once then TubeBuddy could help with that.
Some of TubeBuddy’s best features for growing channels are the tagging features. TubeBuddy will help you discover tags, suggest new tags, and even copy whole lists of tags from rival videos.
There are different levels of pricing for TubeBuddy (including a free version, although it’s very limited) and you get a discount on the Pro version if you have less than 50,000 lifetime views on your channel. It ends up being $4.50USD a month (or $3.60 USD a month if you pay for a year in advance). It’s a good investment for someone who’s starting to see some growth on YouTube, but probably not if you’re still trying to reach milestones like 500 subs or 10,000 views.
You have to work hard to get anywhere on YouTube, but that doesn’t mean you should be toiling away at tedious stuff like typing in the same tags over and over. If you have any time-saving tips then make sure to share them with everyone in the comments!
Remember that your time is valuable =)

If you are using Filmora to edit YouTube videos, you can upload the video to YouTube directly from Filmora without download it again first, which can save you time. Besides, if you don’t want the video to be public, you can change Privacy to unlisted or private in Filmora.


Richard Bennett
Richard Bennett is a writer and a lover of all things video.
Follow @Richard Bennett
Richard Bennett
Oct 26, 2023• Proven solutions
You’ve shot a video you’re proud of and you can’t wait to post it! But, slow down, you have to edit all your clips together first. And then you have to export your video from the editing program, which can take a while. Then you have to wait for it to upload to YouTube, and once it’s up you have to write your description, add cards, and do a handful of other things.
The period between finishing a video and actually posting it for your subscribers to see can be long and tiresome. A lot of videos have probably died in these stages because their creators ran out of energy and patience.
Don’t let this happen to your videos! Here are 4 ways you can save time and avoid headaches during post-production:
3. Use default descriptions and tags
4. TubeBuddy’s bulk features and tagging tools
1. Create mini-projects
When you have alarge editing project with lots of different titles, animations, clip sequences, and PIP tracks it can get hard to keep track of everything. That’s especially true if you need to go back and make changes. A change to one part of your video could affect other parts of it.
Also, the more complex your video is the longer it will take to render/export.
There is a way you can keep your project more organized, save time making minor adjustments, and speed up rendering: create sub-projects of different segments of your video and import them into your main project as their own clips.
This helps you in 3 ways:
1. If there are a lot of effects it’ll be faster to render a shorter video.
2. If you import your sequence as its own clip you won’t have to worry about adjusting little parts of it whenever you change earlier sections of your video.
3. If you do want to make adjustments to your sequence you can open up your mini-project and change it without affecting anything in your main project.
2. Optimize your upload speed
At home, your videos will upload fastest if all of your internet resources are devoted to the upload. That means you should not have any other windows open on your computer while you are uploading. You should also make sure there aren’t other devices competing for wifi like smart tvs, cell phones, or really fancy coffee makers.
If you have neighbors on the same wifi signal as you and they are online at the same time, this will slow you down too.
Because there is so much that can interfere with wifi, you might want to consider a wired Ethernet cable. Ethernet connections are faster in general, and you won’t have any problems with other devices competing for resources like you get with wifi.
If you’re doing everything you can to optimize your upload speed at home and still find that it takes an unreasonable amount of time to upload videos to YouTube, go somewhere with a better connection. Save your video to a USB drive and take it to a library or college to upload. Connections in these kinds of places tend to be very strong.
3. Use default descriptions and tags
In your Creator Studio, go to Channel > Upload defaults. Here you can write in titles, descriptions, and tags which will automatically be applied to every video you upload.
Note: in the latest YouTube Studio, the upload interface is changed but the main process is similar.
You probably have tags you use for almost every video you post. For example, if your channel is about vegan cooking then every one of your videos is probably tagged ‘vegan’, ‘food’, and ‘cooking’. If you type those tags in here then you don’t have to keep adding them to every new video, and you can still add or remove tags from individual uploads so you aren’t stuck using the exact same set of tags every time.
Similarly, you probably have some default text that goes in the description of every one of your videos (i.e. a link to your personal website or a brief introduction of yourself). If you type in a default description then that text will appear automatically in every new video description and you can just add to it when you need to for individual videos.
Using defaults might only save you a couple of minutes per video, but those minutes add up.
4. TubeBuddy’s bulk features and tagging tools
TubeBuddy is a channel management tool for YouTube. Most of its features are more geared towards very large channels or companies with a YouTube presence, but there are also features that can help small or mid-sized YouTubers save time and stay organized.
Some of these tools include templates for things like cards and end screens and bulk processing tools for when you want to change a lot of things at once. For example, if you wanted to update the links in every card in every one of your videos at once then TubeBuddy could help with that.
Some of TubeBuddy’s best features for growing channels are the tagging features. TubeBuddy will help you discover tags, suggest new tags, and even copy whole lists of tags from rival videos.
There are different levels of pricing for TubeBuddy (including a free version, although it’s very limited) and you get a discount on the Pro version if you have less than 50,000 lifetime views on your channel. It ends up being $4.50USD a month (or $3.60 USD a month if you pay for a year in advance). It’s a good investment for someone who’s starting to see some growth on YouTube, but probably not if you’re still trying to reach milestones like 500 subs or 10,000 views.
You have to work hard to get anywhere on YouTube, but that doesn’t mean you should be toiling away at tedious stuff like typing in the same tags over and over. If you have any time-saving tips then make sure to share them with everyone in the comments!
Remember that your time is valuable =)
If you are using Filmora to edit YouTube videos, you can upload the video to YouTube directly from Filmora without download it again first, which can save you time. Besides, if you don’t want the video to be public, you can change Privacy to unlisted or private in Filmora.
Richard Bennett
Richard Bennett is a writer and a lover of all things video.
Follow @Richard Bennett
Income Comparison Exercise: Monetizing Videos on DailyMovement & YouTube
Online video creators are always searching for ways to make their passion profitable. YouTube and Dailymotion are two of the largest video platforms. Millions of users use these platforms, and they have updated features. How do you choose the right video platform?
This article compares Dailymotion monetization to YouTube on privacy, audience, and analytics. To ease this exploration, Filmora is assisting us. This software edits videos to increase platforms’ income-generating potential. Read this article to monetize your videos in a better way, and join us on this journey.
Video Monetization Editor Create engaging and valuable videos with Wondershare Filmora for YouTube and Dailymotion Monetization!
Free Download Free Download Learn More

Part 1. Exploring YouTube and Dailymotion: Platforms for Creators

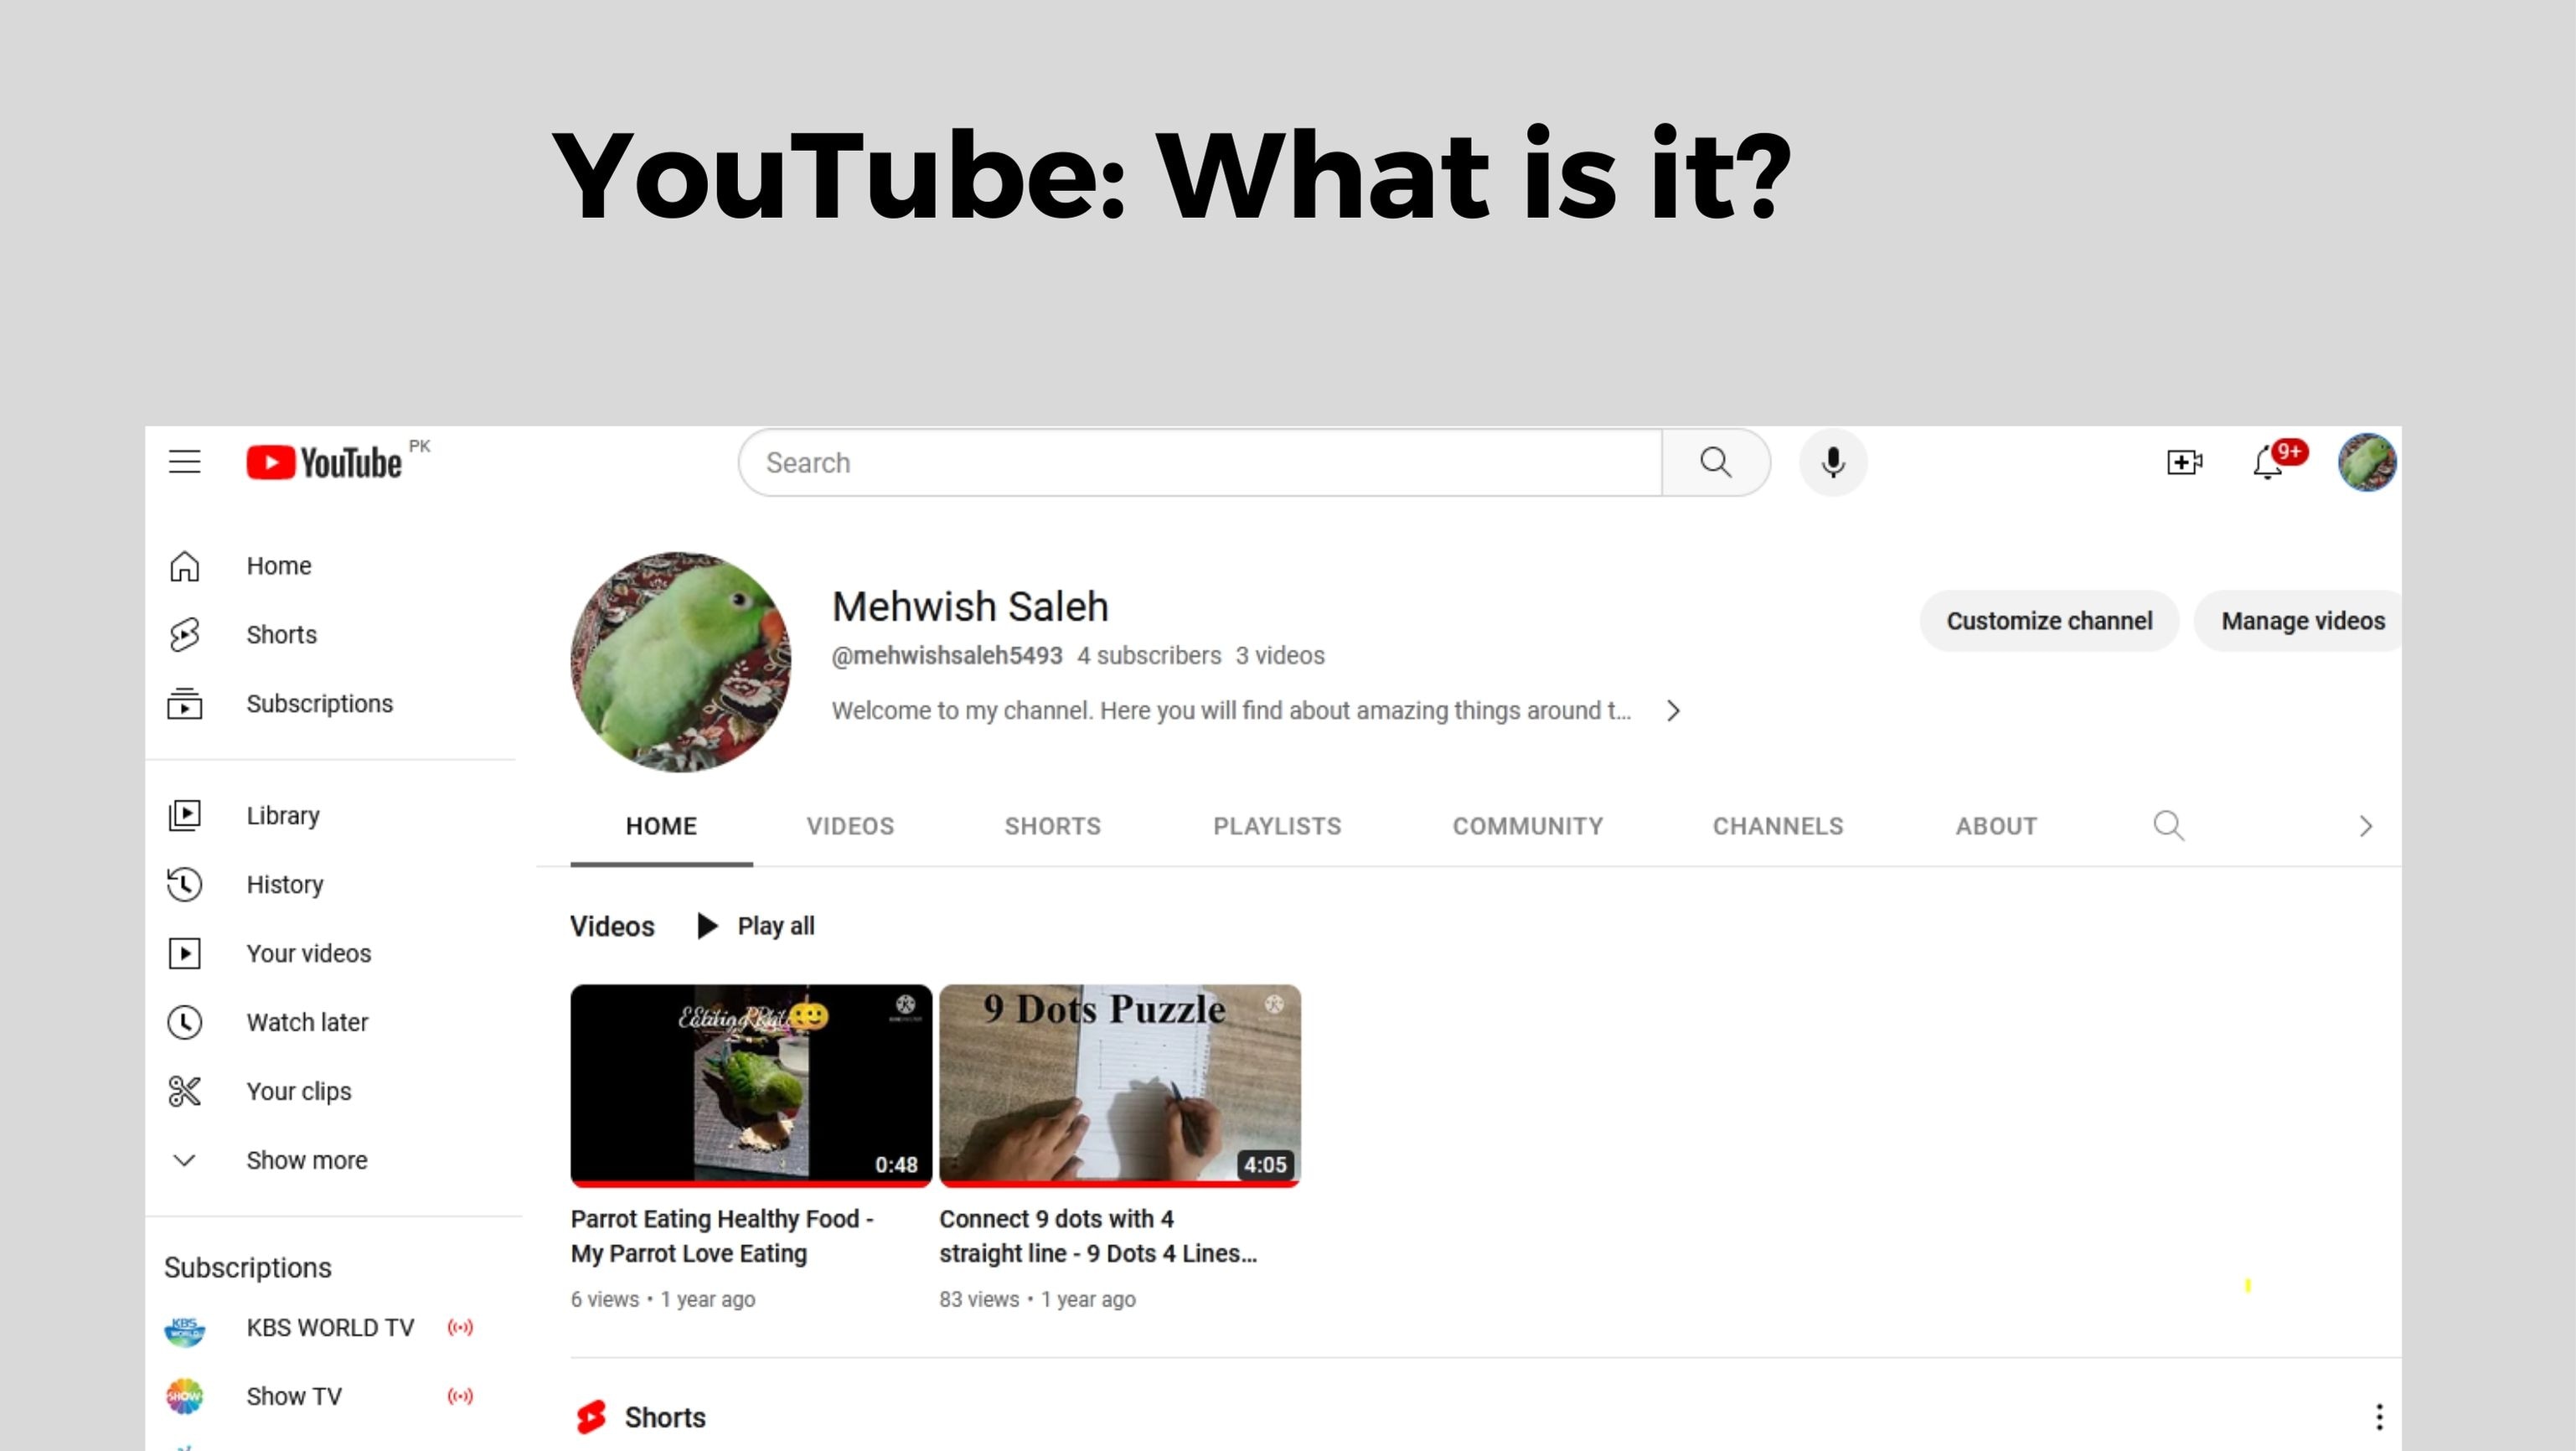
YouTube : What is it?
A three-person team, Chad Hurley, Steve Chen, and Jawed Karim, founded YouTube in 2005. Their goal is to create YouTube as a global platform for sharing videos. A huge $1.65 billion was paid by Google for buying YouTube. YouTube then became a more popular website with over two billion users every month.
Lots of creators, like makeup artists and gamers, make money on YouTube. With the platform, you can livestream, make money from your videos, and watch tons of user-made videos.
Dailymotion : What is it?
A French entrepreneur and an English entrepreneur founded Dailymotion in 2005. Dailymotion became one of the most popular video platforms in France and then Europe in just 1 year. You can upload and share videos on Dailymotion like on YouTube. There is a slight difference in their focus. Dailymotion’s content tends to be professional, while YouTube’s is user-made.
Dailymotion has over 300 million users every month. It’s accessible in 35 different languages. Also, for pro content, it offers features like “Motionmaker” to users and live streaming to creators.

The popularity and user base of YouTube and Dailymotion
YouTube’s user interface is very easy and simple to use. You can filter the results with date and popularity at the top bar of the website. You can watch YouTube without ads and gain access to YouTube analytics.
It’s cool to create your own channel on YouTube. It allows you to upload videos, customize your banner, and create a community.
It is easy to stream videos or share them with friends by creating playlists. YouTube and Dailymotion both have easy-to-use interfaces. You can customize your own channel, and it has categories and channels. YouTube has advanced playlist features, but Dailymotion does not.
It’s not all fun and games - YouTube has fewer ads than Dailymotion. A premium subscription to Dailymotion removes the ads and gives you access to other features.
Both Platforms have Different Content and Audiences
YouTube Content and Audience
Video content on YouTube ranges from cooking tips to music videos. It even offers live streaming concerts and mind-blowing documentaries. Gamer, beauty, sports, and learning enthusiasts will enjoy this channel.
YouTube allows you to upload 12-hour-long videos to increase your watch time. You can also share all types of experiences in the long video. Every day, 2.51 billion active users watch over one billion hours of content. Creators can showcase their work in high definition, up to 8K, on the platform, which is a major advantage. Mobile devices and smartphones also allow offline viewing of videos.
Dailymotion Content and Audience
There’s something special about Dailymotion. The site provides YouTube videos, animated shorts, music, documentaries, and TV shows. Although Dailymotion has upload limits, its videos are still of high quality, up to 1080p. There is a vibrant community of creators looking to connect with their audiences as well. There were 545.3 million visits to Dailymotion in April 2023, making it a strong competitor. Depending on your taste and the content you’re looking for, you can choose either.
Part 2. YouTube vs. Dailymotion Monetization: Unraveling the Key Differences
YouTube and Dailymotion monetization features and opportunities
It’s crucial for content creators to know which monetization options each platform offers. Let’s have a look at the monetization options available on YouTube and Dailymotion. It is possible to earn money from your content on both Dailymotion and YouTube. Dailymotion is easier to monetize, despite its broader and more sophisticated offering.
Programs and options for monetizing YouTube
There are many ways for YouTube creators to make money from their content. You can display video ads for sponsorships, AdSense payments, and merchandise sales. YouTube offers more monetization options and is more advanced than Dailymotion. The YouTube monetization rules can be tricky to meet for eligible accounts.
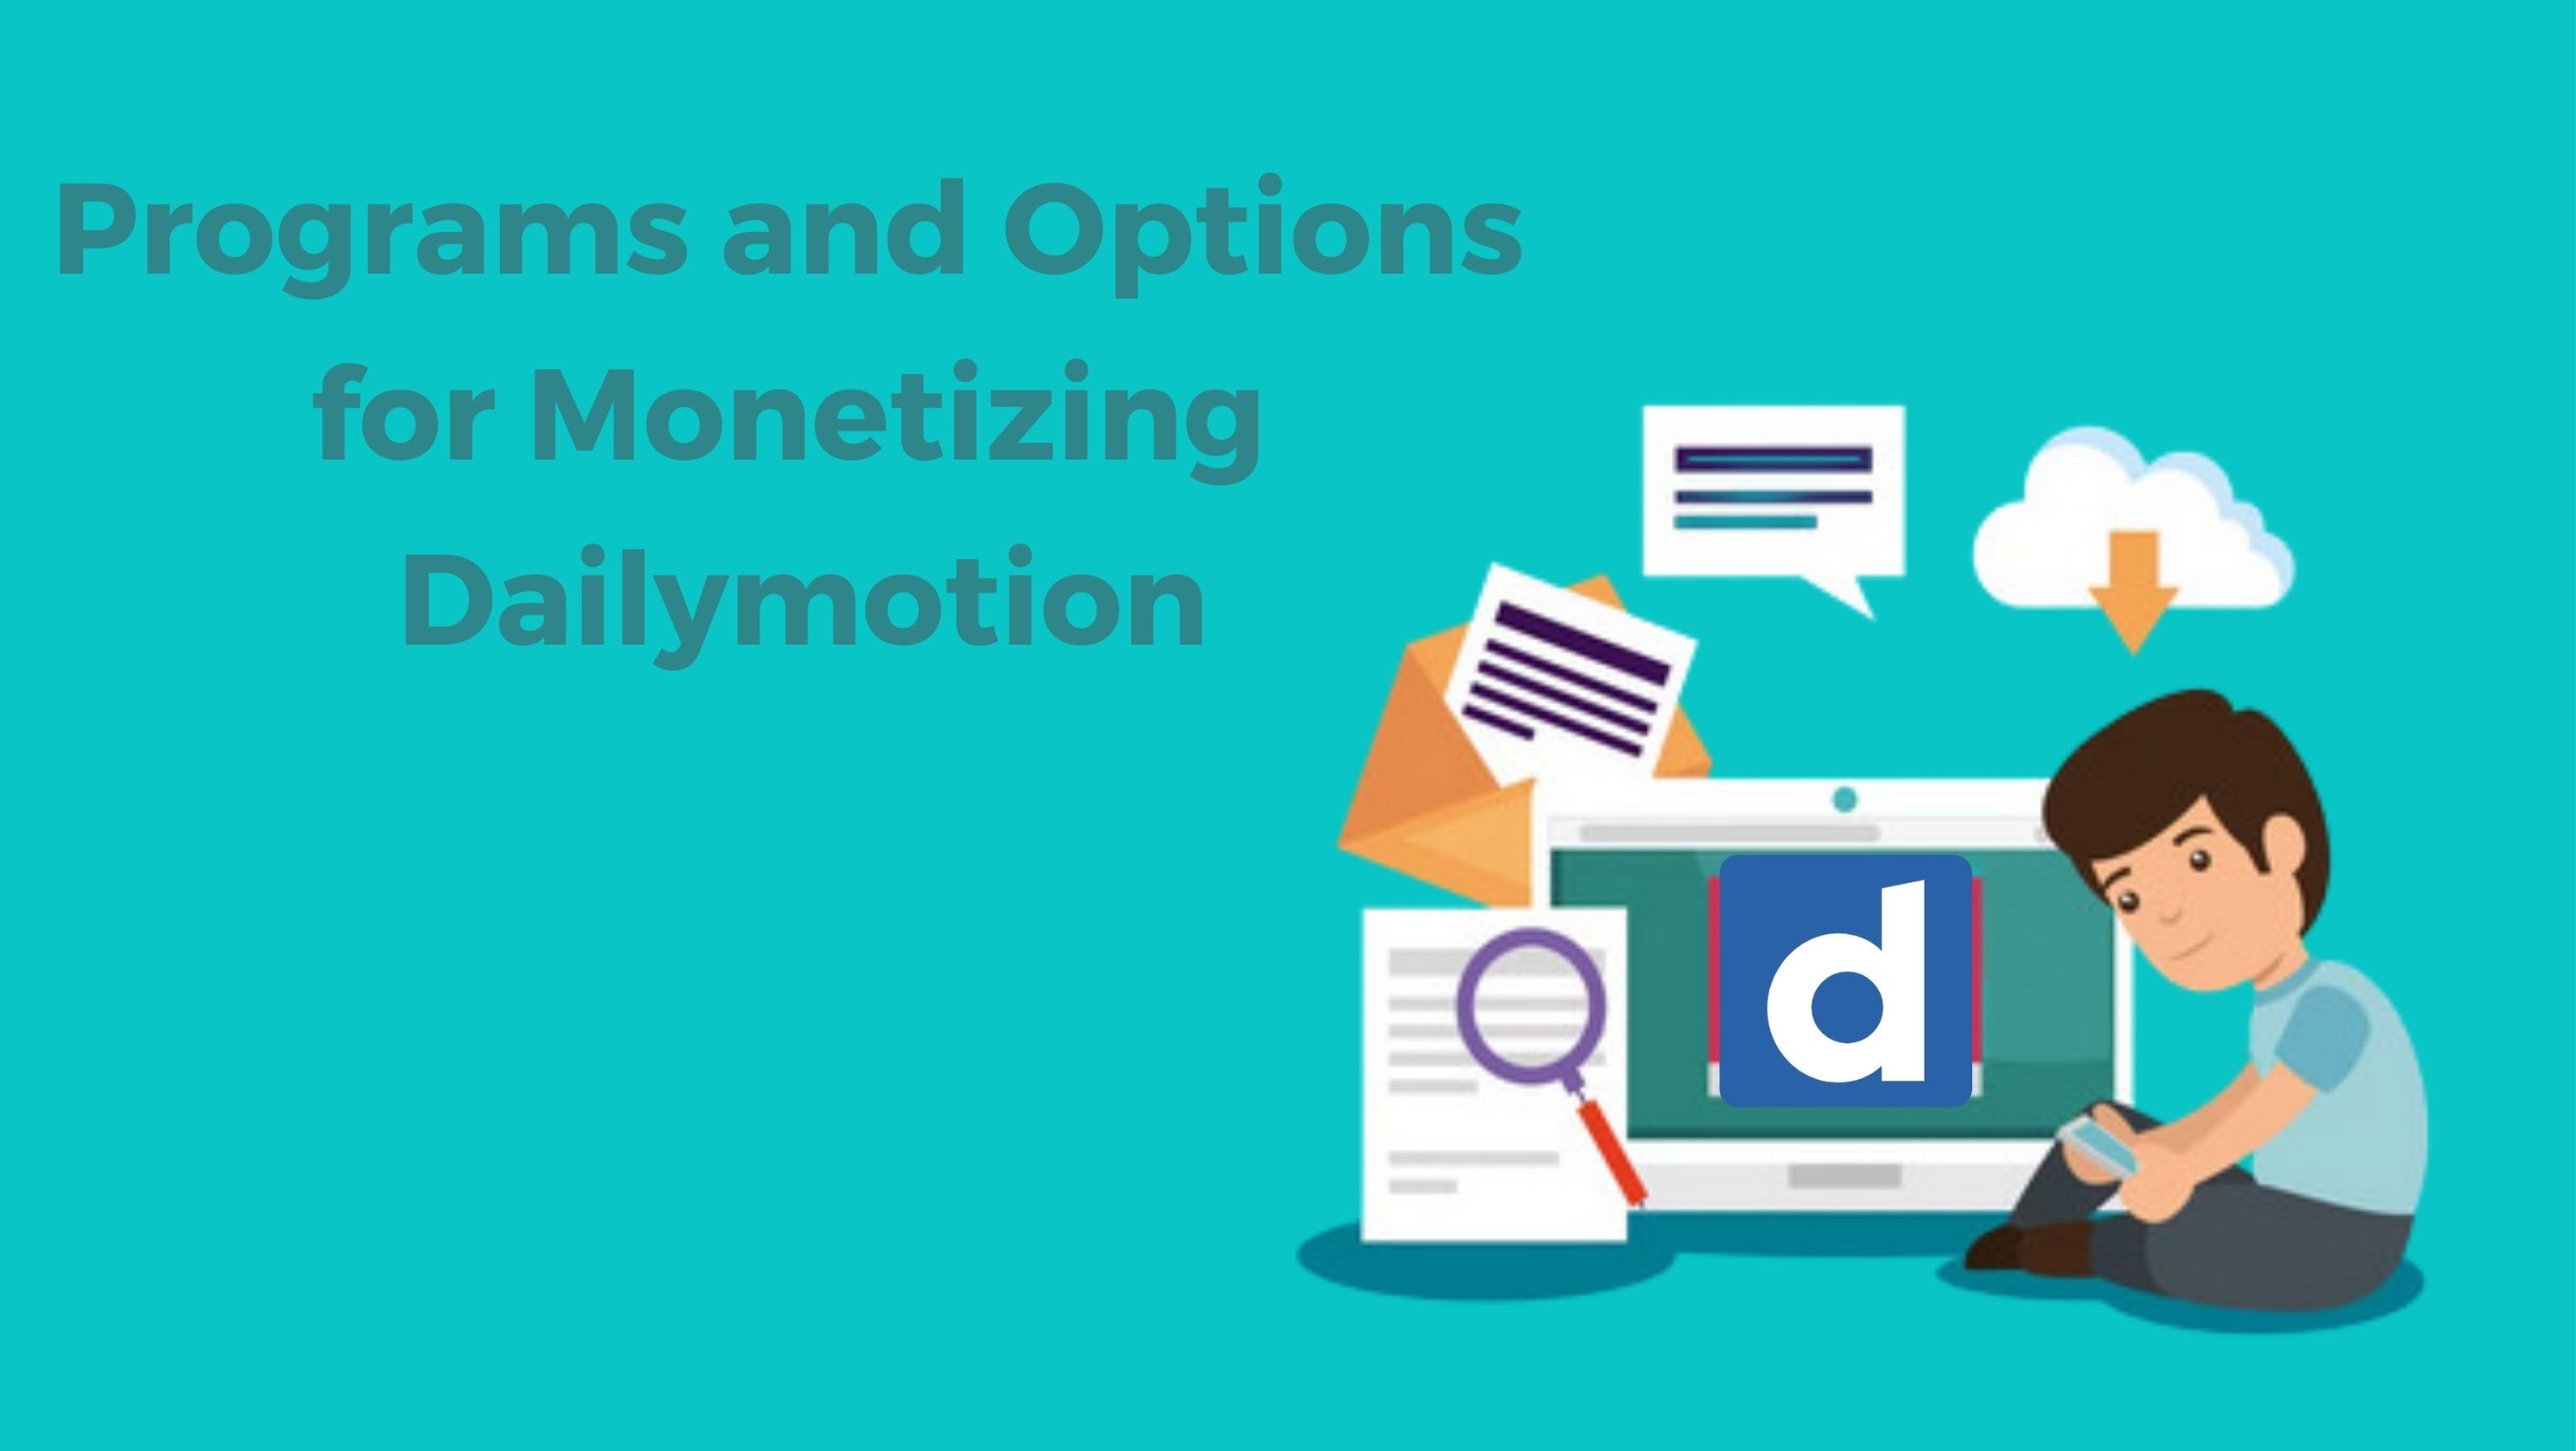
Programs and options for monetizaton Dailymotion
Creators can also monetize their content on Dailymotion. Dailymotion has fewer monetization options than YouTube. Unlike YouTube, Dailymotion allows creators to earn money through ads.
The Dailymotion Partner Program has made several French video creators extremely wealthy. The CPM is always low for video creators around the world, for whatever reason. Dailymotion Partners from France earn 3000 - 4000 euros per month. Global Partners withdraw the monthly least of $100.
Monetization Requirements and Earning Potential
YouTube’s YPP monetizes accounts with 1,000 subscribers and earns revenue through advertising. You’ll get 55% of the revenue generated by the ads shown during, before, and after your videos. It is also possible to charge channel memberships. For every 1,000 views, the average YouTuber makes about $18.
The Dailymotion Partner Program monetizes your videos. The least number of views you need to monetize your content is 1,000 (combined). One hour of watch time on the platform generates $57 in income, making it a great way to make money!
Choosing Between YouTube and Dailymotion Channel Monetization

Now that you’ve seen a YouTube vs. Dailymotion comparison, you are leaning toward one. Let’s dive into some key questions if you’re still not sure ( you can use both platforms ):
- Do you have a specific group in mind? It’s important to think about who your audience is.
- Are Your Videos Targeted? Do your videos match specific search queries?
- Video Length and Size: How long and big are your videos?
- Monetization: Want to make money? Consider your subscriber count.
- Privacy Control: How much control do you need over your content’s privacy?
- Analytics: Do you want detailed data on your video performance?
YouTube is your best bet if you want organic search traffic, a wide audience, and hefty videos. If you want privacy control, or if you want to monetize, Dailymotion shines.
Whatever you pick, remember to add captions to your videos. Transcription tools can help with that, making your content more accessible and engaging.
Part 3. Enhance Your Monetization Journey with Wondershare Filmora: A Video Editing Solution
Let’s take a look at a powerful tool to enhance your gaming experience. It’s Wondershare Filmora. Creating engaging and valuable videos is easy with Wondershare Filmora. An attractive user interface, a media library, and many useful features make it a great choice. A video tool that turns content creators’ vision into professional content. Filmora is perfect for YouTubers, filmmakers, and vloggers of all skill levels.
Free Download For Win 7 or later(64-bit)
Free Download For macOS 10.14 or later
Filmora Features for Monetization Magic
1.Creative Templates
Filmora’s video templates make it easy to create nice videos. With these templates, you can easily make a captivating intro or an engaging end screen. You make more money when you keep your audience interested.

2. Advanced Audio Editing
To create engaging content, you must have great audio. With Filmora’s audio tools, you can stretch, denoise, and duck audio to improve your videos. Having engaged viewers means you’re more likely to generate income from ads and sales.

3. Enhancing Your Videos with Video Effects
Using Wondershare Filmora, you can transform your ordinary videos into something extraordinary. There are a variety of effects available, such as overlays, filters, and transitions. Filters allow you to change your videos’ feel and appearance. With overlays, like glitch overlays, you can enhance your videos.

4. Color Correction
Wondershare Filmora’s color correction tool can make your videos much better. You can change the colors and mood of your videos with Filmora’s color options. To make your videos look more professional, you can adjust their brightness or darkness. Using vibrant colors can help you earn more and draw in more customers.
Conclusion
When it comes to making money from your passion, picking the right platform is crucial. This guide has shown the main differences between YouTube and Dailymotion monetization. With Wondershare Filmora, you can make the most money from both places.
YouTube is great for long videos, a big audience, and finding people naturally. Monetization Dailymotion is good for making money without needing as many subscribers.
If you put captions on your videos, more people will watch. Think of Filmora as a friend who helps you make money with fun, good videos. It’s like having a partner in making money from your videos.
Free Download Free Download Learn More
Part 1. Exploring YouTube and Dailymotion: Platforms for Creators
YouTube : What is it?
A three-person team, Chad Hurley, Steve Chen, and Jawed Karim, founded YouTube in 2005. Their goal is to create YouTube as a global platform for sharing videos. A huge $1.65 billion was paid by Google for buying YouTube. YouTube then became a more popular website with over two billion users every month.
Lots of creators, like makeup artists and gamers, make money on YouTube. With the platform, you can livestream, make money from your videos, and watch tons of user-made videos.
Dailymotion : What is it?
A French entrepreneur and an English entrepreneur founded Dailymotion in 2005. Dailymotion became one of the most popular video platforms in France and then Europe in just 1 year. You can upload and share videos on Dailymotion like on YouTube. There is a slight difference in their focus. Dailymotion’s content tends to be professional, while YouTube’s is user-made.
Dailymotion has over 300 million users every month. It’s accessible in 35 different languages. Also, for pro content, it offers features like “Motionmaker” to users and live streaming to creators.
The popularity and user base of YouTube and Dailymotion
YouTube’s user interface is very easy and simple to use. You can filter the results with date and popularity at the top bar of the website. You can watch YouTube without ads and gain access to YouTube analytics.
It’s cool to create your own channel on YouTube. It allows you to upload videos, customize your banner, and create a community.
It is easy to stream videos or share them with friends by creating playlists. YouTube and Dailymotion both have easy-to-use interfaces. You can customize your own channel, and it has categories and channels. YouTube has advanced playlist features, but Dailymotion does not.
It’s not all fun and games - YouTube has fewer ads than Dailymotion. A premium subscription to Dailymotion removes the ads and gives you access to other features.
Both Platforms have Different Content and Audiences
YouTube Content and Audience
Video content on YouTube ranges from cooking tips to music videos. It even offers live streaming concerts and mind-blowing documentaries. Gamer, beauty, sports, and learning enthusiasts will enjoy this channel.
YouTube allows you to upload 12-hour-long videos to increase your watch time. You can also share all types of experiences in the long video. Every day, 2.51 billion active users watch over one billion hours of content. Creators can showcase their work in high definition, up to 8K, on the platform, which is a major advantage. Mobile devices and smartphones also allow offline viewing of videos.
Dailymotion Content and Audience
There’s something special about Dailymotion. The site provides YouTube videos, animated shorts, music, documentaries, and TV shows. Although Dailymotion has upload limits, its videos are still of high quality, up to 1080p. There is a vibrant community of creators looking to connect with their audiences as well. There were 545.3 million visits to Dailymotion in April 2023, making it a strong competitor. Depending on your taste and the content you’re looking for, you can choose either.
Part 2. YouTube vs. Dailymotion Monetization: Unraveling the Key Differences
YouTube and Dailymotion monetization features and opportunities
It’s crucial for content creators to know which monetization options each platform offers. Let’s have a look at the monetization options available on YouTube and Dailymotion. It is possible to earn money from your content on both Dailymotion and YouTube. Dailymotion is easier to monetize, despite its broader and more sophisticated offering.
Programs and options for monetizing YouTube
There are many ways for YouTube creators to make money from their content. You can display video ads for sponsorships, AdSense payments, and merchandise sales. YouTube offers more monetization options and is more advanced than Dailymotion. The YouTube monetization rules can be tricky to meet for eligible accounts.
Programs and options for monetizaton Dailymotion
Creators can also monetize their content on Dailymotion. Dailymotion has fewer monetization options than YouTube. Unlike YouTube, Dailymotion allows creators to earn money through ads.
The Dailymotion Partner Program has made several French video creators extremely wealthy. The CPM is always low for video creators around the world, for whatever reason. Dailymotion Partners from France earn 3000 - 4000 euros per month. Global Partners withdraw the monthly least of $100.
Monetization Requirements and Earning Potential
YouTube’s YPP monetizes accounts with 1,000 subscribers and earns revenue through advertising. You’ll get 55% of the revenue generated by the ads shown during, before, and after your videos. It is also possible to charge channel memberships. For every 1,000 views, the average YouTuber makes about $18.
The Dailymotion Partner Program monetizes your videos. The least number of views you need to monetize your content is 1,000 (combined). One hour of watch time on the platform generates $57 in income, making it a great way to make money!
Choosing Between YouTube and Dailymotion Channel Monetization
Now that you’ve seen a YouTube vs. Dailymotion comparison, you are leaning toward one. Let’s dive into some key questions if you’re still not sure ( you can use both platforms ):
- Do you have a specific group in mind? It’s important to think about who your audience is.
- Are Your Videos Targeted? Do your videos match specific search queries?
- Video Length and Size: How long and big are your videos?
- Monetization: Want to make money? Consider your subscriber count.
- Privacy Control: How much control do you need over your content’s privacy?
- Analytics: Do you want detailed data on your video performance?
YouTube is your best bet if you want organic search traffic, a wide audience, and hefty videos. If you want privacy control, or if you want to monetize, Dailymotion shines.
Whatever you pick, remember to add captions to your videos. Transcription tools can help with that, making your content more accessible and engaging.
Part 3. Enhance Your Monetization Journey with Wondershare Filmora: A Video Editing Solution
Let’s take a look at a powerful tool to enhance your gaming experience. It’s Wondershare Filmora. Creating engaging and valuable videos is easy with Wondershare Filmora. An attractive user interface, a media library, and many useful features make it a great choice. A video tool that turns content creators’ vision into professional content. Filmora is perfect for YouTubers, filmmakers, and vloggers of all skill levels.
Free Download For Win 7 or later(64-bit)
Free Download For macOS 10.14 or later
Filmora Features for Monetization Magic
1.Creative Templates
Filmora’s video templates make it easy to create nice videos. With these templates, you can easily make a captivating intro or an engaging end screen. You make more money when you keep your audience interested.
2. Advanced Audio Editing
To create engaging content, you must have great audio. With Filmora’s audio tools, you can stretch, denoise, and duck audio to improve your videos. Having engaged viewers means you’re more likely to generate income from ads and sales.
3. Enhancing Your Videos with Video Effects
Using Wondershare Filmora, you can transform your ordinary videos into something extraordinary. There are a variety of effects available, such as overlays, filters, and transitions. Filters allow you to change your videos’ feel and appearance. With overlays, like glitch overlays, you can enhance your videos.
4. Color Correction
Wondershare Filmora’s color correction tool can make your videos much better. You can change the colors and mood of your videos with Filmora’s color options. To make your videos look more professional, you can adjust their brightness or darkness. Using vibrant colors can help you earn more and draw in more customers.
Conclusion
When it comes to making money from your passion, picking the right platform is crucial. This guide has shown the main differences between YouTube and Dailymotion monetization. With Wondershare Filmora, you can make the most money from both places.
YouTube is great for long videos, a big audience, and finding people naturally. Monetization Dailymotion is good for making money without needing as many subscribers.
If you put captions on your videos, more people will watch. Think of Filmora as a friend who helps you make money with fun, good videos. It’s like having a partner in making money from your videos.
Also read:
- 2024 Approved Noise Reduction for Better Video Experiences on YouTube
- Essential Strategies for Memorable YouTube Closings
- How To Unlock a Realme V30 Easily?
- Ideal Video Capturer for Engaging YouTube Audiences
- In 2024, Channel Charisma Techniques for Amplifying YouTube Visibility
- In 2024, Elevate Your Online Presence Mastering YouTube Edits in Premiere
- In 2024, Expediting Video Aggregation From TikTok in a Flash
- In 2024, How to Screen Mirroring Samsung Galaxy S23 FE? | Dr.fone
- In 2024, Streamlining Social Media Posts with SRT File Integration Tips
- Mastering the Art of Recording on Facebook: Tips for Saving Calls, Live Broadcasts & More
- Professional-Level Interview & Journey Podcasts on Apple Devices
- Steady Path Adding Your Bio to TikTok Unhackable Way for 2024
- Title: [Updated] Accelerate Video Processing for YouTube Uploads
- Author: Kevin
- Created at : 2024-11-23 23:29:50
- Updated at : 2024-11-24 16:14:07
- Link: https://youtube-videos.techidaily.com/updated-accelerate-video-processing-for-youtube-uploads/
- License: This work is licensed under CC BY-NC-SA 4.0.