
!["[New] Downloading Videos Directly to iPhone/iPad - YouTube's Quick Guide"](https://www.lifewire.com/thmb/xXXXABZAmSAt0BL3NSr1kTD8CVM=/400x300/filters:no_upscale():max_bytes(150000):strip_icc()/tesla-bot-f6353f76ae214924916445da1da620ca.png)
"[New] Downloading Videos Directly to iPhone/iPad - YouTube's Quick Guide"
Downloading Videos Directly to iPhone/iPad - YouTube’s Quick Guide
A Complete Guide to Downloading YouTube Videos to iPhone or iPad

Richard Bennett
Mar 27, 2024• Proven solutions
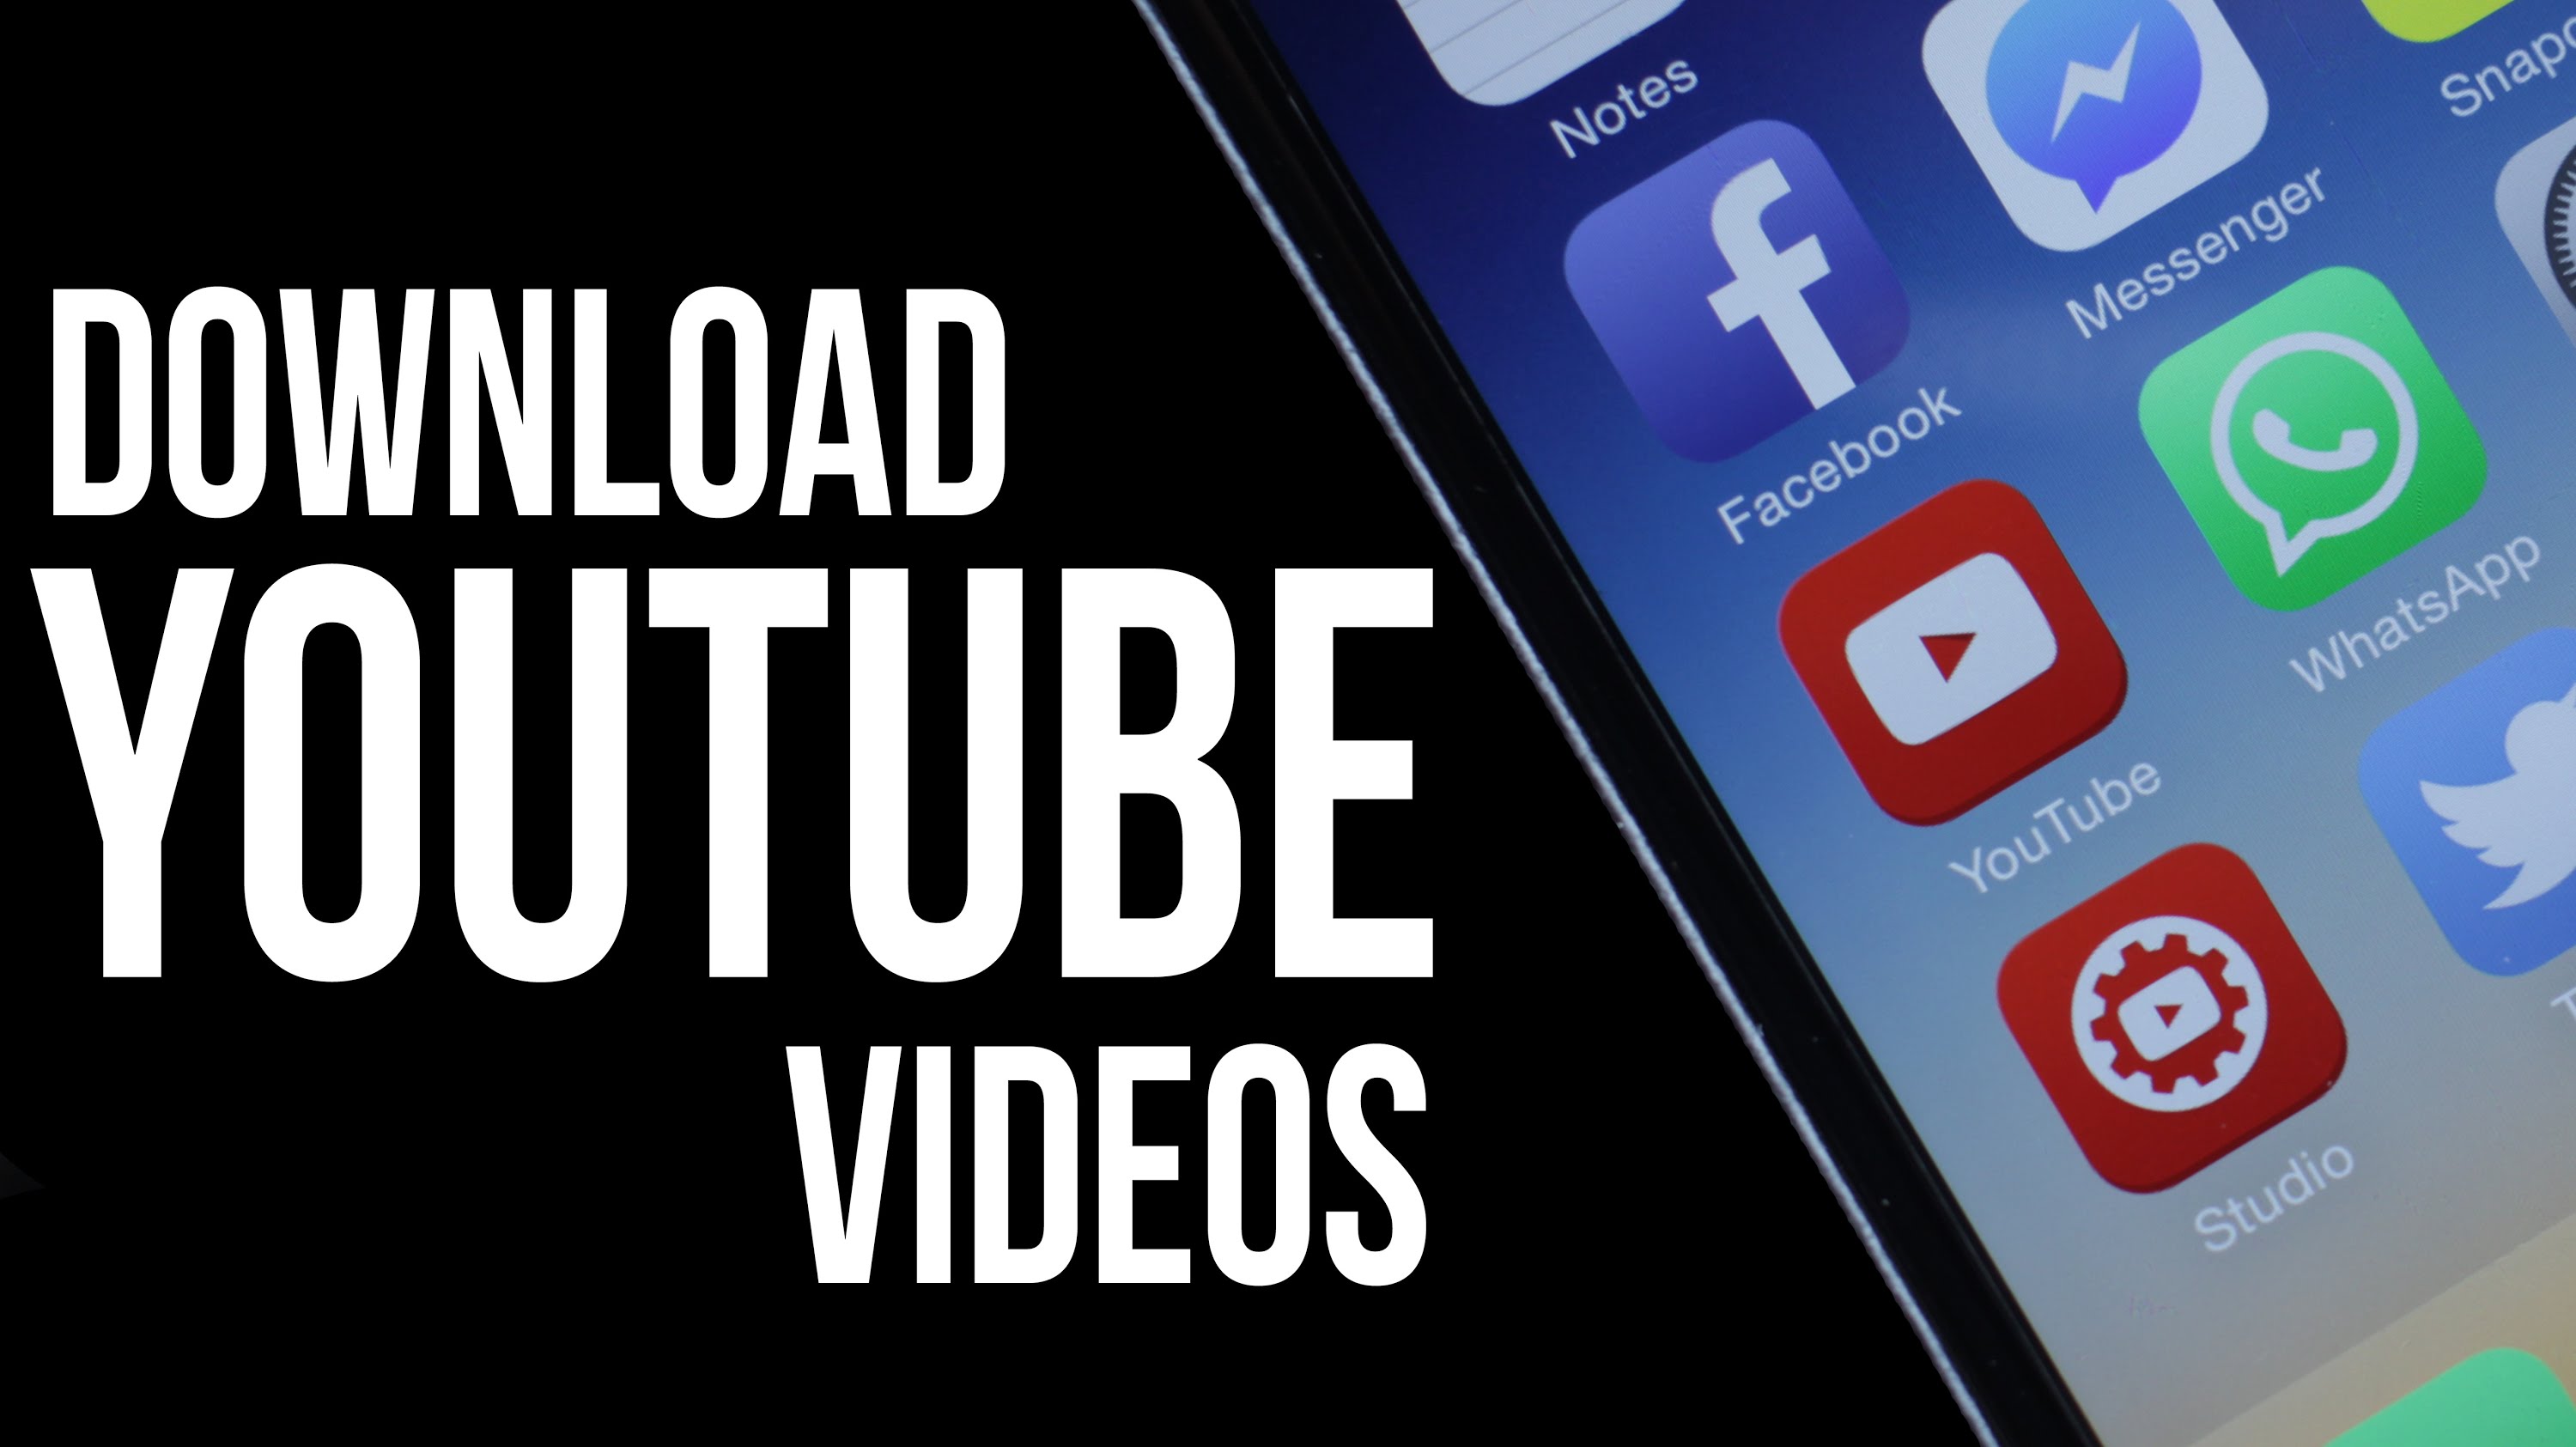
It is no secret that the iPhone and the iPad are the most popular smartphone and tablet respectively. You could argue that Samsung has impressive sales and is almost at par with Apple but in regards to sheer dominance or superiority, the South Korea based conglomerate bows down to the American tech juggernaut. YouTube is indisputably the most popular video hosting and sharing site in the world. It doesn’t help that YouTube is owned by Google, the search engine giant that also owns Android which powers all popular Samsung smartphones at the moment. As a result, what you get is a tad incompatible with YouTube and iPhone or iPad. Downloading YouTube videos is very simple if you are using an Android smartphone or a Windows computer. It is not so when you are using an iPhone, iPad or even a Mac.
You May Also Like: iPhone Video Downloaders >>
Fortunately, there are ways you can download YouTube videos to iPhone or iPad, and we aren’t talking about YouTube’s promise of offline video streaming. Here is a complete guide.
Note: We resolutely oppose all forms of copyright-infringing downloads. This tutorial is only for downloading YouTube videos/audio materials from your own channel.
First, you need a video downloader
You need a third party app which is approved by Apple and available in App Store. There are quite a few free video downloader apps that you can check. But do make sure that the app is active or usable right now. Apple is a tad infamous for deleting some of the apps from its store from time to time. If that happens after you have installed and started using a video downloader, then you can just remove it and opt for another. Most of these free video downloader apps will save your videos within the app. Some would add them to the videos in your Camera Roll. You can use AirPlay to watch the videos if you have an Apple TV. The videos saved by downloader apps will not be found in the native Videos app of iPhone or iPad. When you search for such apps, use ‘video downloader’ or ‘YouTube downloader’ as the keywords.
Find a suitable app, download it for free and install it
Some of the downloader apps will have premium or pro versions. You don’t need to pay before you have used the free or basic version. Once installed, start the app. Most of these apps have a built-in browser which should allow you to access YouTube. In most cases, you would get to m.youtube.com. If there is no default address, then save the mobile version of YouTube as the default URL. On iPad, you can go for <www.youtube.com>.
Downloading Youtube videos to iPhone or iPad
In all likelihood, you are familiar with how YouTube works. Search for a video that you wish to download, pick the one you want from the search results and it would automatically start to play. In some cases, you may have to click the play button or tap on the video thumbnail for it to start playing. As the video begins to stream or buffer, you would find an icon of the app, usually bobbing or hovering over the screen playing the video. You can tap on this icon, which could be a disk sign or the logo of the app. As you tap on it, you would have a popup that will prompt you to download the video that you are watching.
Depending on the app you are using, the download may begin immediately after tapping on the download icon or there can be another step, which will perhaps show you the list of downloading videos or videos that you have downloaded already. If the download doesn’t start immediately, there could be another button to initiate the download. Tap on it and you are done. The download would be automated and you don’t need to do anything else. You can also have your iPhone or iPad in sleep mode and the download would be completed, as long as there is an active internet connection. You can also see the progress made. Once the download or downloads are complete, you would get a notification. The video downloaded would be within the app’s video library or in your files.
Some apps rename the videos that are being downloaded so it is best you opt for a title or a name that will help you to recognize the video immediately. Other apps will keep the name of the video that appears on YouTube.
Almost all video downloader apps for iPhone and iPad will allow you to watch these videos offline. Some apps may need an internet connection to open but the videos saved will not require any internet to be played and replayed.
Given the fact that there are many video downloader apps and you cannot be sure of the experience of any, you will have to indulge in a bit of trial and error to find the best one.
Richard Bennett
Richard Bennett is a writer and a lover of all things video.
Follow @Richard Bennett
Richard Bennett
Mar 27, 2024• Proven solutions
It is no secret that the iPhone and the iPad are the most popular smartphone and tablet respectively. You could argue that Samsung has impressive sales and is almost at par with Apple but in regards to sheer dominance or superiority, the South Korea based conglomerate bows down to the American tech juggernaut. YouTube is indisputably the most popular video hosting and sharing site in the world. It doesn’t help that YouTube is owned by Google, the search engine giant that also owns Android which powers all popular Samsung smartphones at the moment. As a result, what you get is a tad incompatible with YouTube and iPhone or iPad. Downloading YouTube videos is very simple if you are using an Android smartphone or a Windows computer. It is not so when you are using an iPhone, iPad or even a Mac.
You May Also Like: iPhone Video Downloaders >>
Fortunately, there are ways you can download YouTube videos to iPhone or iPad, and we aren’t talking about YouTube’s promise of offline video streaming. Here is a complete guide.
Note: We resolutely oppose all forms of copyright-infringing downloads. This tutorial is only for downloading YouTube videos/audio materials from your own channel.
First, you need a video downloader
You need a third party app which is approved by Apple and available in App Store. There are quite a few free video downloader apps that you can check. But do make sure that the app is active or usable right now. Apple is a tad infamous for deleting some of the apps from its store from time to time. If that happens after you have installed and started using a video downloader, then you can just remove it and opt for another. Most of these free video downloader apps will save your videos within the app. Some would add them to the videos in your Camera Roll. You can use AirPlay to watch the videos if you have an Apple TV. The videos saved by downloader apps will not be found in the native Videos app of iPhone or iPad. When you search for such apps, use ‘video downloader’ or ‘YouTube downloader’ as the keywords.
Find a suitable app, download it for free and install it
Some of the downloader apps will have premium or pro versions. You don’t need to pay before you have used the free or basic version. Once installed, start the app. Most of these apps have a built-in browser which should allow you to access YouTube. In most cases, you would get to m.youtube.com. If there is no default address, then save the mobile version of YouTube as the default URL. On iPad, you can go for <www.youtube.com>.
Downloading Youtube videos to iPhone or iPad
In all likelihood, you are familiar with how YouTube works. Search for a video that you wish to download, pick the one you want from the search results and it would automatically start to play. In some cases, you may have to click the play button or tap on the video thumbnail for it to start playing. As the video begins to stream or buffer, you would find an icon of the app, usually bobbing or hovering over the screen playing the video. You can tap on this icon, which could be a disk sign or the logo of the app. As you tap on it, you would have a popup that will prompt you to download the video that you are watching.
Depending on the app you are using, the download may begin immediately after tapping on the download icon or there can be another step, which will perhaps show you the list of downloading videos or videos that you have downloaded already. If the download doesn’t start immediately, there could be another button to initiate the download. Tap on it and you are done. The download would be automated and you don’t need to do anything else. You can also have your iPhone or iPad in sleep mode and the download would be completed, as long as there is an active internet connection. You can also see the progress made. Once the download or downloads are complete, you would get a notification. The video downloaded would be within the app’s video library or in your files.
Some apps rename the videos that are being downloaded so it is best you opt for a title or a name that will help you to recognize the video immediately. Other apps will keep the name of the video that appears on YouTube.
Almost all video downloader apps for iPhone and iPad will allow you to watch these videos offline. Some apps may need an internet connection to open but the videos saved will not require any internet to be played and replayed.
Given the fact that there are many video downloader apps and you cannot be sure of the experience of any, you will have to indulge in a bit of trial and error to find the best one.
Richard Bennett
Richard Bennett is a writer and a lover of all things video.
Follow @Richard Bennett
Enrich Thumbnails: Introducing Radiant Neon Elements
Your YouTube video, or any other clip published on any forum, gets a larger number of hits if it has an attractive thumbnail. And, the fact is, a thumbnail becomes 10x more attractive when the main character that the image has have a neon border around it.
With that said, in the following sections, you will learn a couple of methods on how to add a YouTube thumbnail border around the main characters and/or objects that are significant to the clip.
In this article
01 Add Glowing Neon Border to YouTube Thumbnail with Filmora
02 Add a Glowing Neon Border in YouTube Thumbnail with Canva
03 Outline a Person in a YouTube Thumbnail with Photoshop
Part 1: How to Add Neon Border to YouTube Thumbnail for Free with Filmora
Being one of the most versatile and intuitive post-production tools available in the market today, Wondershare Filmora X allows you to add a neon border to a YouTube thumbnail quite conveniently. You can learn how to get this done on Windows or Mac by following the steps given below.
For Win 7 or later (64-bit)
For macOS 10.12 or later
Step 1: Define Project Settings and Add Image to the Timeline
Launch Wondershare Filmora X on your PC (a MacBook Pro M1 is used here), ensure that the project aspect ratio is set to 16:9 (Widescreen) on the splash screen, and click New Project. On the main interface, click the Preview quality and display settings icon from the upper-right area of the Timeline, click Change Project Aspect Ratio, click to select 1280 x 720 (HD) from the Resolution menu of the Project Settings box, and click OK to save the custom project settings.

Then select My Media from the menu bar if not already selected, click Project Media from the navigation pane, and click Import from the Media box to select and import the image of the main character or object that you want to use in the thumbnail.

Now, drag the image from the Media box to the Timeline at the bottom.

Step 2: Clear Image Background, Add Border, and Add Custom Background
Go to Effects from the menu bar, click to select the Default tab and then AI Portrait from the navigation pane, and click and drag the Human Segmentation preset from the right box, and place it over the image track in the Timeline.

Double-click the image layer, scroll down the upper-left box to the Video Effects section, and use the Edge Thickness and Edge Feather sliders to adjust the character’s edges to make them as realistic as possible. Click OK when done.

Next, click and drag the Human Border preset over the image track in the Timeline, and follow the same procedure to customize the border. This will give the character a neon border effect.

Now, use the method explained earlier to import a custom image for the background, and drag and place it under the previous track in the Timeline.

If you are running the latest version of Filmora, you will find there are some neon light effects available under AI Portrait as well.

Step 3: Add Titles to Thumbnail
Go to Titles from the menu bar, click to select the Default tab and then Lower 3rds from the navigation pane, and click and drag your preferred lower-third preset from the right window to a separate layer in the Timeline. Double-click the lower-third layer, and use the available options in the upper-left window to change the text, its color, etc., and drag the textbox to place it to your preferred position on the image as well. Click OK to save the changes.
Next, click to select Titles from the navigation pane, and drag your preferred title from the right window to the upper-most track in the Timeline. Now use the method explained earlier to edit the text, its color, position, etc. to make it look professional.

For more tips and tricks for creating YouTube thumbnail, you can check this You Tube thumbnail creating guide.
Step 4: Get the Neon Border Thumbnail
Click the Snapshot (Camera) icon from the upper-right area of the Timeline, go to My Media from the menu bar, right-click the thumbnail of the screenshot you captured, and click Reveal in Finder (on Mac) or Reveal in Explorer (on Windows) to get to the folder the YouTube thumbnail border is saved in.

Part 2: How to Add a Glowing Neon Border in Your YouTube Thumbnail with Canva
Canva is another intuitive editing program that works on the web interface rather than having you download and install an app on your PC. You can add a neon border for YouTube thumbnails using Canva by following the instructions given below:
Step 1: Define Project Settings and Add a Background
After signing in to your Canva account, click Create a design from the top-right corner of the page, click Custom size from the bottom, define 1280 and 720 in the Width and Height fields on the box that appears respectively, and click Create new design.

Now, click to select Background from the navigation bar on the left (if the Background tool is not visible, click More and then choose Background from the expanded list), and click to select a background from the images available in the center pane.

Step 2: Upload an Image and Add Effects
Click Uploads from the navigation bar, click the More icon from the right of the Upload media button present at the top of the center pane, choose your preferred method to upload the image (with the transparent background) that you want to use, upload the image, and drag it from the center pane to the Canvas.
Note: You can use any of the tools available online to remove the background from your image for free.

To add a YouTube thumbnail border, make sure that the image that you added to the Canvas is selected, click the Duplicate icon from the upper-right area, and use the scaling handles of the copy of the image to increase its size a bit. Reposition the image back to its original location as well.
Then, click Edit image from the upper-left corner of the Canvas, click Duotone from the Edit image pane at the center, if need be, click See all, choose your preferred duotone effect to apply on the image, choose your preferred highlight and shadow colors from the box that appears next, and click Back from the top of the pane.

Next, click See all next to the Adjust section from the center pane, and drag the Blur slider to the right to increase the blur effect on the image.

Step 3: Position the Layers
While keeping the duplicate image selected, click the Position button from the upper-right area of the Canvas, and click Background to send the second image behind the first one to get the neon border effect for the photo.

Part 3: How to Outline a Person in a YouTube Thumbnail with Photoshop
Because YouTube thumbnails are nothing but static images, creating YouTube thumbnail border with Adobe Photoshop is comparatively easier. The process of doing this is given below:
Step 1: Define Document Preferences and Import an Image
Launch Adobe Photoshop on your PC, click Create new, and on the New Document customization box, define the width and height values to 1280 and 720 pixels respectively. Select Transparent from the Background Contents menu as well if not already selected. Click Create from the bottom to create a new Photoshop document with the specified document settings. Next, open the folder that contains the source image, drag the photo to Photoshop, and press Enter to place the photo.

Step 2: Remove Background from the Image
Make sure that the image layer is selected in the Layers panel on the right, go to Select from the menu bar at the top, and click Subject. From the bottom of the Layers panel, click the Add a mask icon to get rid of the background, leaving only the human on the Canvas.

Step 3: Add a Custom Background and an Outline Around the Subject
Use the method explained earlier to import a background image of your choice to Photoshop. Drag the background image layer to the bottom in the Layers panel. Double-click the masked layer, click to select Stroke from the left pane of the Layer Style box, and use the options available on the right to manage the size, color, position, etc. of the stroke that has been added around the human subject. Click OK when done, and then export the image normally to use it as a YouTube thumbnail border.

Summary
It is important to know that the default resolution of a YouTube thumbnail is 1280 x 720 pixels that is usually written and referred to as 720p. While adding a YouTube thumbnail border, it is also imperative to have a good sense of color combination and fonts. Furthermore, a decent tool like Wondershare Filmora X must be used to add an appealing neon border around the main subject in the thumbnail image easily and quickly.
02 Add a Glowing Neon Border in YouTube Thumbnail with Canva
03 Outline a Person in a YouTube Thumbnail with Photoshop
Part 1: How to Add Neon Border to YouTube Thumbnail for Free with Filmora
Being one of the most versatile and intuitive post-production tools available in the market today, Wondershare Filmora X allows you to add a neon border to a YouTube thumbnail quite conveniently. You can learn how to get this done on Windows or Mac by following the steps given below.
For Win 7 or later (64-bit)
For macOS 10.12 or later
Step 1: Define Project Settings and Add Image to the Timeline
Launch Wondershare Filmora X on your PC (a MacBook Pro M1 is used here), ensure that the project aspect ratio is set to 16:9 (Widescreen) on the splash screen, and click New Project. On the main interface, click the Preview quality and display settings icon from the upper-right area of the Timeline, click Change Project Aspect Ratio, click to select 1280 x 720 (HD) from the Resolution menu of the Project Settings box, and click OK to save the custom project settings.
Then select My Media from the menu bar if not already selected, click Project Media from the navigation pane, and click Import from the Media box to select and import the image of the main character or object that you want to use in the thumbnail.
Now, drag the image from the Media box to the Timeline at the bottom.
Step 2: Clear Image Background, Add Border, and Add Custom Background
Go to Effects from the menu bar, click to select the Default tab and then AI Portrait from the navigation pane, and click and drag the Human Segmentation preset from the right box, and place it over the image track in the Timeline.
Double-click the image layer, scroll down the upper-left box to the Video Effects section, and use the Edge Thickness and Edge Feather sliders to adjust the character’s edges to make them as realistic as possible. Click OK when done.
Next, click and drag the Human Border preset over the image track in the Timeline, and follow the same procedure to customize the border. This will give the character a neon border effect.
Now, use the method explained earlier to import a custom image for the background, and drag and place it under the previous track in the Timeline.
If you are running the latest version of Filmora, you will find there are some neon light effects available under AI Portrait as well.
Step 3: Add Titles to Thumbnail
Go to Titles from the menu bar, click to select the Default tab and then Lower 3rds from the navigation pane, and click and drag your preferred lower-third preset from the right window to a separate layer in the Timeline. Double-click the lower-third layer, and use the available options in the upper-left window to change the text, its color, etc., and drag the textbox to place it to your preferred position on the image as well. Click OK to save the changes.
Next, click to select Titles from the navigation pane, and drag your preferred title from the right window to the upper-most track in the Timeline. Now use the method explained earlier to edit the text, its color, position, etc. to make it look professional.
For more tips and tricks for creating YouTube thumbnail, you can check this You Tube thumbnail creating guide.
Step 4: Get the Neon Border Thumbnail
Click the Snapshot (Camera) icon from the upper-right area of the Timeline, go to My Media from the menu bar, right-click the thumbnail of the screenshot you captured, and click Reveal in Finder (on Mac) or Reveal in Explorer (on Windows) to get to the folder the YouTube thumbnail border is saved in.
Part 2: How to Add a Glowing Neon Border in Your YouTube Thumbnail with Canva
Canva is another intuitive editing program that works on the web interface rather than having you download and install an app on your PC. You can add a neon border for YouTube thumbnails using Canva by following the instructions given below:
Step 1: Define Project Settings and Add a Background
After signing in to your Canva account, click Create a design from the top-right corner of the page, click Custom size from the bottom, define 1280 and 720 in the Width and Height fields on the box that appears respectively, and click Create new design.
Now, click to select Background from the navigation bar on the left (if the Background tool is not visible, click More and then choose Background from the expanded list), and click to select a background from the images available in the center pane.
Step 2: Upload an Image and Add Effects
Click Uploads from the navigation bar, click the More icon from the right of the Upload media button present at the top of the center pane, choose your preferred method to upload the image (with the transparent background) that you want to use, upload the image, and drag it from the center pane to the Canvas.
Note: You can use any of the tools available online to remove the background from your image for free.
To add a YouTube thumbnail border, make sure that the image that you added to the Canvas is selected, click the Duplicate icon from the upper-right area, and use the scaling handles of the copy of the image to increase its size a bit. Reposition the image back to its original location as well.
Then, click Edit image from the upper-left corner of the Canvas, click Duotone from the Edit image pane at the center, if need be, click See all, choose your preferred duotone effect to apply on the image, choose your preferred highlight and shadow colors from the box that appears next, and click Back from the top of the pane.
Next, click See all next to the Adjust section from the center pane, and drag the Blur slider to the right to increase the blur effect on the image.
Step 3: Position the Layers
While keeping the duplicate image selected, click the Position button from the upper-right area of the Canvas, and click Background to send the second image behind the first one to get the neon border effect for the photo.
Part 3: How to Outline a Person in a YouTube Thumbnail with Photoshop
Because YouTube thumbnails are nothing but static images, creating YouTube thumbnail border with Adobe Photoshop is comparatively easier. The process of doing this is given below:
Step 1: Define Document Preferences and Import an Image
Launch Adobe Photoshop on your PC, click Create new, and on the New Document customization box, define the width and height values to 1280 and 720 pixels respectively. Select Transparent from the Background Contents menu as well if not already selected. Click Create from the bottom to create a new Photoshop document with the specified document settings. Next, open the folder that contains the source image, drag the photo to Photoshop, and press Enter to place the photo.
Step 2: Remove Background from the Image
Make sure that the image layer is selected in the Layers panel on the right, go to Select from the menu bar at the top, and click Subject. From the bottom of the Layers panel, click the Add a mask icon to get rid of the background, leaving only the human on the Canvas.
Step 3: Add a Custom Background and an Outline Around the Subject
Use the method explained earlier to import a background image of your choice to Photoshop. Drag the background image layer to the bottom in the Layers panel. Double-click the masked layer, click to select Stroke from the left pane of the Layer Style box, and use the options available on the right to manage the size, color, position, etc. of the stroke that has been added around the human subject. Click OK when done, and then export the image normally to use it as a YouTube thumbnail border.
Summary
It is important to know that the default resolution of a YouTube thumbnail is 1280 x 720 pixels that is usually written and referred to as 720p. While adding a YouTube thumbnail border, it is also imperative to have a good sense of color combination and fonts. Furthermore, a decent tool like Wondershare Filmora X must be used to add an appealing neon border around the main subject in the thumbnail image easily and quickly.
Also read:
- [New] Daily Dharma The Best Yoga Channels for Self-Growth
- [New] Best 10 YouTube Channels for Industry Insights
- Culinary Cinematography Step-by-Step Recipe Tutorials
- [Updated] Boost Your Slides Add Video From YouTube, by Google
- [Updated] 9 Top-Tier YouTube Fitness Tips to Captivate Audience's Movement
- In 2024, Efficient Video Marketing Incorporating Timestamps Effectively
- Accelerating Engagement with Optimized YouTube Video Speeds
- AutoPlay YouTube on Mobile, No Distractions!
- Bright Ideas Effective Lighting in Vlogging
- Monetize Your Youtube Shorts Essentials, Possible Income
- [Updated] Comedy Channel Guide Your Best 15 YouTube Sources
- [Updated] Channel Creation Made Simple YouTube's Top Business Channels Listed
- 2024 Approved Essential Choice 10 Budget-Friendly Caption Tools
- Essential iOS Video Editor Apps Top 10 Best to Know for 2024
- [Updated] Discover Top 15 YouTube Sources for Sci-Education
- Comparative Analysis of TikTok & YouTube Shorts for Individual Content
- In 2024, Enhancing Mobile Cinematography - The Top 9 Accessories Reviewed
- Ultimate Guide to the Best 10 Video Saving Devices
- 2024 Approved Collaborative Listening Made Simple on YouTube
- Uncovering the Efficacy of YouTube's 4-Second Rule
- 10 FREE YouTube Playlist Downloaders [Online/PC/Android/iOS]2
- The Art of Playlist Construction on YouTube
- Inhibit Surprise YouTube Recommendations
- [New] Don't Miss These YouTube SEO Tools to Boost Your Video
- [Updated] Chortle Chronicles Recording 7 Amusing Video Adventures
- 2024 Approved Enliven YouTube Images A Burst of Neon Flair
- The Art of YouTube Thumbnails for Mac Professionals
- In 2024, Accelerate Thumbnail Designs for Professional Valorant Portraits
- [Updated] Engaging Viewers at the End of a YT Video
- Content Creators’ Earnings Timeline on YouTube
- 2024 Approved Building Your Brand with a Sports YouTube Chain on macOS
- 2024 Approved Educational Gaming Content on YouTube
- [New] Audio Aesthetics High-Quality DJ Template Videos Downloaded
- Demystifying YouTube Shorts for Total Beginners
- Tailoring the Perfect YouTube Conclusion for Engagement
- Top 6 Free, Online Tools for Downloading YouTube Shorts
- In 2024, Crafting and Channelizing iMovie Productions on YouTube
- Enhancing Watchability Adding Time Stamps to YouTube Videos for 2024
- [New] Easily Erase Identity Blurring Techniques in Videos
- 2024 Approved Boosting Earning Potential on YouTube Shorts
- [Updated] Editing Pro Tips for Aspiring Sports Video Makers
- 2024 Approved Elevate Your Social Media Impact with These Top 5 YouTube Marketing Techniques
- Thriving in YouTube Commercial Creation
- Journey Journaling Paving Your Way in the World of Travel Vlogging
- Mastering the Art of YouTube-to-WebM Conversion
- The Tale of Two Platforms YouTube and DailyMention
- Inside the Cut YouTube's 20 Best Bands
- Building Your ASMR Empire Key Concepts and Best Practices for 2024
- [Updated] In 2024, Leveraging Adobe Connect for Exceptional Video Capture & Editing
- [Updated] Saving Your iTunes Media Three Simple Steps
- In 2024, Mastering Instagram Incorporating Music in Videos & Stories
- In 2024, How to Watch Hulu Outside US On Samsung Galaxy S21 FE 5G (2023) | Dr.fone
- [New] In 2024, Smartphone Editing 10 Top TikTok Choices
- Elevate Your TikToks The Art of Video Patchwork
- [New] In 2024, The Ultimate Guide to Non-Xbox Screen Recording Software
- Streaming Perfection Best Practices in VR Gameplay Recording
- [Updated] Streamline Content Management Twitter Vids to Insta Feed for 2024
- [New] 2024 Approved Navigating Google Meet Professionally, Free of Charge
- 5 Solutions For Honor 80 Pro Straight Screen Edition Unlock Without Password
- In 2024, Top 4 SIM Location Trackers To Easily Find Your Lost Vivo Y100i Power 5G Device
- [New] 2024 Approved Simplified Workflow Streamlined Screen Capture on Mac Using Keystroke Shortcuts
- [New] Spectacular Stars of TikTok Shaping Tomorrow's Dreams for 2024
- [New] Essential Know-How Record iPad Display for 2024
- In 2024, How to Unlock SIM Card on iPhone 14 online without jailbreak
- How to Stand Out From Various Tik Tok Influencers for 2024
- In 2024, How to Track Vivo Y77t Location without Installing Software? | Dr.fone
- [Updated] Cutting Edge Identifying Instagram Leavers for 2024
- Updated In 2024, Top 10 Websites to Download Free Sound Clips for Videos
- With This Article, We Will Be Looking at Steps to Rotate a Video in Cyberlink PowerDirector to Help You when Required. We Have Also Mentioned the Steps You Will Need to Follow in Wondershare Filmora
- In 2024, Hassle-Free Ways to Remove FRP Lock from Vivo S18 Phones with/without a PC
- [New] In 2024, Simplifying Your TikTok Journey on Macs and Windows
- [New] Peak Performance Captions The Ultimate 20 List for TikTok Success for 2024
- Decoding and Mastering The True Significance of PFP in TikTok World for 2024
- In 2024, Beyond the Surface What You Don't Know About Stories
- How to Track a Lost Vivo T2 Pro 5G for Free? | Dr.fone
- Sim Unlock Vivo Y28 5G Phones without Code 2 Ways to Remove Android Sim Lock
- How To Reset iPhone 12 Pro Max? | Dr.fone
- Revolutionize Your Livestreams with These Top 15 Non-OBS Choices
- Celebrating Creators Top-Notch OTU Designs
- Unleash Your Creativity Final Cut Pro Tutorials for 2024
- In 2024, How to Transfer Data from Samsung Galaxy Z Flip 5 to Samsung Phone | Dr.fone
- In 2024, How to Fix when Apple Account Locked On Apple iPhone SE?
- 10 Best Vegas Pro Replacements for Mac Users (Free and Paid Options)
- In 2024, How To Remove or Bypass Knox Enrollment Service On Motorola Moto G04
- 2024 Approved The Art of Documenting Dynamic PPT Presentations
- Title: "[New] Downloading Videos Directly to iPhone/iPad - YouTube's Quick Guide"
- Author: Kevin
- Created at : 2024-05-25 16:03:33
- Updated at : 2024-05-26 16:03:33
- Link: https://youtube-videos.techidaily.com/new-downloading-videos-directly-to-iphoneipad-youtubes-quick-guide/
- License: This work is licensed under CC BY-NC-SA 4.0.
