
:max_bytes(150000):strip_icc()/durable__omxi3w443rue_large_2x-1-732c438d9048476bb6103184b27ee893.jpg)
In 2024, Elevate Your Video Guide with Annotations on YouTube
Elevate Your Video Guide with Annotations on YouTube
How to Add YouTube Annotations and Cards?

Richard Bennett
Mar 27, 2024• Proven solutions
Update: YouTube has replaced annotation with end screen. You can find the latest informaiton about YouTube screen and YouTube cards here.
YouTube Cards and Annotations are very useful if you want to encourage your viewrs to take an action, like Subscribe, go to another video or associated website, etc. Today, we’re going to show you the differences between cards and annotations, and how to add them in YouTube videos.
Do you want to make your YouTube video more attractive? Wondershare Filmora is a such video editing software designed for YouTube creator. It not only allows you cut, trim, crop, zoom, reverse, rotate the video clips, but also makes the advanced features like green screen, PIP, tilt-shift and mosaic easy like a piece of cake. With Wondershare Filmora, you can ignite your YouTube videos with over 300 effects like Fashion, Beauty, Block Buster, Travel, etc.
 Download Mac Version ](https://tools.techidaily.com/wondershare/filmora/download/ )
The main difference between annotation and cards is their outlook. Cards are more graphical whereas annotations are text based. The cards slide in once you click the small “i” button on the video where as the annotation is there based on the timings set by the user. Moreover the main differences between the two are:
1. YouTube Cards are small and unobtrusive, unless a viewer chooses to click on them, which is why they are the better option when you are trying to get views on other videos. Irritating a few people with a big annotation might be worth it if you also draw other people’s attention to your cause or website, but it is not a good way to endear yourself to people you are trying to get views and subscriptions from. When a card is clicked a thumbnail will appear with a link to your additional content. YouTube Cards are often better than annotations for adding links to your videos because they look much tidier. Also, unlike annotations, cards will be visible to people watching your videos on their mobile devices.
2. You cannot use Cards just to insert notes into your videos, though, and you cannot adjust their size like you can with annotations. So, if you do need a link to be large and extremely noticeable, annotations might still be your best option. Cards and annotations can even be used in combination sometimes.
How to add YouTube Cards
YouTube Cards are similar to annotations but more interactive. They allow the owner of the video to add images and other links. A small box appears, clicking on which will activate the cards.
- Click on the “Video Manager” tab

- Click “Edit” tab under the video screen shot you want to add the card on
- Click on the “Cards” tab

- On the right panel click on “Add Card” drop down menu and select the type of card you want to add
- Click on the create button which will open the corresponding video
- Once you finish the subsequent information required click create card
- Select the timeline for the playhead to appear which leads to the card slide

- Apply changes and exit
How to add YouTube annotations
YouTube Annotation is addition of a text layer, link or hotspots over your video. They add interactive boxes which link to other websites or videos (any link you want).
- Click on the video manager tab
- Click edit tab under the video screen shot you want to add the annotation on
- Click on the “End screen & Annotation” tab

- On the right panel click on “+ Add Element” and select the kind of annotation you want to add
- Adjust the position of Annotation, you can drag the rectangle to locate it at any position of the video, move the slide to set the start and end time of the annotation

- Apply changes
The types of YouTube annotations:
1. Speech Bubbles
Speech Bubbles: look like the dialogue box in a comic strip. There is a tail which you can adjust so it looks like one of the people in your video is saying what is written in the annotation. Speech bubbles are great for adding in funny comments.
2. Notes
Notes: come in a limited selection of colors and can be adjusted to take up a maximum of 30% of your player screen. Sometimes you need a huge annotation to get an important point across, but using huge note annotations too often – especially near the beginnings of your videos – will annoy viewers. If you need a large note annotation make sure to place it later in your video, when a viewer will already be invested in what they are watching and less likely to click away.
3. Titles
Titles: are large pieces of text that go either at the beginning of your video or in-between different topics within your video. YouTube’s titles are not very nice to look at, but they are a decent option if you do not have access to video editing software.
4. Spotlights
Spotlights: have a subtle border and are completely clear inside. Your text only appears when a user hovers over the spotlight. Spotlights are great for turning elements within your video into links.
5. Labels
Labels: are completely transparent, like spotlights, but the user does not have to hover over them for your text to be visible.
6. Pauses
Pauses: are no longer available to add to your videos, although Pause Annotations added before they were removed still work. Pause Annotations used to stop your video for a set period of time when your annotation appeared.
If somebody watches your video and gets to the end then that means they enjoyed it and will probably be open to checking out more of your content. Rather than hoping that your other videos show up in the ‘Suggested Videos’ YouTube will show after yours has finished playing you should always include an outro, or ending card, after your video to recommend your own work. Annotations are used in a lot of successful YouTuber’s ending cards.
One form this takes is small Note annotations in the bottom corners of the screen, one linking to your previous video and one to the next. Sometimes your viewers might not necessarily get the most enjoyment out of your videos by watching them in order, though. Sometimes you want to link viewers to the videos that are most related to the one they just watched.
The best outros also include a subscribe button, which can be created using annotations. These annotations work best when combined with a verbal call to action. Make sure your outro lasts long enough for people to make the decision to subscribe or click another video.
No matter what kind of annotations you are using, you should never use more than two of them at a time anywhere except for your outro. You should also never place annotations at the very top of your screen, or in the middle at the bottom. If your video is embedding on a separate website then the player will cover annotations at the top of the screen, and ads might cover annotations placed in the bottom-middle of the screen. Keep in mind when using annotations that they will not be visible to users watching your videos on mobile devices. If mobile traffic is very important to you then consider using YouTube Cards.
Richard Bennett
Richard Bennett is a writer and a lover of all things video.
Follow @Richard Bennett
Richard Bennett
Mar 27, 2024• Proven solutions
Update: YouTube has replaced annotation with end screen. You can find the latest informaiton about YouTube screen and YouTube cards here.
YouTube Cards and Annotations are very useful if you want to encourage your viewrs to take an action, like Subscribe, go to another video or associated website, etc. Today, we’re going to show you the differences between cards and annotations, and how to add them in YouTube videos.
Do you want to make your YouTube video more attractive? Wondershare Filmora is a such video editing software designed for YouTube creator. It not only allows you cut, trim, crop, zoom, reverse, rotate the video clips, but also makes the advanced features like green screen, PIP, tilt-shift and mosaic easy like a piece of cake. With Wondershare Filmora, you can ignite your YouTube videos with over 300 effects like Fashion, Beauty, Block Buster, Travel, etc.
Download Mac Version ](https://tools.techidaily.com/wondershare/filmora/download/ )
The main difference between annotation and cards is their outlook. Cards are more graphical whereas annotations are text based. The cards slide in once you click the small “i” button on the video where as the annotation is there based on the timings set by the user. Moreover the main differences between the two are:
1. YouTube Cards are small and unobtrusive, unless a viewer chooses to click on them, which is why they are the better option when you are trying to get views on other videos. Irritating a few people with a big annotation might be worth it if you also draw other people’s attention to your cause or website, but it is not a good way to endear yourself to people you are trying to get views and subscriptions from. When a card is clicked a thumbnail will appear with a link to your additional content. YouTube Cards are often better than annotations for adding links to your videos because they look much tidier. Also, unlike annotations, cards will be visible to people watching your videos on their mobile devices.
2. You cannot use Cards just to insert notes into your videos, though, and you cannot adjust their size like you can with annotations. So, if you do need a link to be large and extremely noticeable, annotations might still be your best option. Cards and annotations can even be used in combination sometimes.
How to add YouTube Cards
YouTube Cards are similar to annotations but more interactive. They allow the owner of the video to add images and other links. A small box appears, clicking on which will activate the cards.
- Click on the “Video Manager” tab
- Click “Edit” tab under the video screen shot you want to add the card on
- Click on the “Cards” tab
- On the right panel click on “Add Card” drop down menu and select the type of card you want to add
- Click on the create button which will open the corresponding video
- Once you finish the subsequent information required click create card
- Select the timeline for the playhead to appear which leads to the card slide
- Apply changes and exit
How to add YouTube annotations
YouTube Annotation is addition of a text layer, link or hotspots over your video. They add interactive boxes which link to other websites or videos (any link you want).
- Click on the video manager tab
- Click edit tab under the video screen shot you want to add the annotation on
- Click on the “End screen & Annotation” tab
- On the right panel click on “+ Add Element” and select the kind of annotation you want to add
- Adjust the position of Annotation, you can drag the rectangle to locate it at any position of the video, move the slide to set the start and end time of the annotation
- Apply changes
The types of YouTube annotations:
1. Speech Bubbles
Speech Bubbles: look like the dialogue box in a comic strip. There is a tail which you can adjust so it looks like one of the people in your video is saying what is written in the annotation. Speech bubbles are great for adding in funny comments.
2. Notes
Notes: come in a limited selection of colors and can be adjusted to take up a maximum of 30% of your player screen. Sometimes you need a huge annotation to get an important point across, but using huge note annotations too often – especially near the beginnings of your videos – will annoy viewers. If you need a large note annotation make sure to place it later in your video, when a viewer will already be invested in what they are watching and less likely to click away.
3. Titles
Titles: are large pieces of text that go either at the beginning of your video or in-between different topics within your video. YouTube’s titles are not very nice to look at, but they are a decent option if you do not have access to video editing software.
4. Spotlights
Spotlights: have a subtle border and are completely clear inside. Your text only appears when a user hovers over the spotlight. Spotlights are great for turning elements within your video into links.
5. Labels
Labels: are completely transparent, like spotlights, but the user does not have to hover over them for your text to be visible.
6. Pauses
Pauses: are no longer available to add to your videos, although Pause Annotations added before they were removed still work. Pause Annotations used to stop your video for a set period of time when your annotation appeared.
If somebody watches your video and gets to the end then that means they enjoyed it and will probably be open to checking out more of your content. Rather than hoping that your other videos show up in the ‘Suggested Videos’ YouTube will show after yours has finished playing you should always include an outro, or ending card, after your video to recommend your own work. Annotations are used in a lot of successful YouTuber’s ending cards.
One form this takes is small Note annotations in the bottom corners of the screen, one linking to your previous video and one to the next. Sometimes your viewers might not necessarily get the most enjoyment out of your videos by watching them in order, though. Sometimes you want to link viewers to the videos that are most related to the one they just watched.
The best outros also include a subscribe button, which can be created using annotations. These annotations work best when combined with a verbal call to action. Make sure your outro lasts long enough for people to make the decision to subscribe or click another video.
No matter what kind of annotations you are using, you should never use more than two of them at a time anywhere except for your outro. You should also never place annotations at the very top of your screen, or in the middle at the bottom. If your video is embedding on a separate website then the player will cover annotations at the top of the screen, and ads might cover annotations placed in the bottom-middle of the screen. Keep in mind when using annotations that they will not be visible to users watching your videos on mobile devices. If mobile traffic is very important to you then consider using YouTube Cards.
Richard Bennett
Richard Bennett is a writer and a lover of all things video.
Follow @Richard Bennett
The Freedom of Filmmaking: Top Android Video Editing Apps
FREE Best YouTube Video Editor Apps for Android
Richard Bennett
Mar 27, 2024• Proven solutions
In this article, we are going to show you how to edit videos on an Android smartphone with your YouTube app, and some useful tips while editing.
The best video editor for successful YouTubers - Wondershare Filmora , not only allows you to cut, crop, rotate, reverse videos, but also offers your advanced features like PIP, Green Screen, or audio mixing. What’s more, you can find lots of effects on Fashion, gaming, education, tutorial, sports, etc.
Check the below video to know more.
For Win 7 or later (64-bit)
 Secure Download
For macOS 10.14 or later
Secure Download
Click here to get Filmora for PC by email
or Try Filmora App for mobile >>>
download filmora app for ios ](https://app.adjust.com/b0k9hf2%5F4bsu85t ) download filmora app for android ](https://app.adjust.com/b0k9hf2%5F4bsu85t )
If you are an iPhone owner, please check this article to see: how to edit youtube videos on iPhone>>
How to Edit YouTube Videos on Your Android Smartphone?
With the YouTube app, android users have an easy way to grab and upload videos to YouTube directly from their mobile devices.
Simply hit on the video camera button, record the clip and the app will upload your recording to your YouTube channel on the background. It also makes it possible to select existing videos from your SD card and upload them directly to your channel.
In some instances, you may want to edit your videos on android devices. With the YouTube android app, editing videos is a simple task which involves the following process-:
Step 1: Click on YouTube and choose the small little icon indicating your profile. This will reveal to you all your videos on YouTube.
Step 2: Locate the video you want to edit then click on the three vertical little dots on the far right of the video to reveal for you more options. Choose on the “Edit” button drop-down menu.
Step 3: Once done with the editing, click on the small little icon (looks like a forward arrow) at the top of the screen to save your edits.
The video will load again and you will receive an on-screen message telling you that the video has been updated.
Please check this video to see all details:
Other 6 Video Editing Apps for Android
As you can see, the YouTube app is very limited in editing, fortunately, there are other apps that could be used to edit videos on android devices. Some of them are as highlighted below-:
1.Vlogit
This is a pro tool for editing videos and other media files and it highly preferred to by individuals who love to edit YouTube videos on android. It comes with an easy to use interface and it has features like video rotating, trimming, and nice video effects such as animated texts, overlays, and filters as well as the ability to stream the completed video or share it on the social media platforms.
Vlogit is free to download and use.
2.Power Director Video Editor for Android Apps
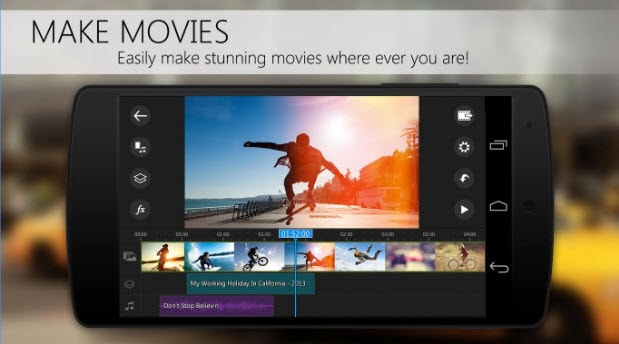
This is an android video editing free app. It allows for powerful video editing and it has cool video effects as well as all the features present in most of the movie makers. The app also includes a voice over which you can also share directly to YouTube once you are done with the editing.
Other features include a drag and drop feature, record and customize soundtracks, edit video quickly and much more.
3.KineMaster Pro Video Editor

Considered as the only full-featured app to edit YouTube videos on android, KineMaster Pro Video Editor is packed with superior features needed to make quick and professional videos. With the app, you are able to add layers to your work including picture in picture effects.
Other features include ability to add multiple layers of a video, trim video properly, get preview anytime you need it, adjust brightness, color, speeds and volumes amongst other settings, and share your videos on YouTube and Facebook upon finishing.
The app is free hence you should not worry about any extra charges.
4.Adobe Premiere Clip
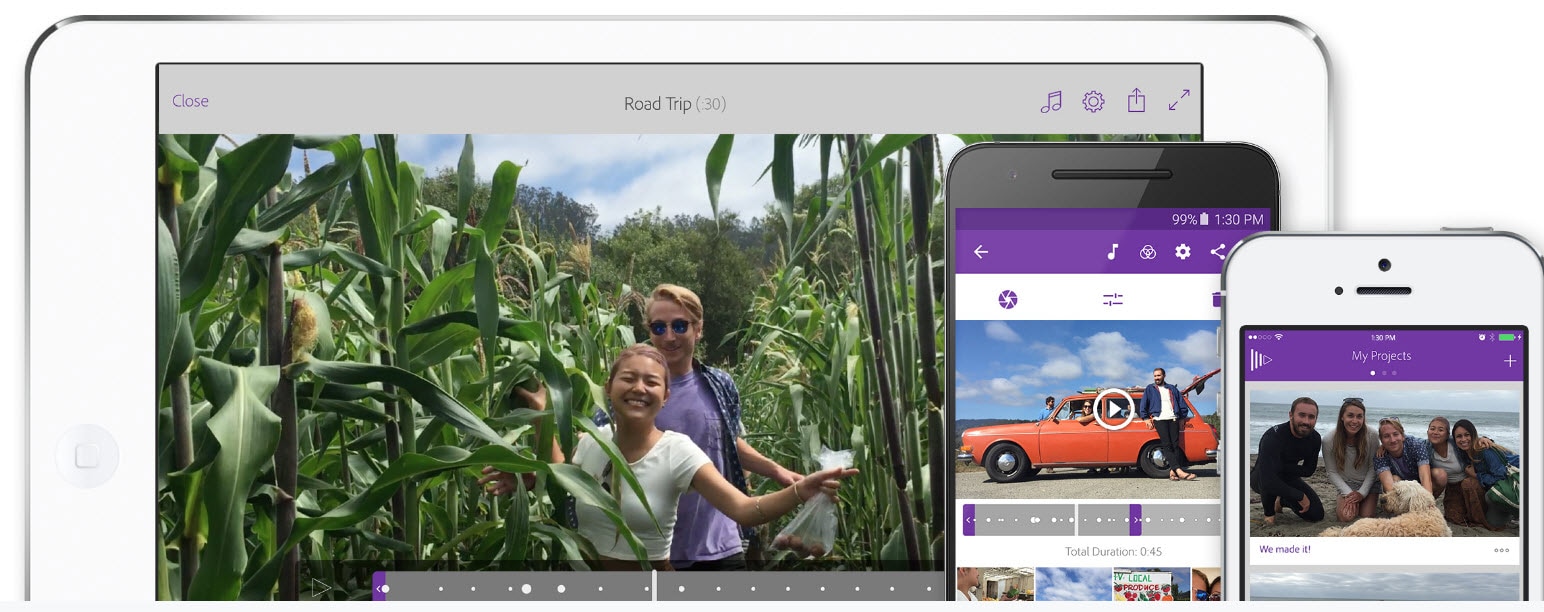
This is a premiere app by Adobe and lets you edit YouTube videos on android quite easily. Some of its adored features include the ability to create automatic video clips complete with images and soundtracks, drag and drop clips and photos when you edit the unwanted parts, ability to choose any soundtrack without losing the audio levels between clips.
This app is also free and enjoys a higher user rating of 4/5.
5.Magisto Video Editor and Maker

Magisto help you convert your home videos into movies in an instant. All you have to do is to select two or more clips, choose a soundtrack and press the “processing” button for the app to do its magic. After a few minutes, you will have a professional looking home video made from your android device.
6.VideoShow
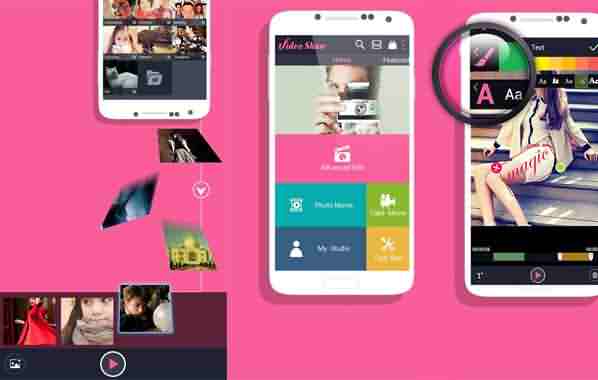
VideoShow is also a top free video editor and video maker app and it is very ideal if you want to edit YouTube videos on android devices. It has an easy to use interface where you can add texts, emoji, filters, themes and music amongst other features.
It also has a large selection of free music to use in making or editing the videos.
It’s free and allows you to share your videos on YouTube and other social media platforms like Facebook and Instagram.
For Win 7 or later (64-bit)
Secure Download
For macOS 10.14 or later
Secure Download
Click here to get Filmora for PC by email
or Try Filmora App for mobile >>>
download filmora app for ios ](https://app.adjust.com/b0k9hf2%5F4bsu85t ) download filmora app for android ](https://app.adjust.com/b0k9hf2%5F4bsu85t )
Richard Bennett
Richard Bennett is a writer and a lover of all things video.
Follow @Richard Bennett
Richard Bennett
Mar 27, 2024• Proven solutions
In this article, we are going to show you how to edit videos on an Android smartphone with your YouTube app, and some useful tips while editing.
The best video editor for successful YouTubers - Wondershare Filmora , not only allows you to cut, crop, rotate, reverse videos, but also offers your advanced features like PIP, Green Screen, or audio mixing. What’s more, you can find lots of effects on Fashion, gaming, education, tutorial, sports, etc.
Check the below video to know more.
For Win 7 or later (64-bit)
Secure Download
For macOS 10.14 or later
Secure Download
Click here to get Filmora for PC by email
or Try Filmora App for mobile >>>
download filmora app for ios ](https://app.adjust.com/b0k9hf2%5F4bsu85t ) download filmora app for android ](https://app.adjust.com/b0k9hf2%5F4bsu85t )
If you are an iPhone owner, please check this article to see: how to edit youtube videos on iPhone>>
How to Edit YouTube Videos on Your Android Smartphone?
With the YouTube app, android users have an easy way to grab and upload videos to YouTube directly from their mobile devices.
Simply hit on the video camera button, record the clip and the app will upload your recording to your YouTube channel on the background. It also makes it possible to select existing videos from your SD card and upload them directly to your channel.
In some instances, you may want to edit your videos on android devices. With the YouTube android app, editing videos is a simple task which involves the following process-:
Step 1: Click on YouTube and choose the small little icon indicating your profile. This will reveal to you all your videos on YouTube.
Step 2: Locate the video you want to edit then click on the three vertical little dots on the far right of the video to reveal for you more options. Choose on the “Edit” button drop-down menu.
Step 3: Once done with the editing, click on the small little icon (looks like a forward arrow) at the top of the screen to save your edits.
The video will load again and you will receive an on-screen message telling you that the video has been updated.
Please check this video to see all details:
Other 6 Video Editing Apps for Android
As you can see, the YouTube app is very limited in editing, fortunately, there are other apps that could be used to edit videos on android devices. Some of them are as highlighted below-:
1.Vlogit
This is a pro tool for editing videos and other media files and it highly preferred to by individuals who love to edit YouTube videos on android. It comes with an easy to use interface and it has features like video rotating, trimming, and nice video effects such as animated texts, overlays, and filters as well as the ability to stream the completed video or share it on the social media platforms.
Vlogit is free to download and use.
2.Power Director Video Editor for Android Apps
This is an android video editing free app. It allows for powerful video editing and it has cool video effects as well as all the features present in most of the movie makers. The app also includes a voice over which you can also share directly to YouTube once you are done with the editing.
Other features include a drag and drop feature, record and customize soundtracks, edit video quickly and much more.
3.KineMaster Pro Video Editor
Considered as the only full-featured app to edit YouTube videos on android, KineMaster Pro Video Editor is packed with superior features needed to make quick and professional videos. With the app, you are able to add layers to your work including picture in picture effects.
Other features include ability to add multiple layers of a video, trim video properly, get preview anytime you need it, adjust brightness, color, speeds and volumes amongst other settings, and share your videos on YouTube and Facebook upon finishing.
The app is free hence you should not worry about any extra charges.
4.Adobe Premiere Clip
This is a premiere app by Adobe and lets you edit YouTube videos on android quite easily. Some of its adored features include the ability to create automatic video clips complete with images and soundtracks, drag and drop clips and photos when you edit the unwanted parts, ability to choose any soundtrack without losing the audio levels between clips.
This app is also free and enjoys a higher user rating of 4/5.
5.Magisto Video Editor and Maker
Magisto help you convert your home videos into movies in an instant. All you have to do is to select two or more clips, choose a soundtrack and press the “processing” button for the app to do its magic. After a few minutes, you will have a professional looking home video made from your android device.
6.VideoShow
VideoShow is also a top free video editor and video maker app and it is very ideal if you want to edit YouTube videos on android devices. It has an easy to use interface where you can add texts, emoji, filters, themes and music amongst other features.
It also has a large selection of free music to use in making or editing the videos.
It’s free and allows you to share your videos on YouTube and other social media platforms like Facebook and Instagram.
For Win 7 or later (64-bit)
Secure Download
For macOS 10.14 or later
Secure Download
Click here to get Filmora for PC by email
or Try Filmora App for mobile >>>
download filmora app for ios ](https://app.adjust.com/b0k9hf2%5F4bsu85t ) download filmora app for android ](https://app.adjust.com/b0k9hf2%5F4bsu85t )
Richard Bennett
Richard Bennett is a writer and a lover of all things video.
Follow @Richard Bennett
Also read:
- In 2024, Discover the Best Tools & Tips to Accurately Tag Your Videos
- 2024 Approved Affordable Cameras for Effective Vloggers
- 2024 Approved Enhancing Video Signals with YouTube Cards
- [Updated] Discover Essential YouTube Music Channels
- Effortless Guide to Share Your Videos as Shorts on Computers & Phones for 2024
- [New] Efficient iOS-Based Strategies for YouTube Postings
- Techniques for Selective YouTube Video Downloading
- 2024 Approved Decoding YouTube's Earning Rules Update
- [New] Decipher High-Impact Content Selecting Premier Rank Trackers for YouTubers
- Crafting Your YouTube Legacy A Deep Dive Into Creator Studio Mastery
- Efficacy of Monetized YouTube Engagement for Content Creators?
- Top-Rated DJ Templates Free Access for Music Makers
- Unwind with Laughter Curating 15 Hilarious YouTube Masterpieces
- Youtube’s Image Files Made Simple Online, Desktop & Terminal Steps
- Rise of the Titans Top Video Milestone Hits Achieved by 2024
- In 2024, Elevating Your Content Strategy YouTube Keywords Explained
- Secrets to Profitability on YouTube Shorts Fundamentals & Future Earnings
- Ideal Winter Settings for Warmer YT Videos
- A Step-by-Step Guide to Amplify Your Content Through Spotlighting for 2024
- Elevate Your Content With These 20 Pro Video Shortcuts
- No-Cost Digital Revenue Prognosticator
- 2024 Approved Essentials of YouTube Mastery Free Online Course Series
- Unparalleled Video Grabber Suite - Your Download Delight
- [New] 1 Choice Easy Online Video Text Conversion
- 2024 Approved Earnings Expansion on Glamour Channels
- [New] Democratize Music Distribution via Social Media
- In 2024, Detailed Guidance on Crafting Dynamic YT Profiles
- Elevate Your Vlogging Game with Tripod Mastery
- In 2024, Elevate Your Video Presence with Stellar Intros in iMovie
- 2024 Approved Elevate Your Channel Game - TubeBuddy Insights
- Elevate Engagement Natural Ways to Popularize Your Videos
- Beats & Banners Discovering Premium DJ Templates
- Mirrorless vs DSLR in the Realm of Video Filmmaking
- Streamlined Search for Personalized Song Collection on YouTube
- Unstoppable Streams The Rising Stars of Female YouTube Content
- Content Composer Arena for 2024
- Captivate Viewers The Art of Crafting Short Videos for 2024
- [Updated] Creating Memorable YouTube Shorts - 10 Must-Do Tips
- In 2024, Bite-Sized Video Specialist
- Top Females in YouTube A List of Leading Creators
- Boost Your Views with Premium YouTube Rank Watchers for 2024
- [New] Breaking the Monotony Innovative YT Playlist Shuffling
- 2024 Approved The Art of Influence Top 50+ Hashtags in TikTok World
- What Legendaries Are In Pokemon Platinum On Tecno Camon 30 Pro 5G? | Dr.fone
- Updated In 2024, Ways to Help Your Find Best Flac Converter
- Android Video Editing Apps A Complete Buying Guide for 2024
- How Can We Unlock Our Honor Magic5 Ultimate Phone Screen?
- [New] Maximizing Reach Twitch Streams via Facebook
- [Updated] In 2024, How To Refresh & Revitalize Your TikTok Persona
- Repair Video Tool - Repair all your damaged video files of Realme on Mac
- Tips to Transform Your Video Display on FB
- Mastering the Art of Video Framing for 2024
- New In 2024, Mastering FCPX Subtitles A Comprehensive Tutorial and Beyond
- 2024 Approved Steps to Confirm and Secure Your TikTok Videos for Posting
- In 2024, An Introduction to Effective Image Previews
- [New] Unlocking Audio Potential - Download + Install Guide for VRecorder for 2024
- Dive Into Webinar World A Noob’s Guide to Zoom for 2024
- [Updated] In 2024, Music & Messaging Merge A Guide to Spotify/Discord
- How to Reset a Tecno Pova 5 Pro Phone That Is Locked | Dr.fone
- [Updated] Download Directly From Instagram A Methodology for iPhone Users for 2024
- Top 11 Free Apps to Check IMEI on Vivo Y36 Phones
- [Updated] 2024 Approved Visualization Vanguard's Battle
- Updated Ultimate Tutorial Transforming WhatsApp Sound Files Into MP3 Quickly for 2024
- How to Bypass Google FRP Lock from Realme C51 Devices
- [New] Secure Social Scale - The Premier App Selection for iOS & Android Users for 2024
- How do i sign a .docm file document electronically
- Frame by Frame Fusion Making Inspirational Collage Books
- 5 Best Snipping Tools for Pc
- Title: In 2024, Elevate Your Video Guide with Annotations on YouTube
- Author: Kevin
- Created at : 2024-05-25 15:37:22
- Updated at : 2024-05-26 15:37:22
- Link: https://youtube-videos.techidaily.com/in-2024-elevate-your-video-guide-with-annotations-on-youtube/
- License: This work is licensed under CC BY-NC-SA 4.0.
