
"In 2024, Download Playback Streaming Youtube Videos on iOS Securely and Smoothly"
Download Playback: Streaming Youtube Videos on iOS Securely and Smoothly
A Complete Guide to Downloading YouTube Videos to iPhone or iPad

Richard Bennett
Mar 27, 2024• Proven solutions
It is no secret that the iPhone and the iPad are the most popular smartphone and tablet respectively. You could argue that Samsung has impressive sales and is almost at par with Apple but in regards to sheer dominance or superiority, the South Korea based conglomerate bows down to the American tech juggernaut. YouTube is indisputably the most popular video hosting and sharing site in the world. It doesn’t help that YouTube is owned by Google, the search engine giant that also owns Android which powers all popular Samsung smartphones at the moment. As a result, what you get is a tad incompatible with YouTube and iPhone or iPad. Downloading YouTube videos is very simple if you are using an Android smartphone or a Windows computer. It is not so when you are using an iPhone, iPad or even a Mac.
You May Also Like: iPhone Video Downloaders >>
Fortunately, there are ways you can download YouTube videos to iPhone or iPad, and we aren’t talking about YouTube’s promise of offline video streaming. Here is a complete guide.
Note: We resolutely oppose all forms of copyright-infringing downloads. This tutorial is only for downloading YouTube videos/audio materials from your own channel.
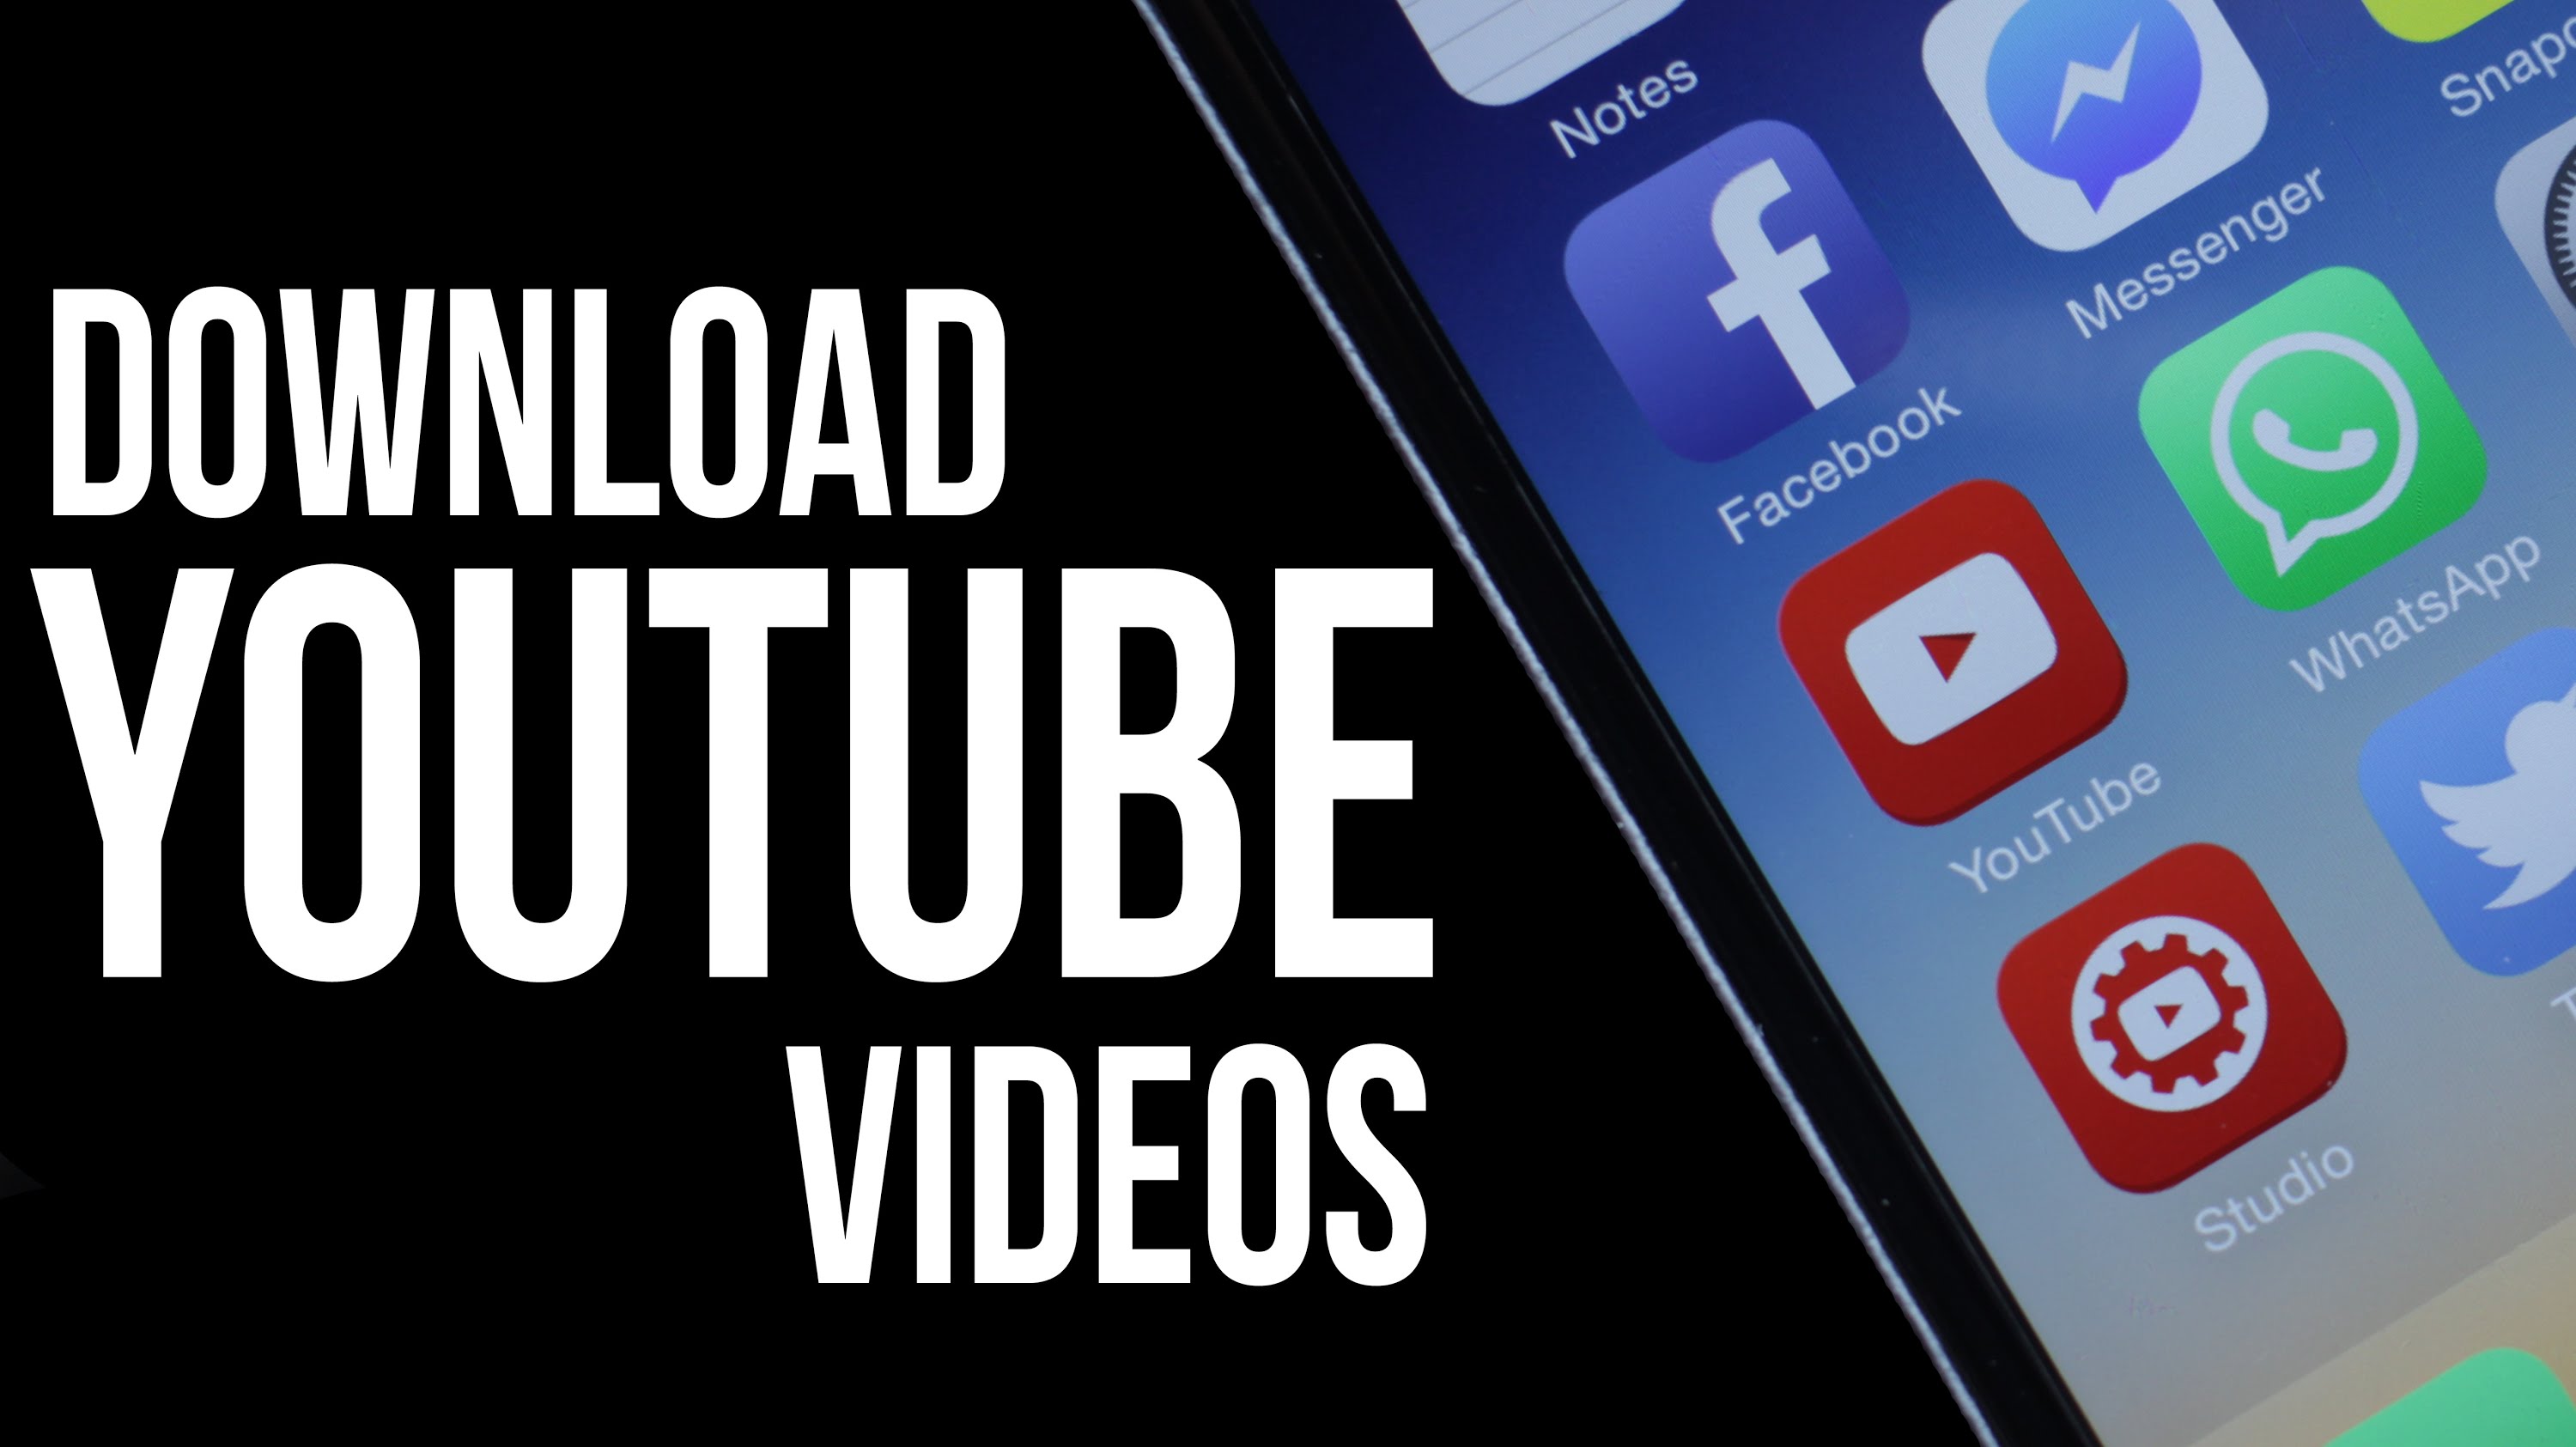
First, you need a video downloader
You need a third party app which is approved by Apple and available in App Store. There are quite a few free video downloader apps that you can check. But do make sure that the app is active or usable right now. Apple is a tad infamous for deleting some of the apps from its store from time to time. If that happens after you have installed and started using a video downloader, then you can just remove it and opt for another. Most of these free video downloader apps will save your videos within the app. Some would add them to the videos in your Camera Roll. You can use AirPlay to watch the videos if you have an Apple TV. The videos saved by downloader apps will not be found in the native Videos app of iPhone or iPad. When you search for such apps, use ‘video downloader’ or ‘YouTube downloader’ as the keywords.
Find a suitable app, download it for free and install it
Some of the downloader apps will have premium or pro versions. You don’t need to pay before you have used the free or basic version. Once installed, start the app. Most of these apps have a built-in browser which should allow you to access YouTube. In most cases, you would get to m.youtube.com. If there is no default address, then save the mobile version of YouTube as the default URL. On iPad, you can go for <www.youtube.com>.
Downloading Youtube videos to iPhone or iPad
In all likelihood, you are familiar with how YouTube works. Search for a video that you wish to download, pick the one you want from the search results and it would automatically start to play. In some cases, you may have to click the play button or tap on the video thumbnail for it to start playing. As the video begins to stream or buffer, you would find an icon of the app, usually bobbing or hovering over the screen playing the video. You can tap on this icon, which could be a disk sign or the logo of the app. As you tap on it, you would have a popup that will prompt you to download the video that you are watching.
Depending on the app you are using, the download may begin immediately after tapping on the download icon or there can be another step, which will perhaps show you the list of downloading videos or videos that you have downloaded already. If the download doesn’t start immediately, there could be another button to initiate the download. Tap on it and you are done. The download would be automated and you don’t need to do anything else. You can also have your iPhone or iPad in sleep mode and the download would be completed, as long as there is an active internet connection. You can also see the progress made. Once the download or downloads are complete, you would get a notification. The video downloaded would be within the app’s video library or in your files.
Some apps rename the videos that are being downloaded so it is best you opt for a title or a name that will help you to recognize the video immediately. Other apps will keep the name of the video that appears on YouTube.
Almost all video downloader apps for iPhone and iPad will allow you to watch these videos offline. Some apps may need an internet connection to open but the videos saved will not require any internet to be played and replayed.
Given the fact that there are many video downloader apps and you cannot be sure of the experience of any, you will have to indulge in a bit of trial and error to find the best one.
Richard Bennett
Richard Bennett is a writer and a lover of all things video.
Follow @Richard Bennett
Richard Bennett
Mar 27, 2024• Proven solutions
It is no secret that the iPhone and the iPad are the most popular smartphone and tablet respectively. You could argue that Samsung has impressive sales and is almost at par with Apple but in regards to sheer dominance or superiority, the South Korea based conglomerate bows down to the American tech juggernaut. YouTube is indisputably the most popular video hosting and sharing site in the world. It doesn’t help that YouTube is owned by Google, the search engine giant that also owns Android which powers all popular Samsung smartphones at the moment. As a result, what you get is a tad incompatible with YouTube and iPhone or iPad. Downloading YouTube videos is very simple if you are using an Android smartphone or a Windows computer. It is not so when you are using an iPhone, iPad or even a Mac.
You May Also Like: iPhone Video Downloaders >>
Fortunately, there are ways you can download YouTube videos to iPhone or iPad, and we aren’t talking about YouTube’s promise of offline video streaming. Here is a complete guide.
Note: We resolutely oppose all forms of copyright-infringing downloads. This tutorial is only for downloading YouTube videos/audio materials from your own channel.
First, you need a video downloader
You need a third party app which is approved by Apple and available in App Store. There are quite a few free video downloader apps that you can check. But do make sure that the app is active or usable right now. Apple is a tad infamous for deleting some of the apps from its store from time to time. If that happens after you have installed and started using a video downloader, then you can just remove it and opt for another. Most of these free video downloader apps will save your videos within the app. Some would add them to the videos in your Camera Roll. You can use AirPlay to watch the videos if you have an Apple TV. The videos saved by downloader apps will not be found in the native Videos app of iPhone or iPad. When you search for such apps, use ‘video downloader’ or ‘YouTube downloader’ as the keywords.
Find a suitable app, download it for free and install it
Some of the downloader apps will have premium or pro versions. You don’t need to pay before you have used the free or basic version. Once installed, start the app. Most of these apps have a built-in browser which should allow you to access YouTube. In most cases, you would get to m.youtube.com. If there is no default address, then save the mobile version of YouTube as the default URL. On iPad, you can go for <www.youtube.com>.
Downloading Youtube videos to iPhone or iPad
In all likelihood, you are familiar with how YouTube works. Search for a video that you wish to download, pick the one you want from the search results and it would automatically start to play. In some cases, you may have to click the play button or tap on the video thumbnail for it to start playing. As the video begins to stream or buffer, you would find an icon of the app, usually bobbing or hovering over the screen playing the video. You can tap on this icon, which could be a disk sign or the logo of the app. As you tap on it, you would have a popup that will prompt you to download the video that you are watching.
Depending on the app you are using, the download may begin immediately after tapping on the download icon or there can be another step, which will perhaps show you the list of downloading videos or videos that you have downloaded already. If the download doesn’t start immediately, there could be another button to initiate the download. Tap on it and you are done. The download would be automated and you don’t need to do anything else. You can also have your iPhone or iPad in sleep mode and the download would be completed, as long as there is an active internet connection. You can also see the progress made. Once the download or downloads are complete, you would get a notification. The video downloaded would be within the app’s video library or in your files.
Some apps rename the videos that are being downloaded so it is best you opt for a title or a name that will help you to recognize the video immediately. Other apps will keep the name of the video that appears on YouTube.
Almost all video downloader apps for iPhone and iPad will allow you to watch these videos offline. Some apps may need an internet connection to open but the videos saved will not require any internet to be played and replayed.
Given the fact that there are many video downloader apps and you cannot be sure of the experience of any, you will have to indulge in a bit of trial and error to find the best one.
Richard Bennett
Richard Bennett is a writer and a lover of all things video.
Follow @Richard Bennett
Effortless YouTube Live with Step-by-Step OBS Guide for Beginners
Live stream to youtube with OBS step by step guide for beginners
Richard Bennett
Mar 27, 2024• Proven solutions
- Part1. Stream Now set up
- Part2. Set up Your Live Streaming Encoder
- Part3. Youtube Events set up
- Part4. Video tutorial
1. Stream Now set up
Follow these steps to live stream your impressive videos to YouTube using Stream Now tool:
Step 1: First of all you need to login with your account and then move to Creator Studio option directly.

Step 2: Choose the Video Manager option from top most toolbar.

Step 3: From the drop down menu, simply select Live Streaming option to begin with.

Step 4: Now hot the steam now option on your screen.

Step 5: Change or Upload your thumbnail as per need.

Step 6: It is time to provide an eye catching title to your video, add description and finally choose category from the drop down menu.

Step 7: While using stream option, never forget to click on ‘make archive unlisted when complete’ option so that you can save as well as watch your content on YouTube at later stage.

Step 8: You can monetize your ads as per need.

Step 9: It also provides options to add cards.

Step 10: Now move to encoder setup and then simply copy and paste these details to your streaming software.

Step 11: Now you can set your live chat option as per your requirement.

Step 12: The analysis window will help you to know about how many viewers are connected to your video as well as the message updates will be reflected.

Step 13: Stream health can be monitored directly.

Step 14: One can also use the social media button for live shares.

2.Set up Your Live Streaming Encoder
As soon as you have completed the above set up then next task is to adjust settings of your streaming encoder. It is possible to make easy selection out of wide range of live streaming encoders. The details below are provided with reference to OBS too that is open source type free to access software.
Step 1: First of all you need to visit official website of OBS and get your software tool installed on your system.
Step 2: Now launch OBS on your device and directly go to settings option.

Step 3: It is time to copy the stream key from YouTube and then paste it directly in the specified field of OBS.

Step 4: Users can now add their sources and scenes.

Step 5: Once all these settings are done then you can simply hit the option for start streaming and it will bring your content to YouTube directly.

3. Youtube Events set up
Live stream is little different from Stream Now platform as it allows users to schedule the streams as well as a connectivity to Google Hangouts is provided. These easy to follow steps will assist you to handle all settings for your events using Live Stream tool:
Step 1: Simply click on the schedule event option on screen.

Step 2: It is much easier to make settings for basic information as well as audience type. Make some desired changes to SNS platform. If you select the Quick type then it will directly select your webcam and you need not to make additional complicated settings whereas the custom type option provides easy set up options with OBS.

Step 3: The advance settings option works same as that of stream now features and users can adjust most of these settings as per their streaming needs.

Step 4: Users can turn monetization On or Off as per their preferences.

Step 5: As soon as you finish all above settings then simply click on the create event option.

Step 6: One more window will appear on your screen and here you can make adjustment for preferred bit rate. Also put your dedicated stream key with encoder.

Step 7: When all above steps are completed then you need to hit the option for save changes so that your tool can act accordingly.

Step 8: Now click on events and here you will be able to find your event. Move to live control room if you want to access complete details about this event and you can easily delete it.

Step 9: Users can set privacy terms or simple delete the event that is currently in action.

Video tutorial
Richard Bennett
Richard Bennett is a writer and a lover of all things video.
Follow @Richard Bennett
Richard Bennett
Mar 27, 2024• Proven solutions
- Part1. Stream Now set up
- Part2. Set up Your Live Streaming Encoder
- Part3. Youtube Events set up
- Part4. Video tutorial
1. Stream Now set up
Follow these steps to live stream your impressive videos to YouTube using Stream Now tool:
Step 1: First of all you need to login with your account and then move to Creator Studio option directly.
Step 2: Choose the Video Manager option from top most toolbar.
Step 3: From the drop down menu, simply select Live Streaming option to begin with.
Step 4: Now hot the steam now option on your screen.
Step 5: Change or Upload your thumbnail as per need.
Step 6: It is time to provide an eye catching title to your video, add description and finally choose category from the drop down menu.
Step 7: While using stream option, never forget to click on ‘make archive unlisted when complete’ option so that you can save as well as watch your content on YouTube at later stage.
Step 8: You can monetize your ads as per need.
Step 9: It also provides options to add cards.
Step 10: Now move to encoder setup and then simply copy and paste these details to your streaming software.
Step 11: Now you can set your live chat option as per your requirement.
Step 12: The analysis window will help you to know about how many viewers are connected to your video as well as the message updates will be reflected.
Step 13: Stream health can be monitored directly.
Step 14: One can also use the social media button for live shares.
2.Set up Your Live Streaming Encoder
As soon as you have completed the above set up then next task is to adjust settings of your streaming encoder. It is possible to make easy selection out of wide range of live streaming encoders. The details below are provided with reference to OBS too that is open source type free to access software.
Step 1: First of all you need to visit official website of OBS and get your software tool installed on your system.
Step 2: Now launch OBS on your device and directly go to settings option.
Step 3: It is time to copy the stream key from YouTube and then paste it directly in the specified field of OBS.
Step 4: Users can now add their sources and scenes.
Step 5: Once all these settings are done then you can simply hit the option for start streaming and it will bring your content to YouTube directly.
3. Youtube Events set up
Live stream is little different from Stream Now platform as it allows users to schedule the streams as well as a connectivity to Google Hangouts is provided. These easy to follow steps will assist you to handle all settings for your events using Live Stream tool:
Step 1: Simply click on the schedule event option on screen.
Step 2: It is much easier to make settings for basic information as well as audience type. Make some desired changes to SNS platform. If you select the Quick type then it will directly select your webcam and you need not to make additional complicated settings whereas the custom type option provides easy set up options with OBS.
Step 3: The advance settings option works same as that of stream now features and users can adjust most of these settings as per their streaming needs.
Step 4: Users can turn monetization On or Off as per their preferences.
Step 5: As soon as you finish all above settings then simply click on the create event option.
Step 6: One more window will appear on your screen and here you can make adjustment for preferred bit rate. Also put your dedicated stream key with encoder.
Step 7: When all above steps are completed then you need to hit the option for save changes so that your tool can act accordingly.
Step 8: Now click on events and here you will be able to find your event. Move to live control room if you want to access complete details about this event and you can easily delete it.
Step 9: Users can set privacy terms or simple delete the event that is currently in action.
Video tutorial
Richard Bennett
Richard Bennett is a writer and a lover of all things video.
Follow @Richard Bennett
Also read:
- [New] 2024 Approved Visual Virtuosity Leading Photo Frames Websites and Tools
- [New] Elevate Your Content with Professional End Screen Templates
- [New] Which Video Sharing Platform Prevails? Analyzing IGTV Vs. YouTube
- [Updated] 2024 Approved No More Interrupted Instagram Videos - Here's How
- [Updated] Finding Balance in FB Sharing A Guide to Aspect Ratio Knowledge
- [Updated] Unraveling the Secrets of Exceptional Green Screen Filming
- 2024 Approved Architects of Online Marvel Adventures
- 2024 Approved Efficient Video Transformations with VLC From MPEG-4 to All Formats
- 2024 Approved Effortless Fusion of YouTube Audio with iMovie Masterpieces
- Avoiding Pitfalls Understanding YouTube Standards
- Becoming a Filmora FCC The Pathway Explained
- Curated Cinematic Journeys The Best YT Film Selections for 2024
- Decoding Crypto Trends: Expert Techniques for Interpreting Candlestick Charts Using YL Solutions
- Educational Power Leveraging YouTube in Academic Settings
- Fixing Common Issues with Torrents that Won't Download - A Step-by-Step Guide
- In 2024, Creative Command Center Studio for YouTubers
- Pioneering Methods to Develop a Memorable YouTube Introduction
- Title: In 2024, Download Playback Streaming Youtube Videos on iOS Securely and Smoothly
- Author: Kevin
- Created at : 2025-01-07 18:09:26
- Updated at : 2025-01-10 17:58:50
- Link: https://youtube-videos.techidaily.com/in-2024-download-playback-streaming-youtube-videos-on-ios-securely-and-smoothly/
- License: This work is licensed under CC BY-NC-SA 4.0.