
:max_bytes(150000):strip_icc():format(webp)/18-Hidden-Snapchat-Features-efa75dca521e4cf6bb321dc960276deb.jpg)
In 2024, Best YouTube Shorts Video Editor Tools for iOS & Android Devices
Best YouTube Shorts Video Editor Tools for iOS & Android Devices
Best YouTube Shorts Video Editing Apps for iOS and Android

Richard Bennett
Mar 27, 2024• Proven solutions
Even though Shorts is integrated within the YouTube app and still in beta, you can still edit your videos. At this writing, the only additional elements that you can add to your short videos are background music and captions. While these two are good enough to make your clips informative, they might not be able to attract as many viewers as there would have been if the footages were well-decorated with a couple of filters, effects, stickers, etc.
That said, listed below are some of the efficient and feature-packed third-party apps that can help you beautify your videos before they can be published as Shorts on your YouTube channel:
Best Shorts Video Editing Apps for iOS and Android (Free and Paid)
Top 10 short video editing apps for smartphones, along with their attributes, include:
1. Wondershare Filmora
This was developed by one of the IT giants called Wondershare. The elder sibling of Filmora is Filmora, a PC program for both Windows and Mac platforms that gives tough competition to some of the commonly used post-production applications like Adobe Premiere Pro, Final Cut Pro X, etc.
Supported Platforms: Android and iOS (11.0 and above)
Users’ Star Rating (Out of 5): 4.6
Main Features: Allows video editing (trimming, cutting, etc.), adds or extracts music from the videos, supports HD quality exporting, etc.
Aspect Ratio: Almost all widely used sizes
Sharing: Allows publishing directly to YouTube
Pros: Free to use, available for both iOS and Android, a complete package for video editing enthusiasts
Cons: Free version adds a watermark to the exported videos
2. VideoLeap – Video Editor – Film Photo Editor
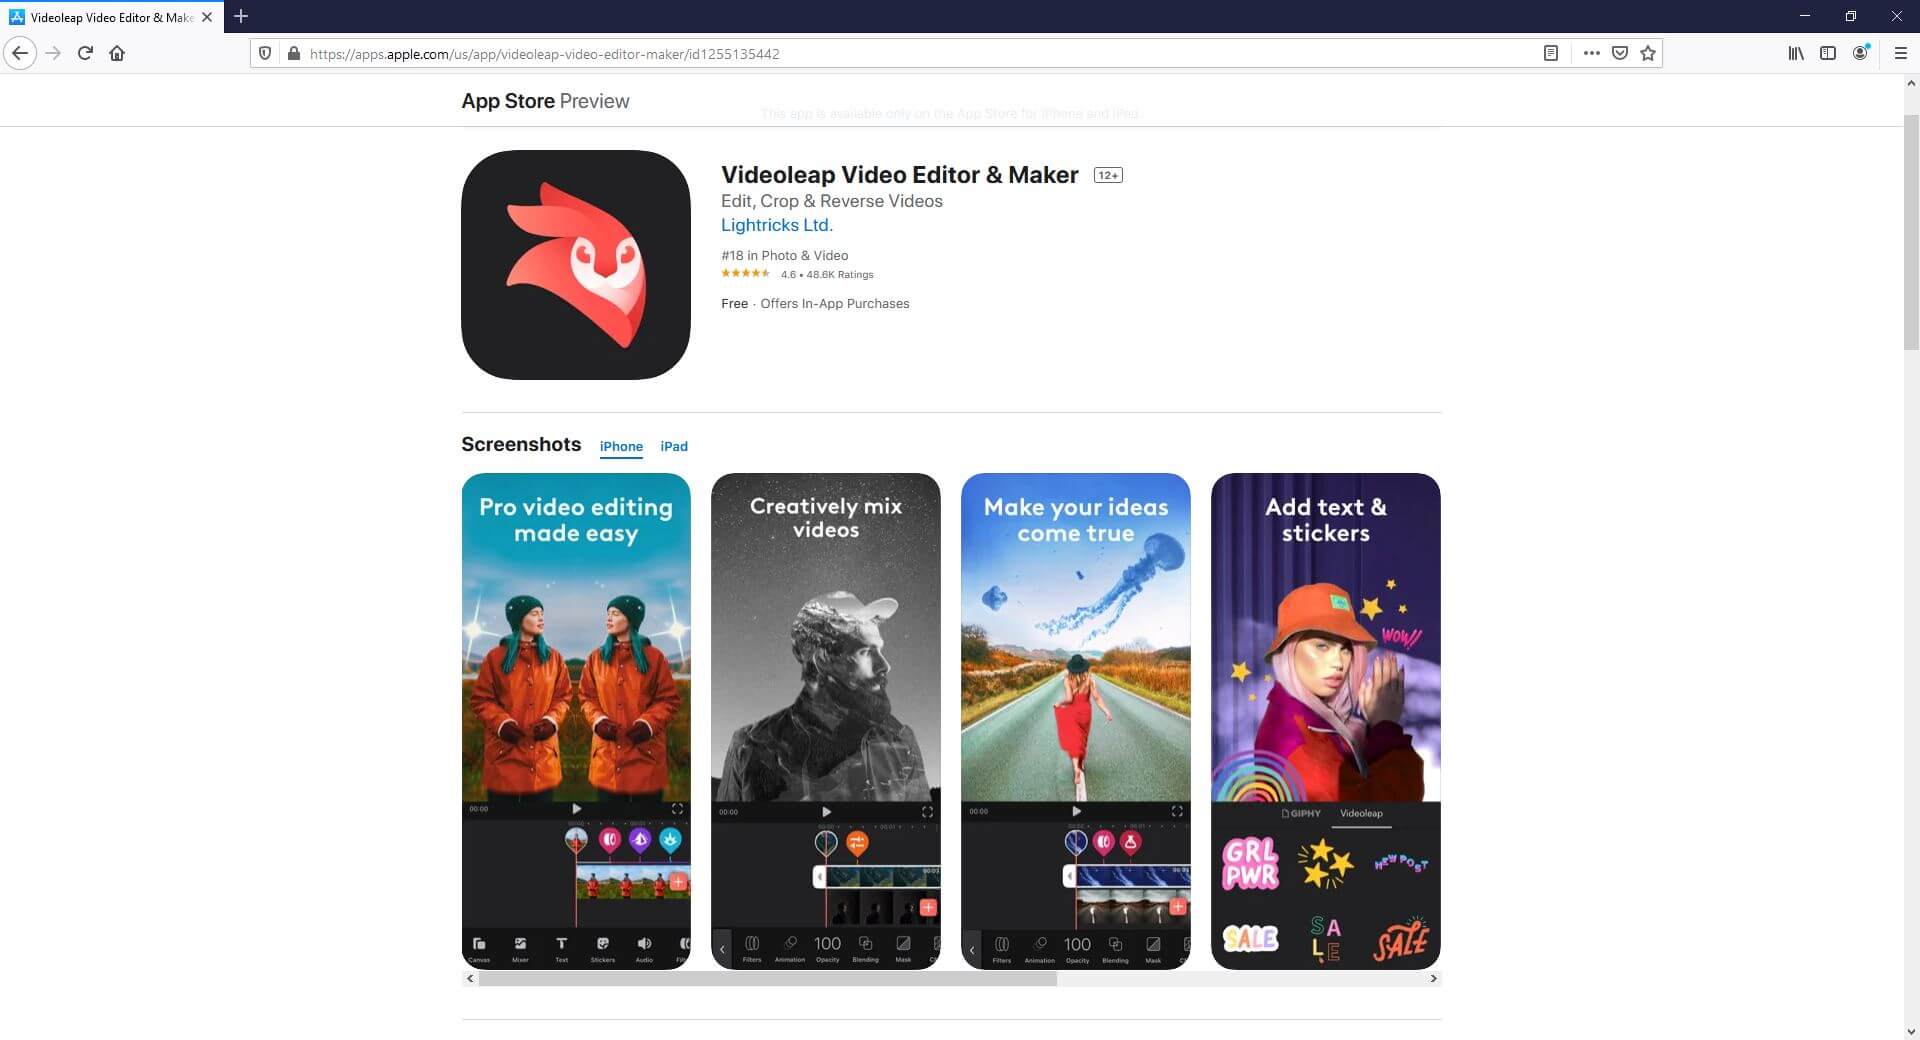
Another lightweight video editor for mobile devices, VideoLeap, lets you edit the videos simply and quickly.
Supported Platforms: Android (4.3 and above) and iOS (12.0 and above)
Users’ Star Rating (Out of 5): 4.3
Main Features: Has more than 200 filters, allows trimming and cropping, offers a practically unlimited number of undoes and redoes
Aspect Ratio: Almost all widely used sizes
Sharing: Exports videos to the device
Pros: Offers layer-based editing, gives access to the professional-level filters for video decoration, has more than 60 overlays, etc.
Cons: Paid subscription is needed to access features like edit, crop, and reverse
3. KineMaster Video Editor
KineMaster is probably one of the most popular video editors among vloggers, beginners, and teenagers. With simple UI, the app offers easy access to many of its features to edit the videos.
Supported Platforms: Android (6.0 and above) and iOS (12.4 and above)
Users’ Star Rating (Out of 5): 4.7
Main Features: Color correction, video reversal, trimming, splitting, cutting, voice changer, sound effects, etc.
Aspect Ratio: Almost all widely used sizes
Sharing: Allows publishing directly to YouTube
Pros: Can export videos to 4K 60 FPS, can be used for free, supports multiple languages
Cons: A premium subscription must be purchased to access advanced features
4. Video Maker for YouTube – Video.Guru
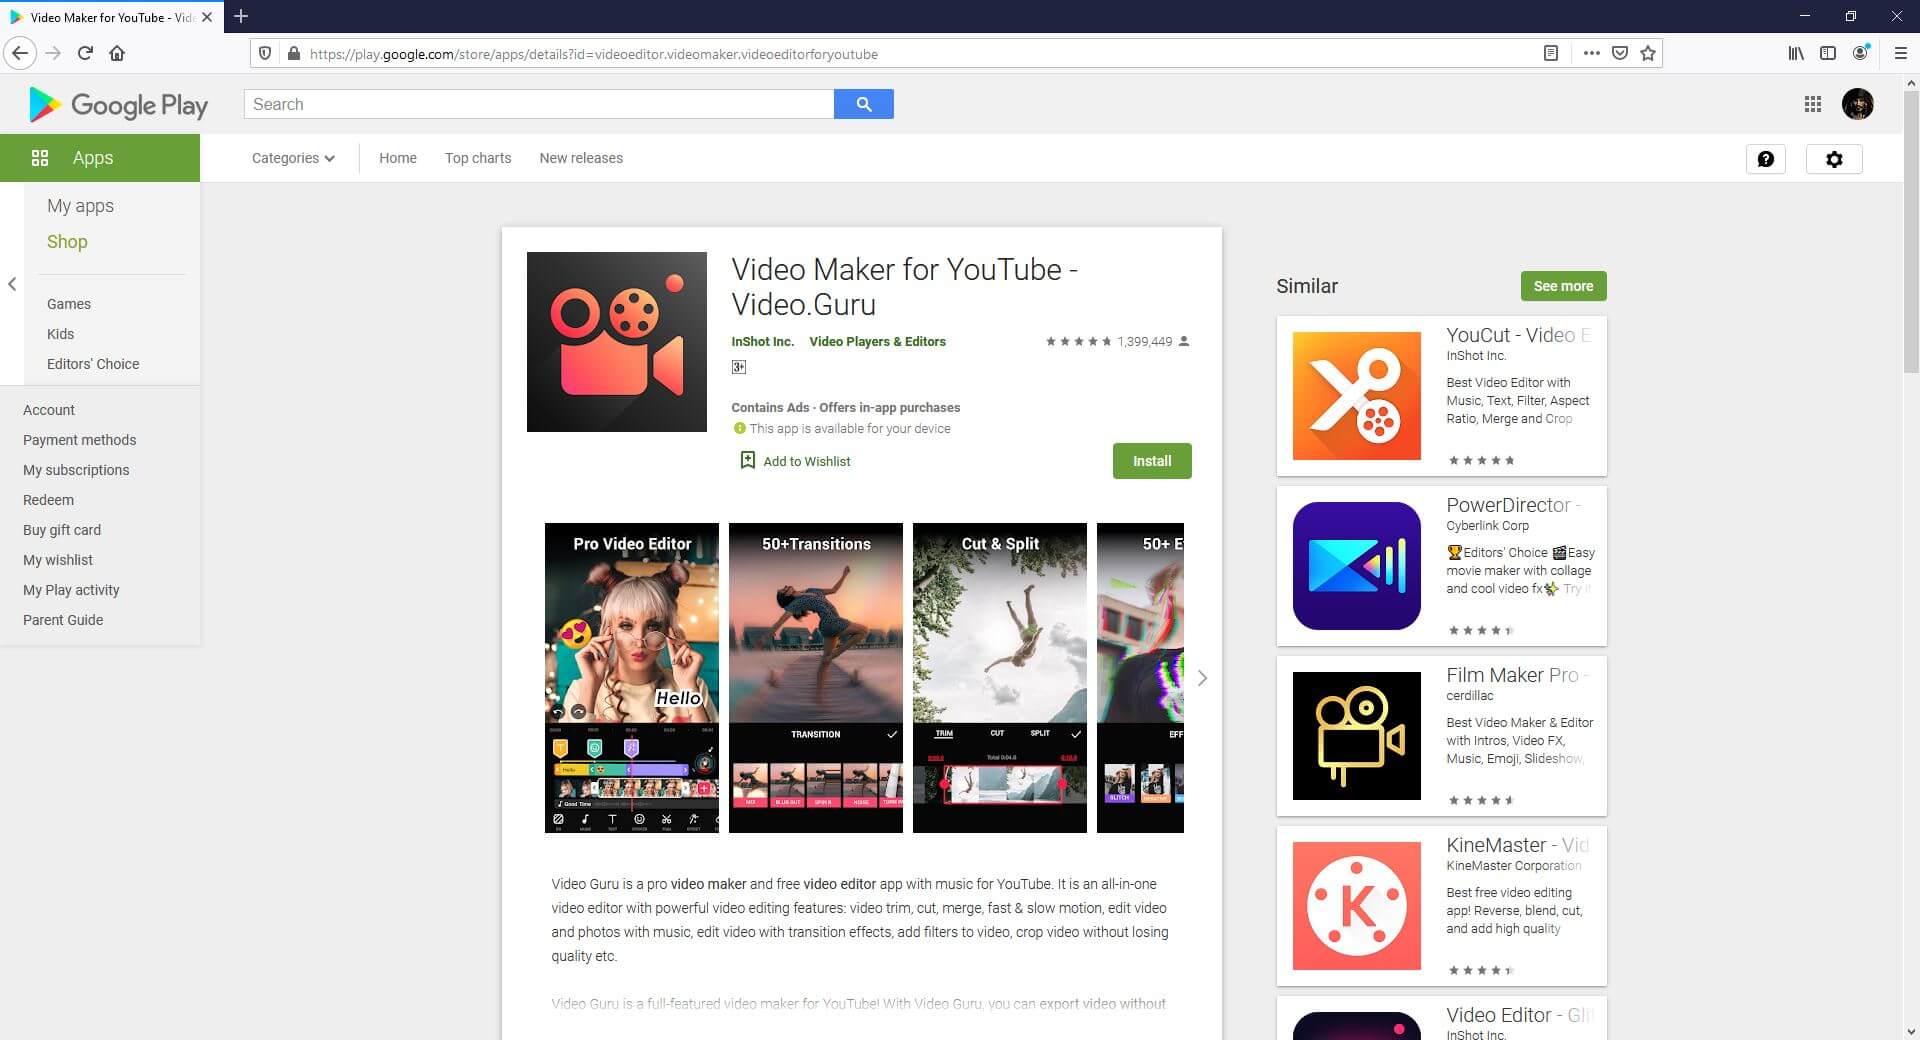
This one is specifically designed and developed for short videos that are prepared for Tik Tok, Facebook, etc.
Supported Platforms: Android (5.0 and above)
Users’ Star Rating (Out of 5): 4.8
Main Features: Supports multi-layer editing, allows voice recording and voiceovers, can be used to create videos for YouTube, has several filters and effects, etc.
Aspect Ratio: Almost all widely used sizes
Sharing: Allows publishing directly to YouTube
Pros: Offers fully licensed music for a video background, allows audio fade-in and fade-out effects, allows music video creation, lets you merge two or more clips into one, etc.
Cons: Some users experience distortion while using an external microphone
5. Adobe Premiere Rush
Developed by the creative application developing giant, Adobe, this app has everything you would possibly need to prepare YouTube Shorts. Because the developer is Adobe, the program can be trusted without any doubts.
Supported Platforms: Android and iOS (13.0 and above)
Users’ Star Rating (Out of 5): 4.6
Main Features: Allows video recording with the built-in camera, allows adding animated titles using the available templates, has a multi-track timeline, etc.
Aspect Ratio: Almost all widely used sizes
Sharing: Allows publishing directly to YouTube
Pros: Offers several editing effects, has a plethora of royalty-free soundtracks, etc.
Cons: Advanced tools can be accessed only after buying a premium subscription
6. Funimate Video Editor & Maker
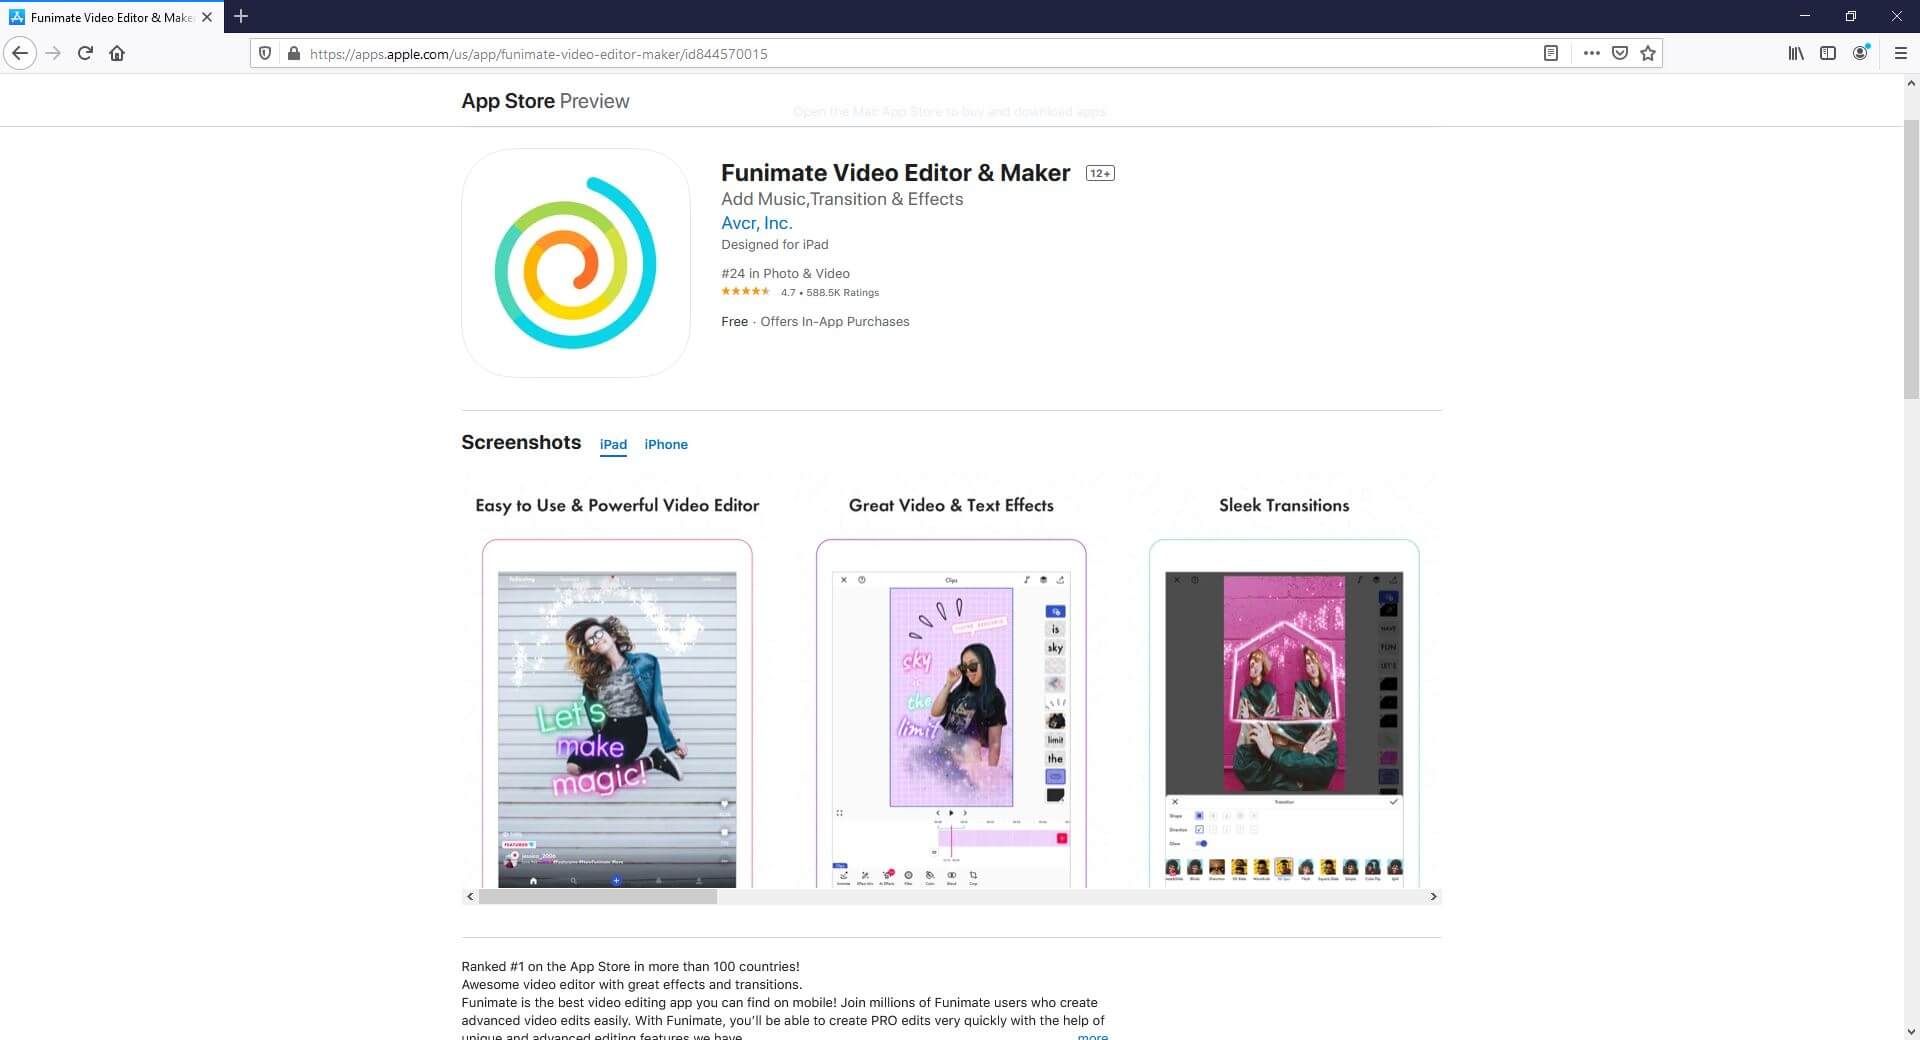
With a 4.7-star rating, this app has been ranked as the best in more than 100 countries. The program has several built-in video effects to make your clips more engaging.
Supported Platforms: Android (5.0 and above) and iOS (12.0 and above)
Users’ Star Rating (Out of 5): 4.7
Main Features: Enables lip-sync, allows keyframe-oriented animations and effects, supports video masking, etc.
Aspect Ratio: Almost all widely used sizes
Sharing: Allows publishing directly to social platforms like YouTube, Tik Tok, Instagram, etc.
Pros: Has intro and outro effects, allows you to add music to the videos, is free to use, etc.
Cons: Paid subscription is needed to unlock all the advanced tools and features of the app
7. LumaFusion
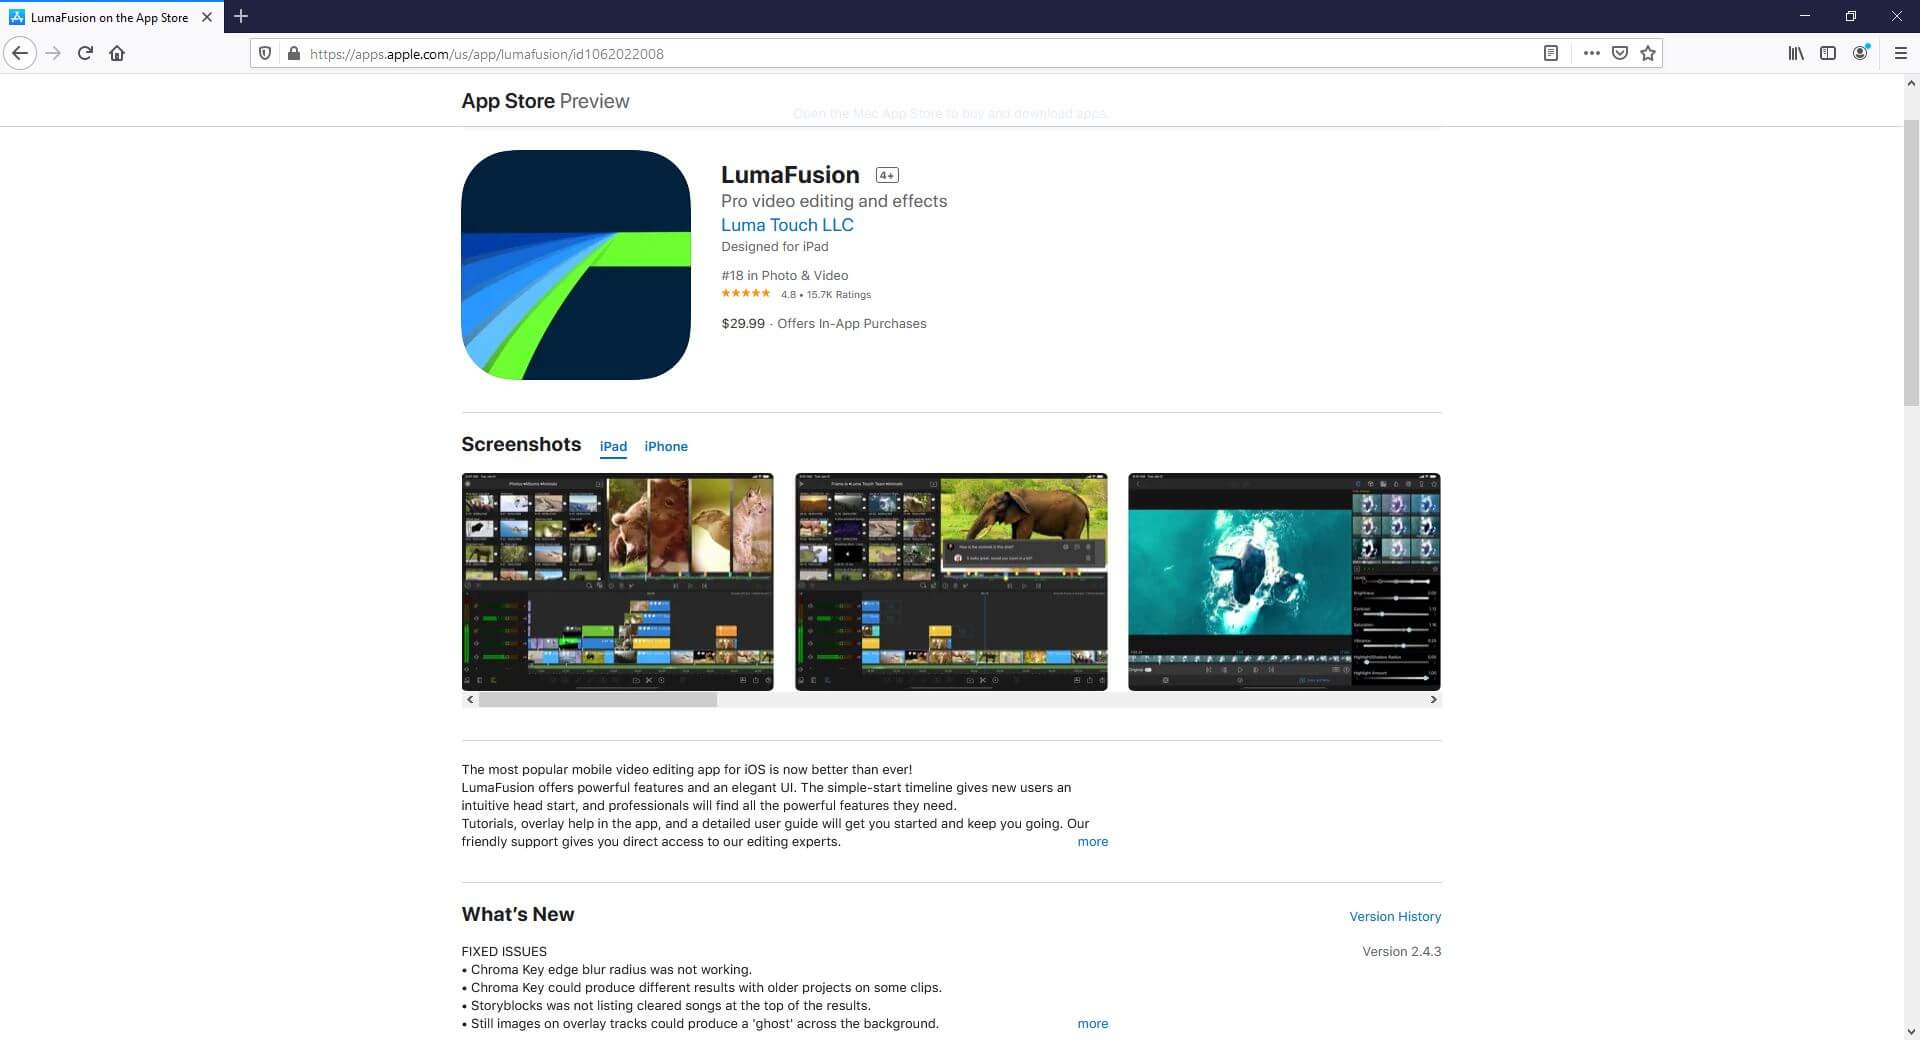
LumaFusion is crowned with a 4.8-star rating and is packed with options like media library, slow and fast motion playback, additional audio tracks, and much more.
Supported Platforms: iOS (13.3 and above)
Users’ Star Rating (Out of 5): 4.8
Main Features: Frame rates that range between 18 FPS to 240 FPS, color correction, keyframe-oriented color, and effects animations, etc.
Aspect Ratio: Almost all widely used sizes
Sharing: Allows publishing directly to almost all platforms
Pros: Can export projects as Final Cut Pro X files for further editing
Cons: Paid subscription is needed for exporting projects for Final Cut Pro X
8. VivaCut – PRO Video Editor APP
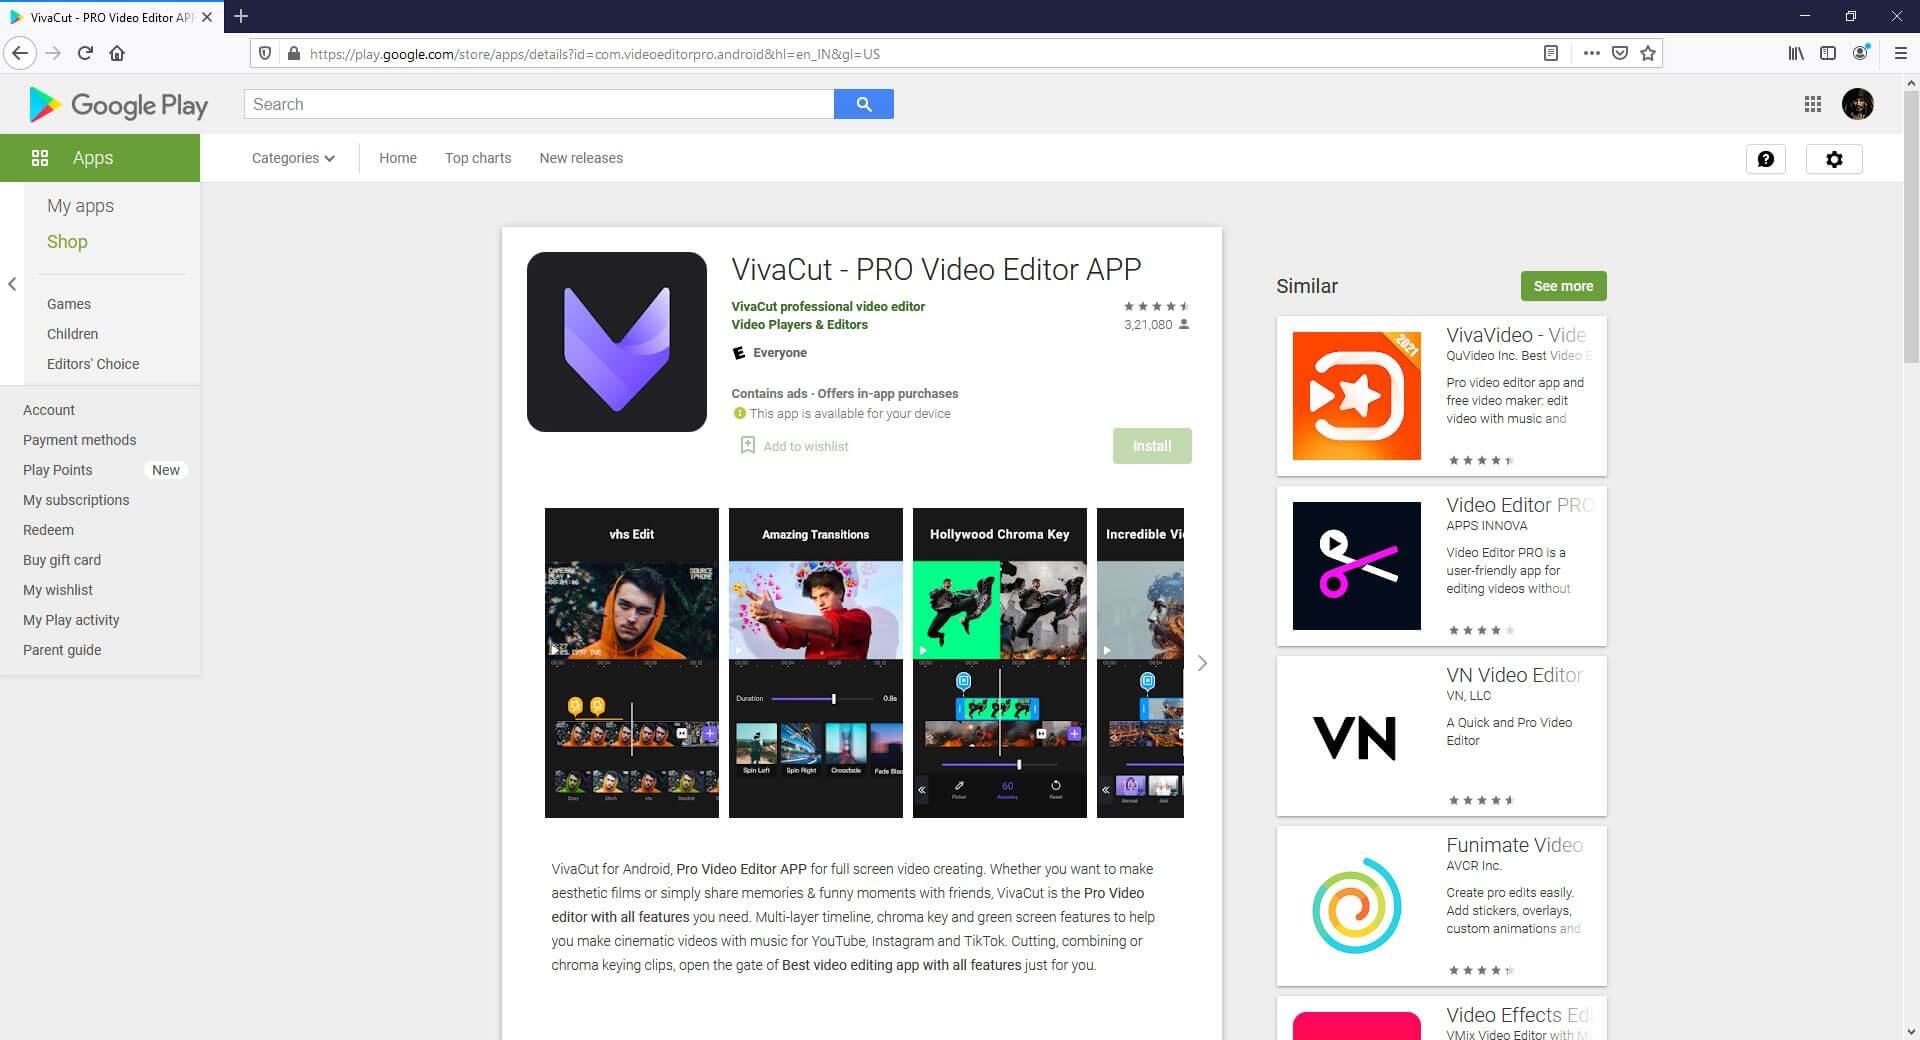
As the name suggests, VivaCut is a professional-level video editing tool for mobile devices that enjoys a decent star rating.
Supported Platforms: Android (5.0 and above) and iOS (9.0 and above)
Users’ Star Rating (Out of 5): 4.7
Main Features: Offers visual effects like VHS, RGP, Glitch, etc., allows Picture-in-Picture (to be released soon), allows video trimming, cropping, and merging, etc.
Aspect Ratio: Almost all widely used sizes
Sharing: Allows one-click publishing directly on YouTube
Pros: Supports up to 4K video resolution
Cons: Paid subscription is required to access the Pro-level features and options
9. Filmmaker Pro – Video Editor
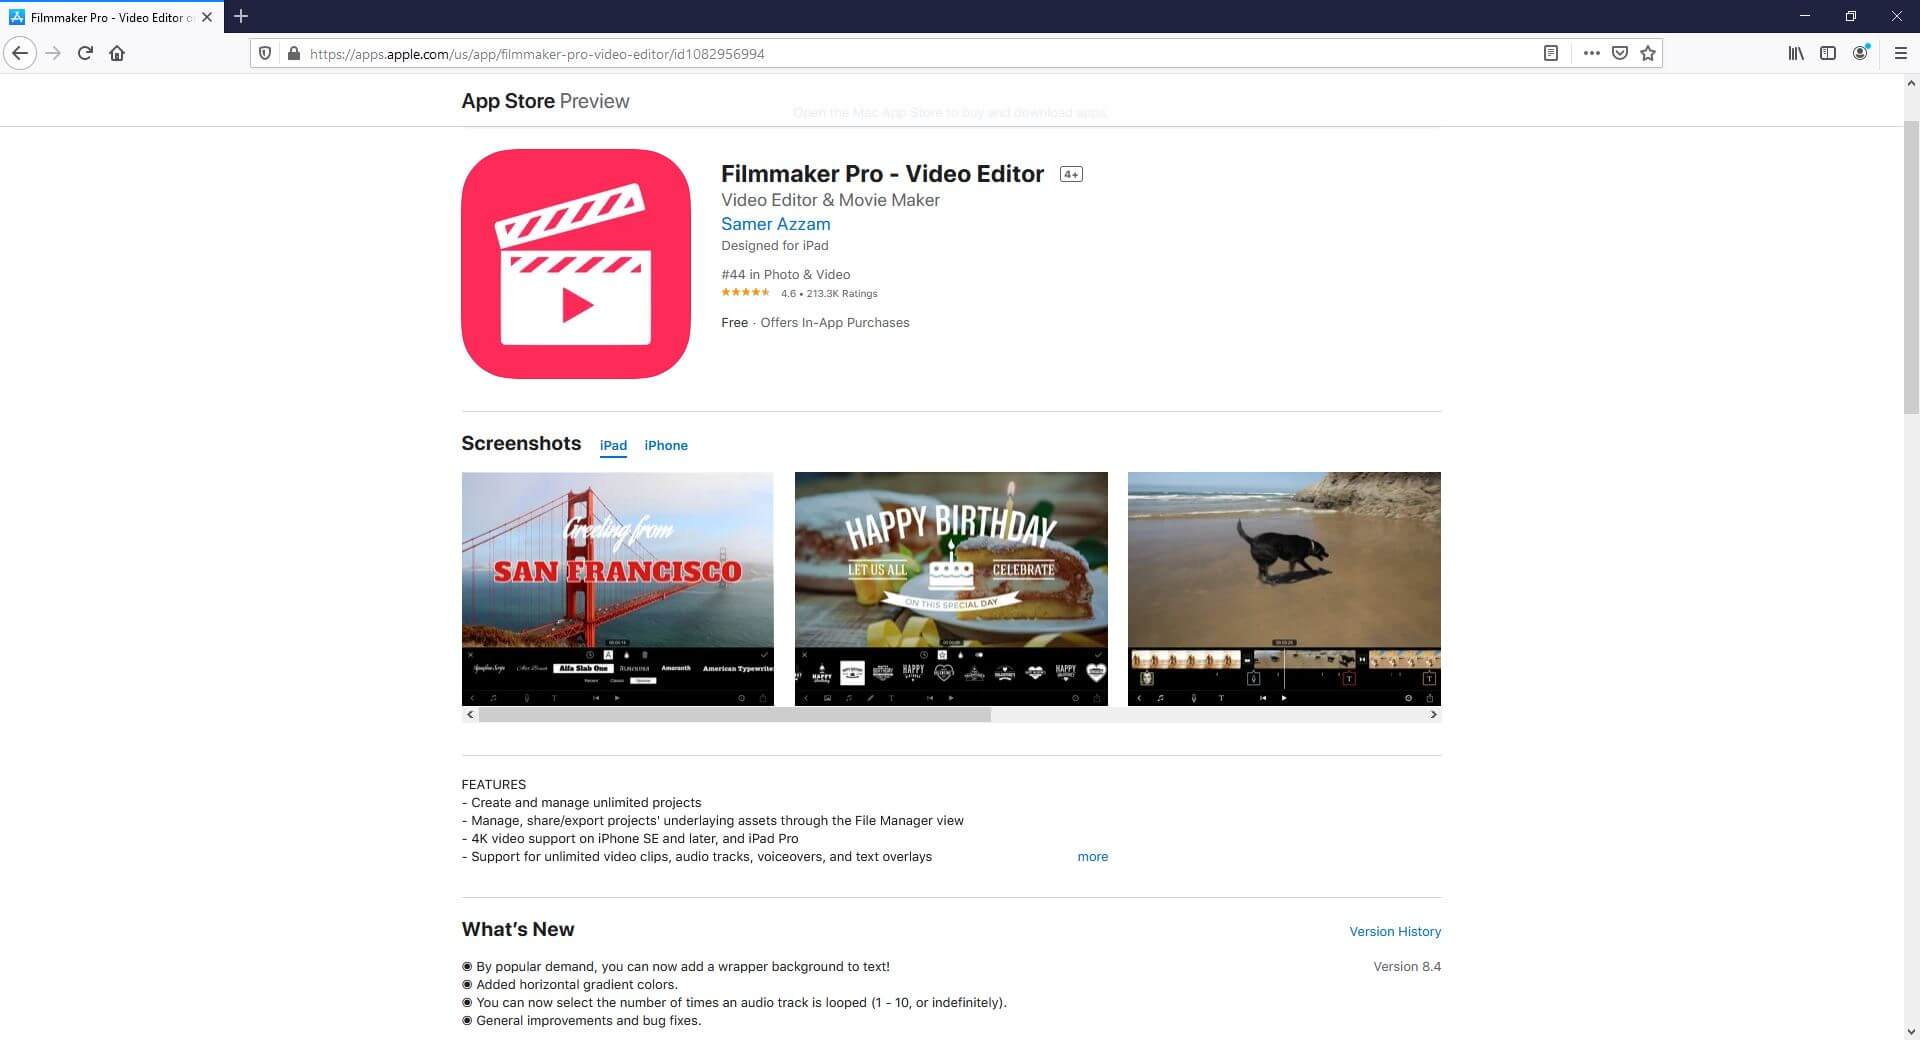
Filmmaker Pro is a free video editing app for mobile devices equipped with a plethora of pro features to make your post-production experience convenient and fun.
Supported Platforms: Android (4.4 and above) and iOS (11.0 and above)
Users’ Star Rating (Out of 5): 4.6
Main Features: Supports video playback reversal, allows Picture-in-Picture for videos and photos, supports green screen (chroma key), and much more.
Aspect Ratio: Almost all widely used sizes
Sharing: Exports videos to the device
Pros: Offers several text animation options, has drawing tools, etc.
Cons: Paid subscription is required to remove watermark from the exported videos
10. Video Editor for YouTube & Video Maker – My Movie
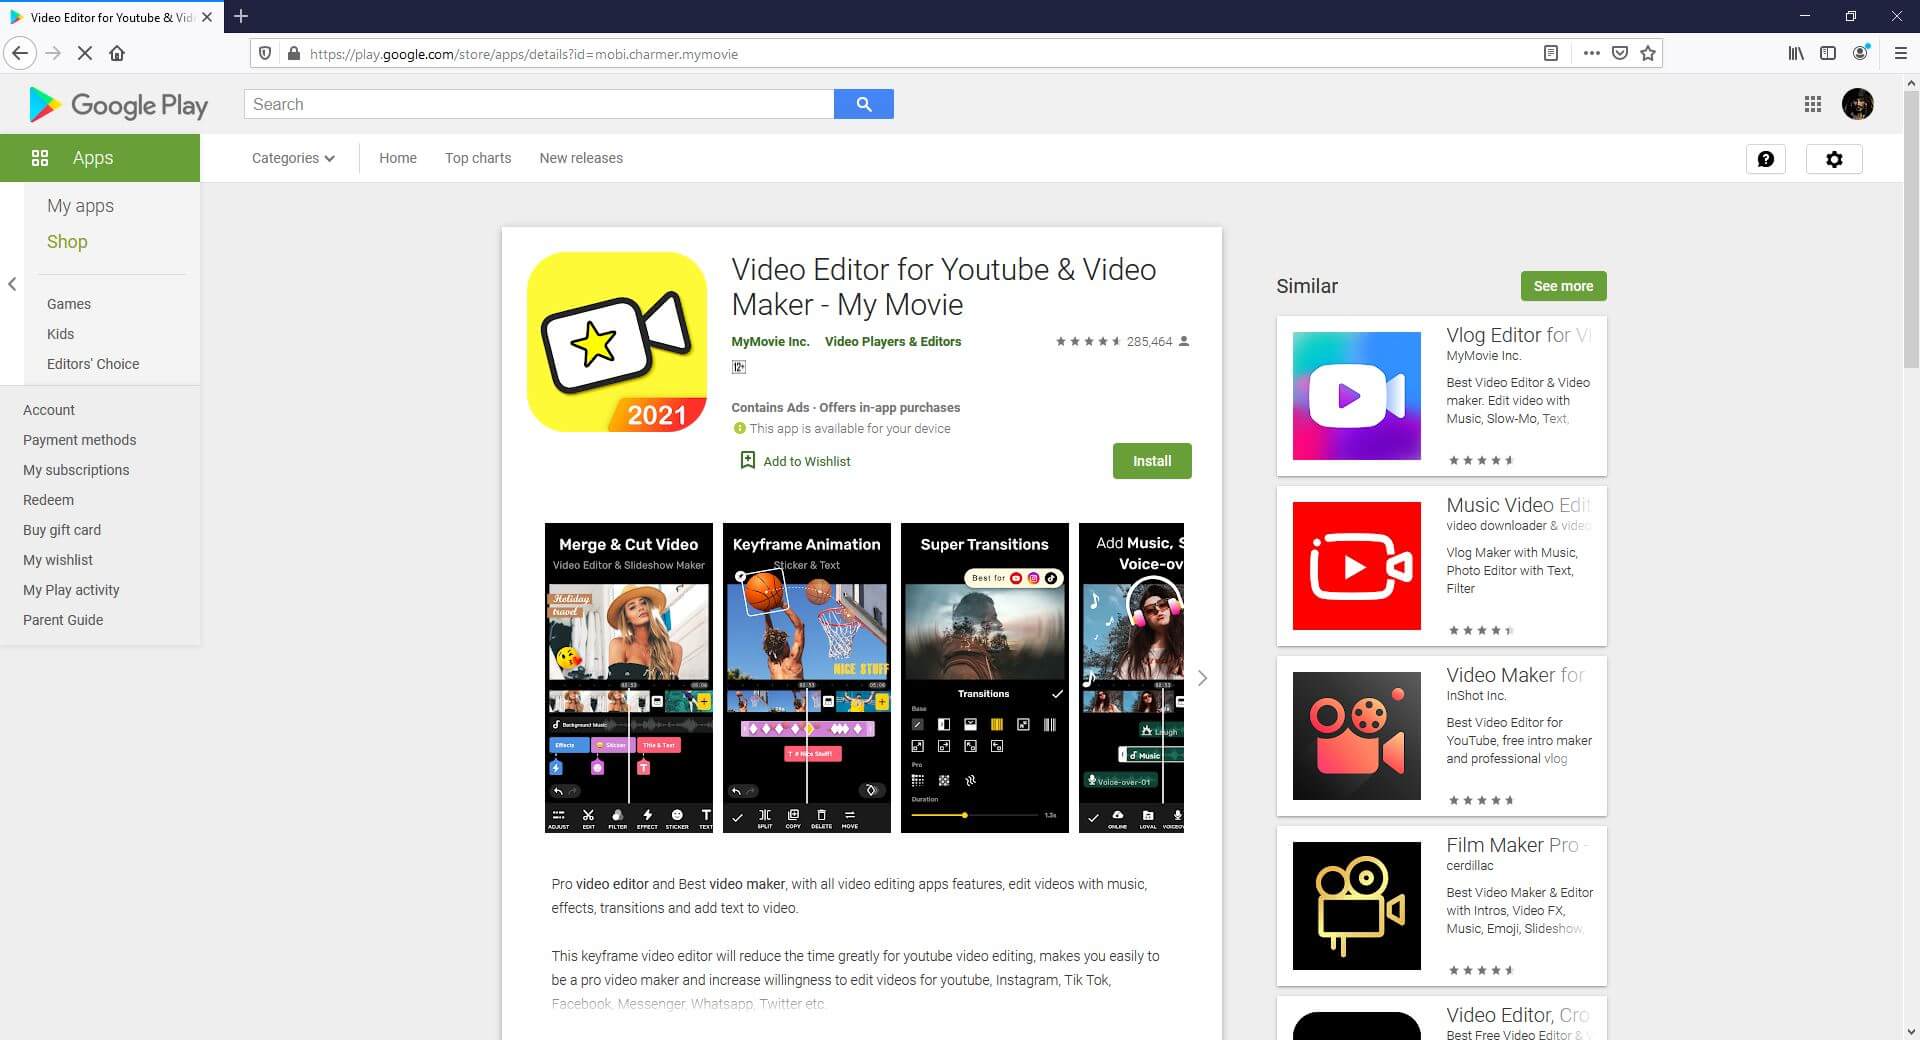
Yet another editor for both amateurs and professionals, Video Editor for YouTube, consists of all the features that a YouTube Shorts video needs to prepare engaging content.
Supported Platforms: Android (5.0 and above)
Users’ Star Rating (Out of 5): 4.6
Main Features: Allows cropping, flipping, and rotating the video clips, allows audio recording for voiceovers, lets you control the playback speed, etc.
Aspect Ratio: Almost all widely used sizes
Sharing: Allows publishing directly on YouTube
Pros: Has keyframe-oriented animation effects, can merge multiple video clips into one, etc.
Cons: Some content might not be suitable for kids below 12 years of age
Above are some of the best video editing apps that you can use on iPhone or Android phones to create YouTube Shorts videos. Besides those third-party apps, you can also create a Shorts video from the YouTube app directly. Check this article to get detailed information about making and uploading a YouTube Shorts Video with Shorts App .
Use Filmora to Create YouTube Shorts Video on PC
If you prefer to convert or make videos on a computer, I recommend you to try our video editor Filmora X , which is an ideal solution for YouTubers.
You can make a vertical video with Filmora easily as it provides a 9:16 aspect ratio that works perfectly for editing YouTube Shorts videos. Compared with mobile apps, desktop softwares like Filmora allows you to add more elements and effects to your video to make it impressive. Check out the below video about how to edit vertical video using our Filmora X and try it out if you are impressed.
For Win 7 or later (64-bit)
 Secure Download
For macOS 10.14 or later
Secure Download
Click here to get Filmora for PC by email
or Try Filmora App for mobile >>>
download filmora app for ios ](https://app.adjust.com/b0k9hf2%5F4bsu85t ) download filmora app for android ](https://app.adjust.com/b0k9hf2%5F4bsu85t )
Conclusion
Making videos less than 60 seconds in duration and then publishing them on YouTube with the ‘#Shorts’ tag in the title or description lets you create short videos for YouTube. The apps listed above help you in this, and you can easily prepare attractive and engaging short clips pretty quickly using any of them. However, the most recommended, widely used, and the much-appreciated program is Wondershare Filmora that is not merely limited to mobile application-level features, it even has tools that usually compete with those available in the desktop software.
Richard Bennett
Richard Bennett is a writer and a lover of all things video.
Follow @Richard Bennett
Richard Bennett
Mar 27, 2024• Proven solutions
Even though Shorts is integrated within the YouTube app and still in beta, you can still edit your videos. At this writing, the only additional elements that you can add to your short videos are background music and captions. While these two are good enough to make your clips informative, they might not be able to attract as many viewers as there would have been if the footages were well-decorated with a couple of filters, effects, stickers, etc.
That said, listed below are some of the efficient and feature-packed third-party apps that can help you beautify your videos before they can be published as Shorts on your YouTube channel:
Best Shorts Video Editing Apps for iOS and Android (Free and Paid)
Top 10 short video editing apps for smartphones, along with their attributes, include:
1. Wondershare Filmora
This was developed by one of the IT giants called Wondershare. The elder sibling of Filmora is Filmora, a PC program for both Windows and Mac platforms that gives tough competition to some of the commonly used post-production applications like Adobe Premiere Pro, Final Cut Pro X, etc.
Supported Platforms: Android and iOS (11.0 and above)
Users’ Star Rating (Out of 5): 4.6
Main Features: Allows video editing (trimming, cutting, etc.), adds or extracts music from the videos, supports HD quality exporting, etc.
Aspect Ratio: Almost all widely used sizes
Sharing: Allows publishing directly to YouTube
Pros: Free to use, available for both iOS and Android, a complete package for video editing enthusiasts
Cons: Free version adds a watermark to the exported videos
2. VideoLeap – Video Editor – Film Photo Editor
Another lightweight video editor for mobile devices, VideoLeap, lets you edit the videos simply and quickly.
Supported Platforms: Android (4.3 and above) and iOS (12.0 and above)
Users’ Star Rating (Out of 5): 4.3
Main Features: Has more than 200 filters, allows trimming and cropping, offers a practically unlimited number of undoes and redoes
Aspect Ratio: Almost all widely used sizes
Sharing: Exports videos to the device
Pros: Offers layer-based editing, gives access to the professional-level filters for video decoration, has more than 60 overlays, etc.
Cons: Paid subscription is needed to access features like edit, crop, and reverse
3. KineMaster Video Editor
KineMaster is probably one of the most popular video editors among vloggers, beginners, and teenagers. With simple UI, the app offers easy access to many of its features to edit the videos.
Supported Platforms: Android (6.0 and above) and iOS (12.4 and above)
Users’ Star Rating (Out of 5): 4.7
Main Features: Color correction, video reversal, trimming, splitting, cutting, voice changer, sound effects, etc.
Aspect Ratio: Almost all widely used sizes
Sharing: Allows publishing directly to YouTube
Pros: Can export videos to 4K 60 FPS, can be used for free, supports multiple languages
Cons: A premium subscription must be purchased to access advanced features
4. Video Maker for YouTube – Video.Guru
This one is specifically designed and developed for short videos that are prepared for Tik Tok, Facebook, etc.
Supported Platforms: Android (5.0 and above)
Users’ Star Rating (Out of 5): 4.8
Main Features: Supports multi-layer editing, allows voice recording and voiceovers, can be used to create videos for YouTube, has several filters and effects, etc.
Aspect Ratio: Almost all widely used sizes
Sharing: Allows publishing directly to YouTube
Pros: Offers fully licensed music for a video background, allows audio fade-in and fade-out effects, allows music video creation, lets you merge two or more clips into one, etc.
Cons: Some users experience distortion while using an external microphone
5. Adobe Premiere Rush
Developed by the creative application developing giant, Adobe, this app has everything you would possibly need to prepare YouTube Shorts. Because the developer is Adobe, the program can be trusted without any doubts.
Supported Platforms: Android and iOS (13.0 and above)
Users’ Star Rating (Out of 5): 4.6
Main Features: Allows video recording with the built-in camera, allows adding animated titles using the available templates, has a multi-track timeline, etc.
Aspect Ratio: Almost all widely used sizes
Sharing: Allows publishing directly to YouTube
Pros: Offers several editing effects, has a plethora of royalty-free soundtracks, etc.
Cons: Advanced tools can be accessed only after buying a premium subscription
6. Funimate Video Editor & Maker
With a 4.7-star rating, this app has been ranked as the best in more than 100 countries. The program has several built-in video effects to make your clips more engaging.
Supported Platforms: Android (5.0 and above) and iOS (12.0 and above)
Users’ Star Rating (Out of 5): 4.7
Main Features: Enables lip-sync, allows keyframe-oriented animations and effects, supports video masking, etc.
Aspect Ratio: Almost all widely used sizes
Sharing: Allows publishing directly to social platforms like YouTube, Tik Tok, Instagram, etc.
Pros: Has intro and outro effects, allows you to add music to the videos, is free to use, etc.
Cons: Paid subscription is needed to unlock all the advanced tools and features of the app
7. LumaFusion
LumaFusion is crowned with a 4.8-star rating and is packed with options like media library, slow and fast motion playback, additional audio tracks, and much more.
Supported Platforms: iOS (13.3 and above)
Users’ Star Rating (Out of 5): 4.8
Main Features: Frame rates that range between 18 FPS to 240 FPS, color correction, keyframe-oriented color, and effects animations, etc.
Aspect Ratio: Almost all widely used sizes
Sharing: Allows publishing directly to almost all platforms
Pros: Can export projects as Final Cut Pro X files for further editing
Cons: Paid subscription is needed for exporting projects for Final Cut Pro X
8. VivaCut – PRO Video Editor APP
As the name suggests, VivaCut is a professional-level video editing tool for mobile devices that enjoys a decent star rating.
Supported Platforms: Android (5.0 and above) and iOS (9.0 and above)
Users’ Star Rating (Out of 5): 4.7
Main Features: Offers visual effects like VHS, RGP, Glitch, etc., allows Picture-in-Picture (to be released soon), allows video trimming, cropping, and merging, etc.
Aspect Ratio: Almost all widely used sizes
Sharing: Allows one-click publishing directly on YouTube
Pros: Supports up to 4K video resolution
Cons: Paid subscription is required to access the Pro-level features and options
9. Filmmaker Pro – Video Editor
Filmmaker Pro is a free video editing app for mobile devices equipped with a plethora of pro features to make your post-production experience convenient and fun.
Supported Platforms: Android (4.4 and above) and iOS (11.0 and above)
Users’ Star Rating (Out of 5): 4.6
Main Features: Supports video playback reversal, allows Picture-in-Picture for videos and photos, supports green screen (chroma key), and much more.
Aspect Ratio: Almost all widely used sizes
Sharing: Exports videos to the device
Pros: Offers several text animation options, has drawing tools, etc.
Cons: Paid subscription is required to remove watermark from the exported videos
10. Video Editor for YouTube & Video Maker – My Movie
Yet another editor for both amateurs and professionals, Video Editor for YouTube, consists of all the features that a YouTube Shorts video needs to prepare engaging content.
Supported Platforms: Android (5.0 and above)
Users’ Star Rating (Out of 5): 4.6
Main Features: Allows cropping, flipping, and rotating the video clips, allows audio recording for voiceovers, lets you control the playback speed, etc.
Aspect Ratio: Almost all widely used sizes
Sharing: Allows publishing directly on YouTube
Pros: Has keyframe-oriented animation effects, can merge multiple video clips into one, etc.
Cons: Some content might not be suitable for kids below 12 years of age
Above are some of the best video editing apps that you can use on iPhone or Android phones to create YouTube Shorts videos. Besides those third-party apps, you can also create a Shorts video from the YouTube app directly. Check this article to get detailed information about making and uploading a YouTube Shorts Video with Shorts App .
Use Filmora to Create YouTube Shorts Video on PC
If you prefer to convert or make videos on a computer, I recommend you to try our video editor Filmora X , which is an ideal solution for YouTubers.
You can make a vertical video with Filmora easily as it provides a 9:16 aspect ratio that works perfectly for editing YouTube Shorts videos. Compared with mobile apps, desktop softwares like Filmora allows you to add more elements and effects to your video to make it impressive. Check out the below video about how to edit vertical video using our Filmora X and try it out if you are impressed.
For Win 7 or later (64-bit)
Secure Download
For macOS 10.14 or later
Secure Download
Click here to get Filmora for PC by email
or Try Filmora App for mobile >>>
download filmora app for ios ](https://app.adjust.com/b0k9hf2%5F4bsu85t ) download filmora app for android ](https://app.adjust.com/b0k9hf2%5F4bsu85t )
Conclusion
Making videos less than 60 seconds in duration and then publishing them on YouTube with the ‘#Shorts’ tag in the title or description lets you create short videos for YouTube. The apps listed above help you in this, and you can easily prepare attractive and engaging short clips pretty quickly using any of them. However, the most recommended, widely used, and the much-appreciated program is Wondershare Filmora that is not merely limited to mobile application-level features, it even has tools that usually compete with those available in the desktop software.
Richard Bennett
Richard Bennett is a writer and a lover of all things video.
Follow @Richard Bennett
Streamlining Content Delivery: The Definitive YouTube Video Upload Guide
How To Upload Videos to YouTube [a Step-by-Step Guide]
Richard Bennett
Mar 27, 2024• Proven solutions
Want to learn how to upload videos to YouTube? Millions of people watch YouTube every day. Creating and posting YouTube videos can be a lot of fun, and if you get a lot of views and become popular you can also make money. YouTube videos are a creative way to connect with people all around the world.
These simple steps can assist you in learning how to upload YouTube videos from a desktop computer. You are going to Learn:
Edit YouTube with Powerful Video Editor
As a YouTuber, it is necessary to have an easy-to-use video editor, especially for beginners. Download Filmora for free and start your editing journey happily.


Part 1: Basic Rules You Need to Know Before Uploading
Clicking the ‘upload’ button is easy, but during the upload process, there are things you can do to help your video get views and maintain its quality. You should also keep an eye on the length and file size limits. The more basic things you need to consider carefully when you upload are the title, description, and tags of your video. These are part of what determines if and where your video comes up in people’s search results. There are also slightly more advanced video specs, like your video’s resolution, which will be helpful for you to understand as somebody who will be producing video content frequently. These sorts of specs will affect how long it takes your videos to upload and how much of the quality they maintain.
1. How Long Can my Video Be?
By default, your YouTube videos can only be 15 minutes long. You can post longer videos by going to the upload page and clicking on ‘Increase your Limit’ at the bottom. After you have followed the steps to verify your account you will be able to post videos that are a maximum of 11 hours long.
2. How Big a File Can I Upload?
Your file size was capped at 20GB, initially. If you follow the same steps for posting videos longer than 15 minutes then you can also increase your maximum file size to 128GB.
3. Other Basics
After you click the ‘upload’ button on YouTube you are taken to a page where you choose a category for your video and add a title, description, and tags. These are all important for getting hits so you should put some thought into them.
Title: Keep your title under 70 characters so none of it disappears into a ‘…’. The best titles make people curious or elicit an emotional response. Terms like ‘video’, ‘how-to’, and ‘tutorial’ are often typed into people’s searches so if they apply to your video it can help to put them in the title.
Description: A short synopsis of your video which includes your most important keyword. You have about three lines before your text is hidden by a ‘show more’ tab. If you are including the URL of your channel or other videos then you should make sure they are above the ‘show more’.
Tags: Use a lot of them. These are the keywords and terms people will be searching for when they find your video. YouTube will suggest some after you start adding. A quick way to find good keywords to use is to search for videos similar to yours and check out their tags. A while ago YouTube started hiding video tags by default but you can download a free, YouTube-certified, extension for Google Chrome which will allow you to see them from vidIQ.com.
4. Digging Deeper
To get your viewers to subscribe to your channel you will need to make sure your videos are not losing quality when you upload them. Here are some things to be aware of if you want your videos to look great on YouTube.
Resolution: the number of pixels in your image. For example when a video has a resolution of 1080p that means it has a grid of pixels that is 1920 x 1080. The more pixels you have the sharper your image.
Bitrate: Bitrate is a measurement of how compressed your file is, and the less compressed it is the more information there is per frame. Higher bitrates mean larger file sizes.
Your resolution and bitrate should complement each other. If you have a higher bitrate than is needed for your video’s resolution your file will be unnecessarily large. If your bitrate is too low for your resolution then you will not see the quality you expect.
YouTube has a list of recommended resolutions and bitrates at support.google.com/youtube/answer/1722171.
Aspect Ratio: the dimensions of your video, in terms of width and height. YouTube’s aspect ratio is 16:9, so your videos should also be 16:9. If they are not then you will get black bars on either side of your video after you upload it. The most common way that people end up with the wrong aspect ratio is by creating videos on their smartphones and holding them up and down instead of sideways.
Part 2: Steps to Upload Videos to YouTube
Uploading YouTube Video on Desktop:
1. Sign in to your YouTube account
2. Hit the upload button
3. Select your video type (Public, Private, Unlisted)
4. Manage the upload
5. Choose your thumbnail
Step 1: Sign in to your YouTube account
In order to upload videos to YouTube, the very first thing you need to do is sign in. The sign-in button is located at the top right corner of the YouTube homepage. If you have multiple accounts registered to one device, you will be asked to choose one to log in to.

Step 2: Hit the upload button
It is a simple step that you will have to follow right after you log in to YouTube. As soon as you enter YouTube, after using your Google account and password for login, you will find the upload button in the top right corner of the screen. Click on this button and it will take you to the dedicated upload page.
Step 3: Select your video type (Public, Private, Unlisted)
Choose your audience. If you wish to make your video available to everyone on YouTube, simply go to the privacy settings and choose the “Public” option from the drop-down menu.
If you do not want your video to be searchable, but still want to be able to easily share a link to it with your friends and family, choose the “Unlisted” option.
Those who wish to keep their video personal can choose the “Private” option from the drop-down menu. You can still share a private video with a limited number of people (as long as they have Google accounts).
The “Scheduled” option is available for choosing a future date and time to make the video available to viewers. Once you have selected your privacy level, simply upload your video from your device storage.

Step 4: Manage the upload
As soon as you have confirmed your video upload, you will find a progress bar on the screen. It will take some time depending on factors such as the resolution of the video and how long it is. In the meanwhile, you can write a title, description and add relevant tags for your video so that YouTube knows what search results to include it in and viewers can find it. Remember that YouTube is the second biggest search engine on the Internet, so take some time to optimize your keywords .
Step 5: Choose your thumbnail
Once your video uploading is complete, it is time to choose a creative thumbnail for your video. The system provides you with three options to choose from automatically, all of which will be screenshots from your video. It is usually better toupload your own custom thumbnail , as thumbnails are a very important factor in attracting viewers. Hit the “Done” button or use the “Publish” button to finalize your upload.
That’s how to upload a video on YouTube! Any questions?
Richard Bennett
Richard Bennett is a writer and a lover of all things video.
Follow @Richard Bennett
Richard Bennett
Mar 27, 2024• Proven solutions
Want to learn how to upload videos to YouTube? Millions of people watch YouTube every day. Creating and posting YouTube videos can be a lot of fun, and if you get a lot of views and become popular you can also make money. YouTube videos are a creative way to connect with people all around the world.
These simple steps can assist you in learning how to upload YouTube videos from a desktop computer. You are going to Learn:
Edit YouTube with Powerful Video Editor
As a YouTuber, it is necessary to have an easy-to-use video editor, especially for beginners. Download Filmora for free and start your editing journey happily.
Part 1: Basic Rules You Need to Know Before Uploading
Clicking the ‘upload’ button is easy, but during the upload process, there are things you can do to help your video get views and maintain its quality. You should also keep an eye on the length and file size limits. The more basic things you need to consider carefully when you upload are the title, description, and tags of your video. These are part of what determines if and where your video comes up in people’s search results. There are also slightly more advanced video specs, like your video’s resolution, which will be helpful for you to understand as somebody who will be producing video content frequently. These sorts of specs will affect how long it takes your videos to upload and how much of the quality they maintain.
1. How Long Can my Video Be?
By default, your YouTube videos can only be 15 minutes long. You can post longer videos by going to the upload page and clicking on ‘Increase your Limit’ at the bottom. After you have followed the steps to verify your account you will be able to post videos that are a maximum of 11 hours long.
2. How Big a File Can I Upload?
Your file size was capped at 20GB, initially. If you follow the same steps for posting videos longer than 15 minutes then you can also increase your maximum file size to 128GB.
3. Other Basics
After you click the ‘upload’ button on YouTube you are taken to a page where you choose a category for your video and add a title, description, and tags. These are all important for getting hits so you should put some thought into them.
Title: Keep your title under 70 characters so none of it disappears into a ‘…’. The best titles make people curious or elicit an emotional response. Terms like ‘video’, ‘how-to’, and ‘tutorial’ are often typed into people’s searches so if they apply to your video it can help to put them in the title.
Description: A short synopsis of your video which includes your most important keyword. You have about three lines before your text is hidden by a ‘show more’ tab. If you are including the URL of your channel or other videos then you should make sure they are above the ‘show more’.
Tags: Use a lot of them. These are the keywords and terms people will be searching for when they find your video. YouTube will suggest some after you start adding. A quick way to find good keywords to use is to search for videos similar to yours and check out their tags. A while ago YouTube started hiding video tags by default but you can download a free, YouTube-certified, extension for Google Chrome which will allow you to see them from vidIQ.com.
4. Digging Deeper
To get your viewers to subscribe to your channel you will need to make sure your videos are not losing quality when you upload them. Here are some things to be aware of if you want your videos to look great on YouTube.
Resolution: the number of pixels in your image. For example when a video has a resolution of 1080p that means it has a grid of pixels that is 1920 x 1080. The more pixels you have the sharper your image.
Bitrate: Bitrate is a measurement of how compressed your file is, and the less compressed it is the more information there is per frame. Higher bitrates mean larger file sizes.
Your resolution and bitrate should complement each other. If you have a higher bitrate than is needed for your video’s resolution your file will be unnecessarily large. If your bitrate is too low for your resolution then you will not see the quality you expect.
YouTube has a list of recommended resolutions and bitrates at support.google.com/youtube/answer/1722171.
Aspect Ratio: the dimensions of your video, in terms of width and height. YouTube’s aspect ratio is 16:9, so your videos should also be 16:9. If they are not then you will get black bars on either side of your video after you upload it. The most common way that people end up with the wrong aspect ratio is by creating videos on their smartphones and holding them up and down instead of sideways.
Part 2: Steps to Upload Videos to YouTube
Uploading YouTube Video on Desktop:
1. Sign in to your YouTube account
2. Hit the upload button
3. Select your video type (Public, Private, Unlisted)
4. Manage the upload
5. Choose your thumbnail
Step 1: Sign in to your YouTube account
In order to upload videos to YouTube, the very first thing you need to do is sign in. The sign-in button is located at the top right corner of the YouTube homepage. If you have multiple accounts registered to one device, you will be asked to choose one to log in to.
Step 2: Hit the upload button
It is a simple step that you will have to follow right after you log in to YouTube. As soon as you enter YouTube, after using your Google account and password for login, you will find the upload button in the top right corner of the screen. Click on this button and it will take you to the dedicated upload page.
Step 3: Select your video type (Public, Private, Unlisted)
Choose your audience. If you wish to make your video available to everyone on YouTube, simply go to the privacy settings and choose the “Public” option from the drop-down menu.
If you do not want your video to be searchable, but still want to be able to easily share a link to it with your friends and family, choose the “Unlisted” option.
Those who wish to keep their video personal can choose the “Private” option from the drop-down menu. You can still share a private video with a limited number of people (as long as they have Google accounts).
The “Scheduled” option is available for choosing a future date and time to make the video available to viewers. Once you have selected your privacy level, simply upload your video from your device storage.
Step 4: Manage the upload
As soon as you have confirmed your video upload, you will find a progress bar on the screen. It will take some time depending on factors such as the resolution of the video and how long it is. In the meanwhile, you can write a title, description and add relevant tags for your video so that YouTube knows what search results to include it in and viewers can find it. Remember that YouTube is the second biggest search engine on the Internet, so take some time to optimize your keywords .
Step 5: Choose your thumbnail
Once your video uploading is complete, it is time to choose a creative thumbnail for your video. The system provides you with three options to choose from automatically, all of which will be screenshots from your video. It is usually better toupload your own custom thumbnail , as thumbnails are a very important factor in attracting viewers. Hit the “Done” button or use the “Publish” button to finalize your upload.
That’s how to upload a video on YouTube! Any questions?
Richard Bennett
Richard Bennett is a writer and a lover of all things video.
Follow @Richard Bennett
Also read:
- [New] Breakdown of Ad Revenue Average Income for YouTube Vids?
- Budget-Friendly Sponsorship Blueprint for YouTube Enthusiasts
- Embrace Cold Choosing Heated Backdrops for YouTube
- In 2024, Convert YouTube Music Seamlessly for Mac Users, 2023 Edition
- Elevate Your Mobile Shoot - Ranking the Best 9 CamGear Innovations for 2024
- Insightful Analysis The Impact and Mechanics of YouTube's Shorts Fund
- [New] Aural and Visual Summary Synthesizer
- From Novice to Pro Unboxing Video Expertise
- Creating Content with Confidence Free YouTube Training
- [New] Banter Bonanza The Best Comedians on the Web
- Annual Roundup Top No-Money Video Editing Software Reviewed for 2024
- A Professional's Approach to Video Editing on YouTube for 2024
- 2024 Approved Digital Dazzle Fine-Tuning Video Chrominance for Beauty
- Tailoring Thumbnails for Increased Video Engagement on YouTube
- Enrich Your Knowledge Student-Approved History YouTubes To Watch
- [Updated] Essential 10 History YouTube Feeds For Learners
- [Updated] Audiovisual Rhythm Optimal DJ Content for Gatherings
- Curating YouTube Music Experiences for 2024
- Starting Stronger Exploring the Best 15 Video Intros
- ProEdit Wizardry Harmonious PC Video & Sound Symphony
- 2024 Approved Economical Microphones Catered to Vloggers
- Step by Step Wiping Out YouTube Video Downloads
- Learn to Convert YouTube Videos Into Text – No Cost!
- [New] Crafting Memorable Valorant Thumbnails A Practical Guide for YouTube Creators
- [Updated] Becoming a Vlogger Voice Confident Content Creation Strategies
- Disruptive Beats Curated List of Music Mutators for 2024
- [New] A Filmmaker's Companion The Journey From Capturing to Post-Production of 360 Videos
- Maximize Your Content Creation Top-Rated Mac MP4 Slicers
- Unveiling the 8 Leading No-Monetary-Cost Video Tools for Editors
- Get Superior Visuals From YouTube - Downloading Thumbnails Free
- In 2024, Detailed Procedures for Elevating YouTube Clips Through WM Maker
- Unlock Your YouTube Potential Expert Tips on Writing Video Outlines
- In 2024, Elevate Your Game 14 Must-See Vids for YouTube Gaming Success
- [Updated] A Step-by-Step Approach for Adding Soundtracks to YouTube Clips
- 15 Best Funny YouTube Channels to Watch When You're Bored
- Are Scalping Subscribers a Viable Strategy for 2024
- In 2024, Elevate Your Video Content with Desktop/Mobile Timestamps
- Amass 1,000 Supporters for Your Channel
- In 2024, Boosting Productivity with Innovative Win11 Features
- New Guide to Using the Voice Recorder App on Samsung Galaxy S10 and S9 for 2024
- Catch or Beat Sleeping Snorlax on Pokemon Go For Xiaomi 13T | Dr.fone
- [Updated] Capture Windows 11, Simplify Your Life
- [New] In 2024, Captivating Audiences Instagram's Personalized Quest-Style Lives
- How To Fake GPS On Vivo Y100 5G For Mobile Legends? | Dr.fone
- 3 Solutions to Find Your Poco X5 Pro Current Location of a Mobile Number | Dr.fone
- [New] Ranked Open Source Webcams For Live Recording for 2024
- New How to Download and Install Windows Movie Maker A Complete Tutorial for 2024
- In 2024, Top 4 Ways for Apple iPhone 13 Pro Max to Mac Mirroring | Dr.fone
- [Updated] Optimizing Video Saving A Guide to PC, Mac & Mobile Devices
- Budget-Friendly Tips for Acquiring High-End GoPros
- 5 Best Route Generator Apps You Should Try On Tecno Spark 20C | Dr.fone
- In 2024, Unlocking Apple iPhone 11 Pro Passcode without a Computer
- In 2024, Ways to trade pokemon go from far away On Meizu 21? | Dr.fone
- In 2024, 3 Ways to Track Apple iPhone 11 Pro Max without Them Knowing | Dr.fone
- [Updated] 2024 Approved MicroCapture Video Logger Analysis & Options
- [Updated] In 2024, Expert Choice Top 12 Non-Time Restricted Recorders
- 2024 Approved The Ultimate List 7 Video Mergers with No Watermark
- From Frames to Frequencies Transforming Instagram Videos for 2024
- [Updated] StreamMasters OBS Edition for 2024
- Maximizing Musical Impact on Instagram Posts
- 2024 Approved Get the Scoop on Twitters Video Dimensions
- New Mac Users Get Adobe Premiere Pro CS6 for Free - Limited Time Offer
- Updated In 2024, Edit on the Go Best Android Video Editor Apps for Chromebooks
- iSpoofer is not working On Realme GT 5? Fixed | Dr.fone
- Cutting-Edge Audio Tools for iPhone and iPad Enthusiasts
- In 2024, About Samsung Galaxy A54 5G FRP Bypass
- [New] In 2024, Discover & Set Up VRecorder in Minutes (148 Characters)
- Title: In 2024, Best YouTube Shorts Video Editor Tools for iOS & Android Devices
- Author: Kevin
- Created at : 2024-05-25 15:26:14
- Updated at : 2024-05-26 15:26:14
- Link: https://youtube-videos.techidaily.com/in-2024-best-youtube-shorts-video-editor-tools-for-ios-and-android-devices/
- License: This work is licensed under CC BY-NC-SA 4.0.
